Hey everyone figured I would start my build thread for a 120 gallon peninsula reef. After being out of the hobby for a couple years and moving to a new house last November, I'm eager to get back into it. This time doing it right from the start, here is a breakdown of the equipment I plan to use.
Display tank
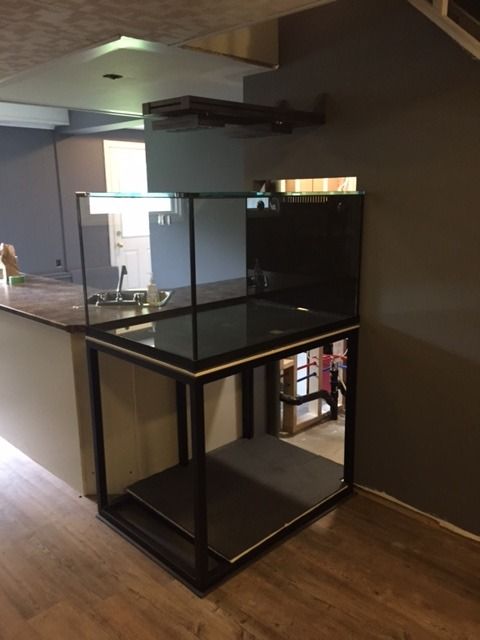
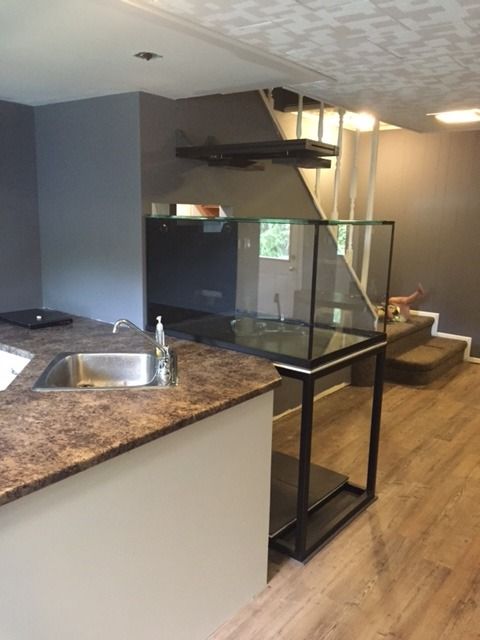
40Lx30Wx24H Peninsula style, 3 sided starphire with external overflow, drilled for animal bean. This is being built my miracles and I believe it should be ready in a week or two.

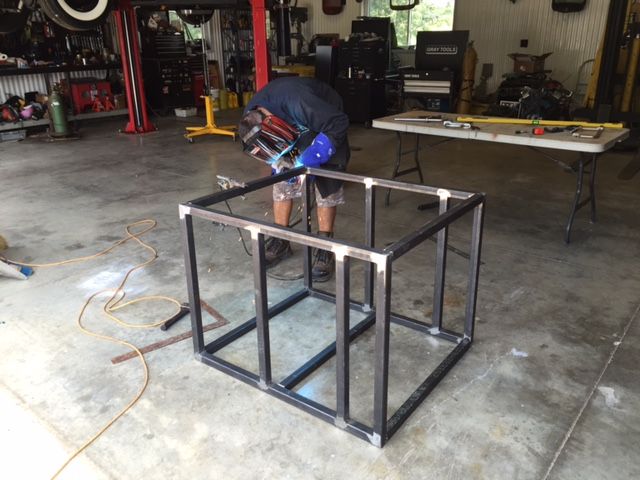
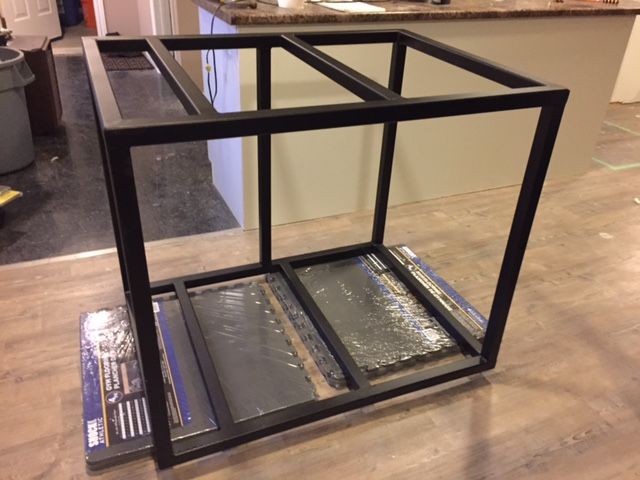
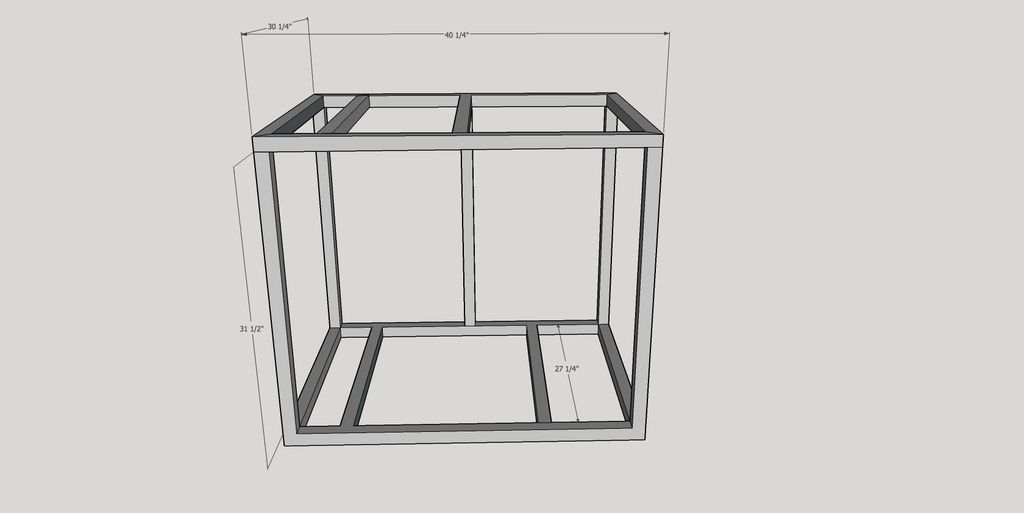
Stand
Welded out of 1.5" square tube and painted with rocker guard. I plan on mounting a panel 6" from the end to mount all of my electronics (Apex, Vortech controllers etc). The stand will eventually be wrapped in some type of wood finish.
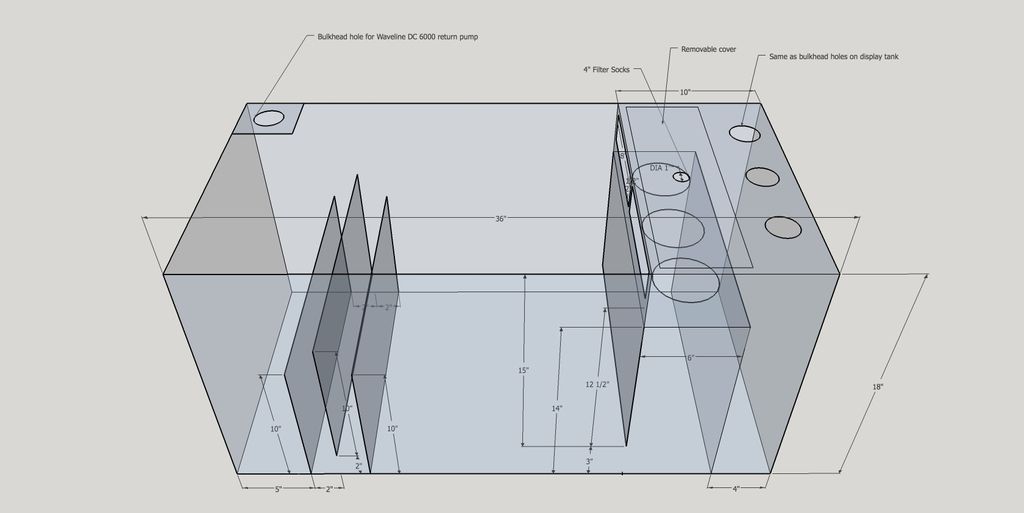
Sump
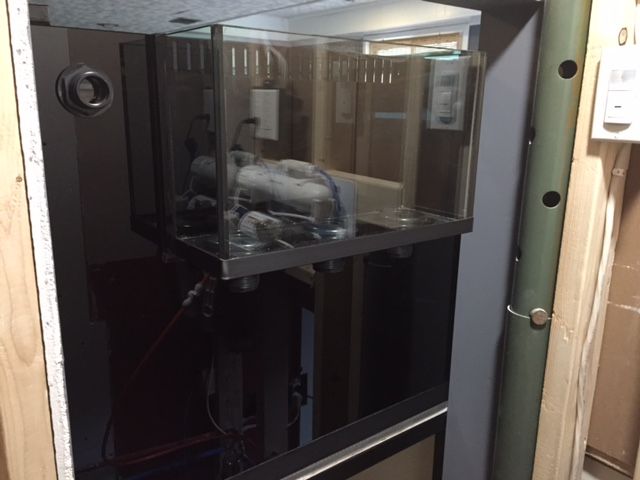
The sump will be made out of glass and is 36"x18"x18 built by Miracles as well. Pictures are worth 1000 words.
Other Equipment
Protein Skimmer - Purchased a BK mini 180 off another reefer (samiam)
Return Pump - Waveline DC 12000
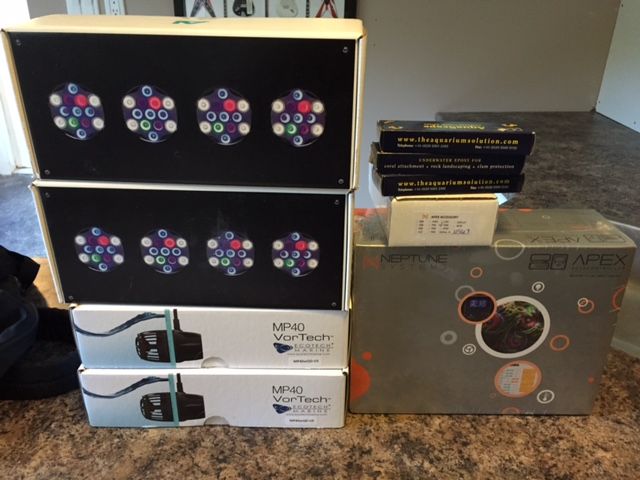
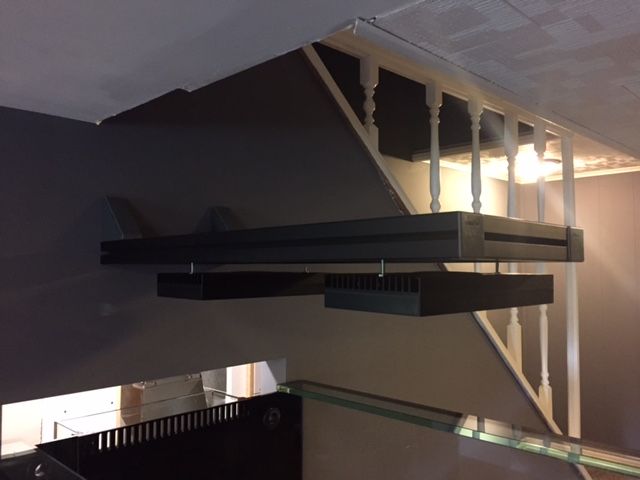
Lights - 2 x AI Hydra 52's with apex module
Controller - Standard apex package
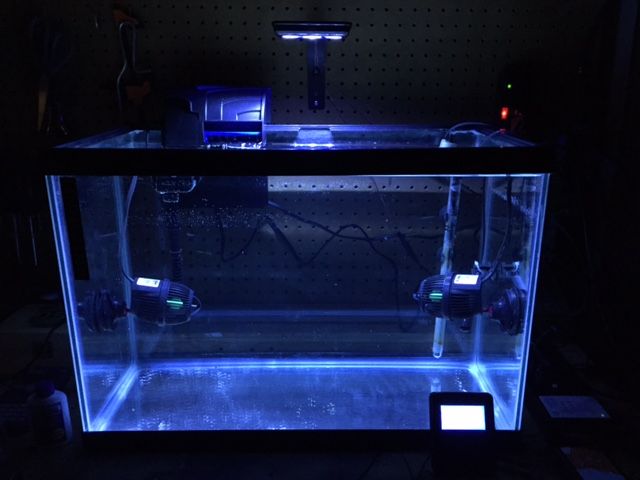
Powerheads - 2 x MP40QD's
ATO- Tunze Osmolator
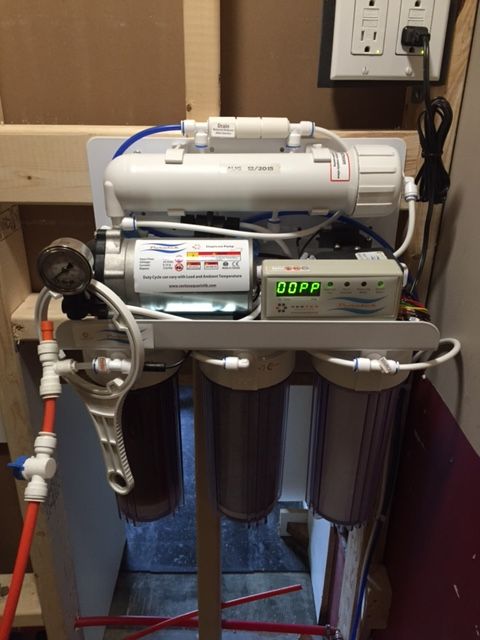
RO system - Vertex Puratek 100gpd
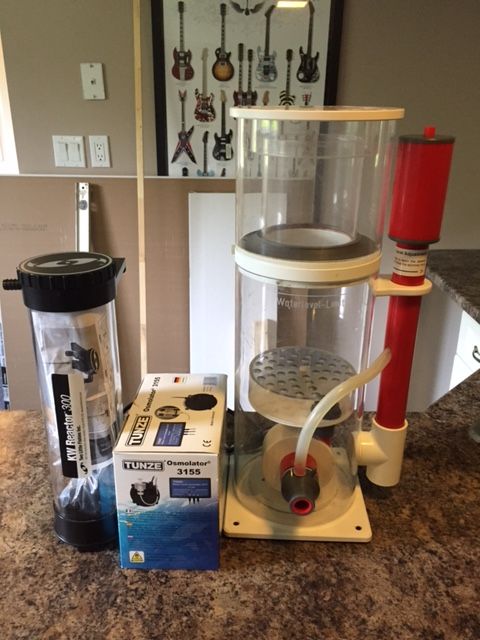
The lights, apex and powerheads were shipped today so they should be here soon, here is a picture of a few items.
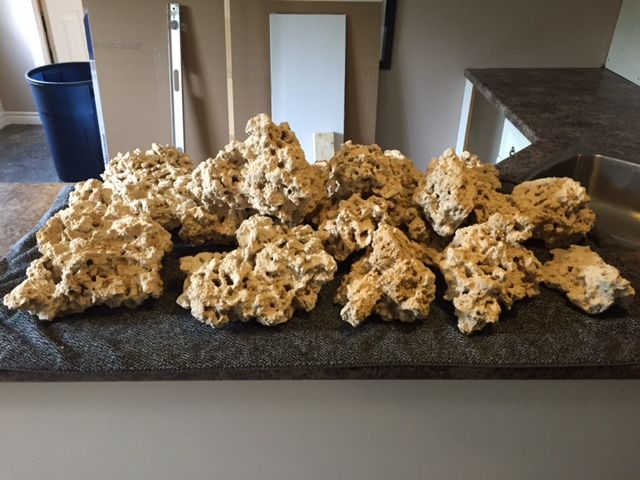
Rock
I picked up 100lbs of Marco dry rock, imo the best way to start fresh and pest free
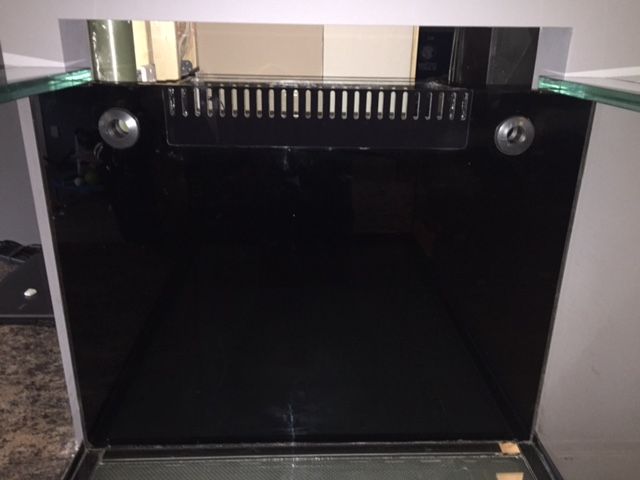
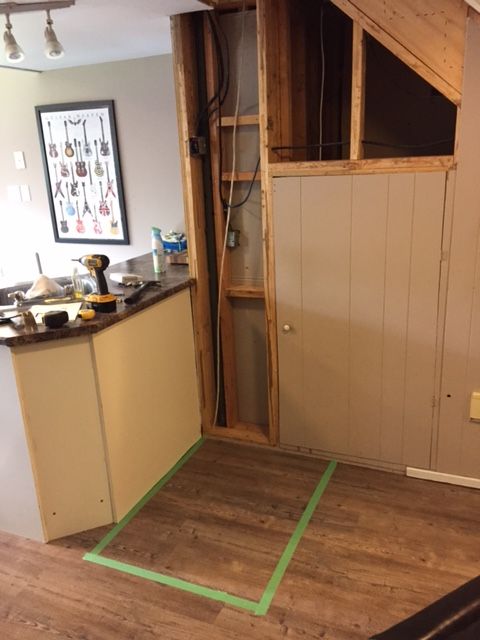
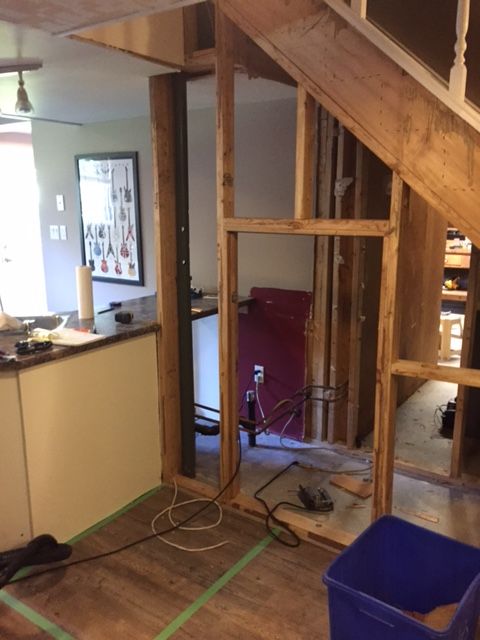
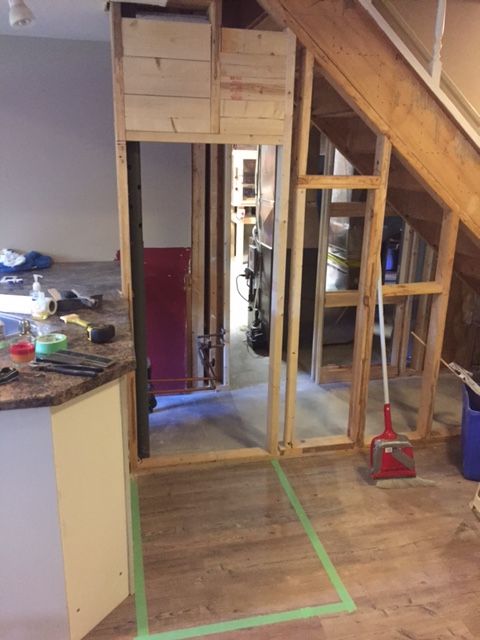
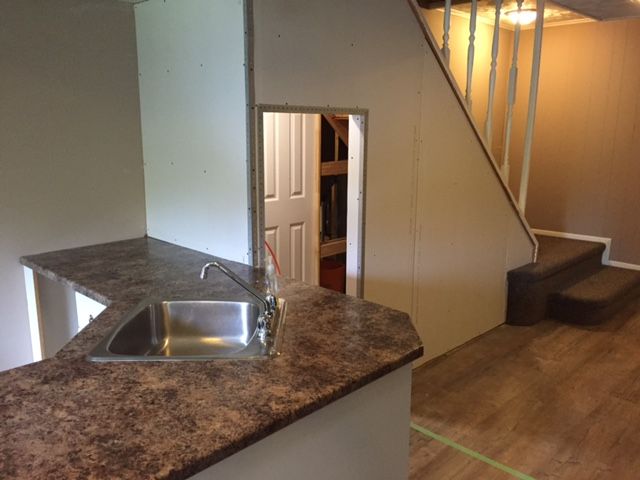
I have been working for about a month or so trying to be ready for when the tank is delivered, at this point I have the drywall installed ready for tape and mudding. Here are some progress shots, the tank will be sitting where the green tape is on the floor up against the end of the bar. The overflow will sink back into the room under the stairs. Although the sump will still be located under the tank, having that room behind under the stairs will give me a lot of room for expansion in the future. A big thanks to Stace at Aquariums by design for helping me with the design and ordering the tank for me.

Display tank
40Lx30Wx24H Peninsula style, 3 sided starphire with external overflow, drilled for animal bean. This is being built my miracles and I believe it should be ready in a week or two.
Stand
Welded out of 1.5" square tube and painted with rocker guard. I plan on mounting a panel 6" from the end to mount all of my electronics (Apex, Vortech controllers etc). The stand will eventually be wrapped in some type of wood finish.
Sump
The sump will be made out of glass and is 36"x18"x18 built by Miracles as well. Pictures are worth 1000 words.
Other Equipment
Protein Skimmer - Purchased a BK mini 180 off another reefer (samiam)
Return Pump - Waveline DC 12000
Lights - 2 x AI Hydra 52's with apex module
Controller - Standard apex package
Powerheads - 2 x MP40QD's
ATO- Tunze Osmolator
RO system - Vertex Puratek 100gpd
The lights, apex and powerheads were shipped today so they should be here soon, here is a picture of a few items.
Rock
I picked up 100lbs of Marco dry rock, imo the best way to start fresh and pest free
I have been working for about a month or so trying to be ready for when the tank is delivered, at this point I have the drywall installed ready for tape and mudding. Here are some progress shots, the tank will be sitting where the green tape is on the floor up against the end of the bar. The overflow will sink back into the room under the stairs. Although the sump will still be located under the tank, having that room behind under the stairs will give me a lot of room for expansion in the future. A big thanks to Stace at Aquariums by design for helping me with the design and ordering the tank for me.
Last edited:
")