4hummers T5h0, Led, 6ft Custom Hanging Light Build

4Hummer

Member
Joined
Jan 13, 2014
Location
Kitchener, Ontario
Chapter 1: The Story

Figured I'd start a Build thread for my next Project.

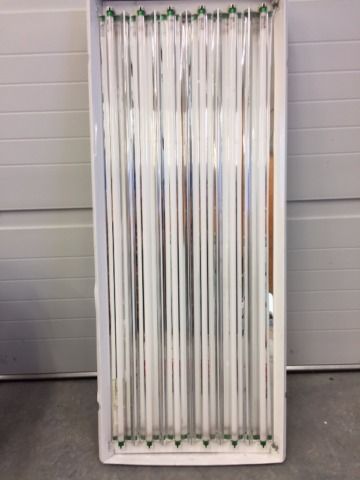
I currently have an Odyssea 4 Bulb T5H0 6ft Light over my 125 Gallon Tank.
And to be honest, the Darn thing is growing Corals pretty good for the Cost ($150 ish) I have SPS, LPS, Many anemone (They just keep splitting) Zoa's Palys, you name it, it all seems to grow somewhat. Now I did replace the bulbs in this unit for ATI's, Upgraded the Cooling fans, and added 21LEDUSA.com LED strips for some added Blue Shimmer and Pop.

My Biggest complaint is how the Bulbs are setup in this particular fixture
The largest length T5H0's come in is 60" so what Odyssea has done in there 6ft light is placed 2 Bulbs to the far left, the other two to the far right so there are area's in the tank only covered by one Spectrum (The ends) Keep in mind this is a 2 channel light.

The bulb configuration is something like this:

|==========............ | 2 ATI Blue Pluss
| ............==========| 1 ATI Purple Plus, 1 ATI Blue Special

So each end of the Tank is where I place less light picky Corals,
The other Thing I dislike about this Fixture is there is only one single reflector for all 4 Lights, and no real active cooling. Plus crappy Ballasts (Always have spares on hand)

Okay so The things I Like about this Light (As these ideas will be going into the my next build)

1: One Power cord, Since I will be hanging the light, the less cords the better
2: Built in Timer for each channel and moon lights, Means I don't have to use an external timer, or take up real estate on my ReefKeeper.
3: It's 6ft long.

I've been tossing idea's around for a replacement Fixture for quite some time, Do I purchase the 60" ATI at $1200 US (I'm Canadian so that's like almost 2 grand after shipping, bulbs, duty and exchange rate) Two 36" ATI Fixtures, (Again Price) LED Black Boxes ? Maybe a 4 foot and a 2 foot Hydroponic T5H0 setup (Price would be around $500 but no active cooling, looks, bla bla bla)

Here is a really old Picture of the Light when I just set the Tank up:


4Hummer

Member
Joined
Jan 13, 2014
Location
Kitchener, Ontario
Chapter Two: Research.

The next phase to any Project is the research part. Now I'm sticking with T5H0 and LED supplement. So the question comes to mind, What makes the ATI lights so good? Two main things I discovered really, 1: Active cooling. keeping the T5H0 bulbs at ideal temperatures produces the most amount of PAR (And extends bulb life) 2: Individual reflectors (ATI uses some really nice reflectors)

Cooling:
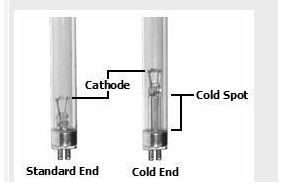
There is a bit of science behind cooling T5H0 bulbs, and they need to be cooled properly, You don't want to just blast random air over the entire bulbs, You want to keep the "COLD SPOT" at a set temperature (95 degrees) The Cold spot on a T5HO Bulb is normally the end where the manufacture puts the Label,

Heres a diagram


Ballasts: (I'm copying and pasting this from information found on ReefCentral)

Ballasts have a "ballast factor" that is determines how they drive a bulb for the bulbs they're designed to drive. A low BF (<1.0) is under-driving a lamp so it'll put out less than the bulbs rated lumens, but will extend the life of the bulb. A high BF (>1.0) will over-drive the bulbs so it'll put out more than the rated lumens, but will shorten the life of the bulb. A BF of 1.0 means the bulbs operate at the intended spec for T5HO and so at their stated spec.
There's also the start type - instant start, rapid start, and programmed rapid start. The programmed rapid start ballasts, while not required, are said to lengthen the life of the bulb. Instant and rapid start ballasts are said to blacken the ends of the bulb over time, particularly instant start.
Ballasts like the Advance Centiums are designed for the T5HO spec so they have a BF of 1.0 and are also programmed rapid start ballasts all for $30-$40

Reflectors:
Individual Reflectors are best. The nanotech Reflector is probably the best on the market at the time of writing this,
the Shape of the Reflector has a big bearing on light output as well. And as a bit of a bonus, Plain white paint does a pretty good job of reflecting light as well. (A Mirror for some reason doesn't reflect light properly and White paint out performs a mirror for some strange reason)

Wiring:
18 gauge SOLID core wire rated for 600volts. Period this isn't up to debate it's the code

End Caps:
If the Bulbs will be exposed get waterproof ones. (It's that simple)
otherwise an endcap is an endcap (People are going to step in a say this end cap is better then that, But I've yet to see increases in PAR due to endcaps)
 

4Hummer

Member
Joined
Jan 13, 2014
Location
Kitchener, Ontario
Chapter 3: The Shopping List:


Ballasts:
I'm going to be running 8 36" T5H0 Bulbs, 4 on each side (End to end)
From the Ballast research I already did, I know I need a Programmed Start, TH50 Specif Ballast, with a ballast Factor of 1 (Not overdriven, not underdriven)

This means the Workhorse Ballasts are out, Also 36" or 39 Watt is an odd ball Ballast size (Lucky Me)

You can normally find a Ballast to run Four 4 foot 54watt lights, but in the 39watt section was limited to 2 bulbs per ballast

I came across theres and ordered 4 of them (Also not bad for $27.20)
http://www.canadalite.com/2xF39T5HO-Fluorescent-Ballast-120-277-V


Cooling:
For this I decided to turn to the PC market, Specifally a Fan Controller. I needed something that could control muliple fans, and have automatic INDIVIUAL Temp control,

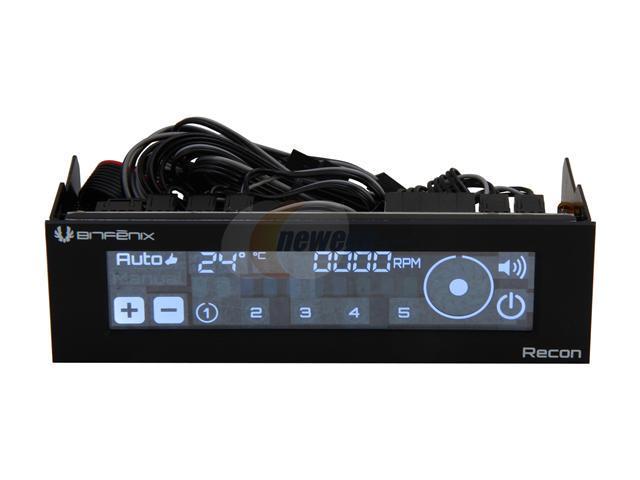
After Ton's of Research I decided on the BitFenix Recon
https://www.newegg.ca/Product/Produ...8&cm_re=fan_controller-_-11-997-078-_-Product

11-997-078-02.jpg


Fan Channels x 5
Temperature Channels x 5
Measurement Frequency Every 0.1 - 0.4 Seconds
Temperature Alarm Range 30 Degrees -90 Degrees

Now I'd need a way to power this unit and the fans

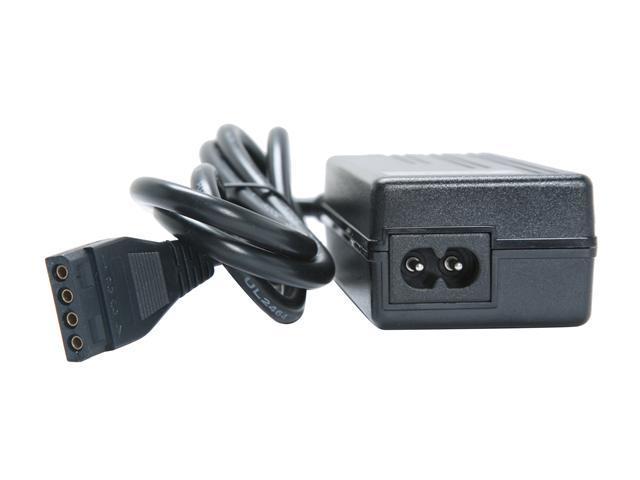
12V/5V AC/DC Power adapter w/ 4pin molex connector
https://www.newegg.ca/Product/Product.aspx?Item=N82E16812123309

12-123-309-03.jpg


FANS:

Jesus there are a lot of fans on the market, I'll let you know what I decide on, needs to be PWM, Quite, Variable speed, and provide good CFM.

Light Controller:

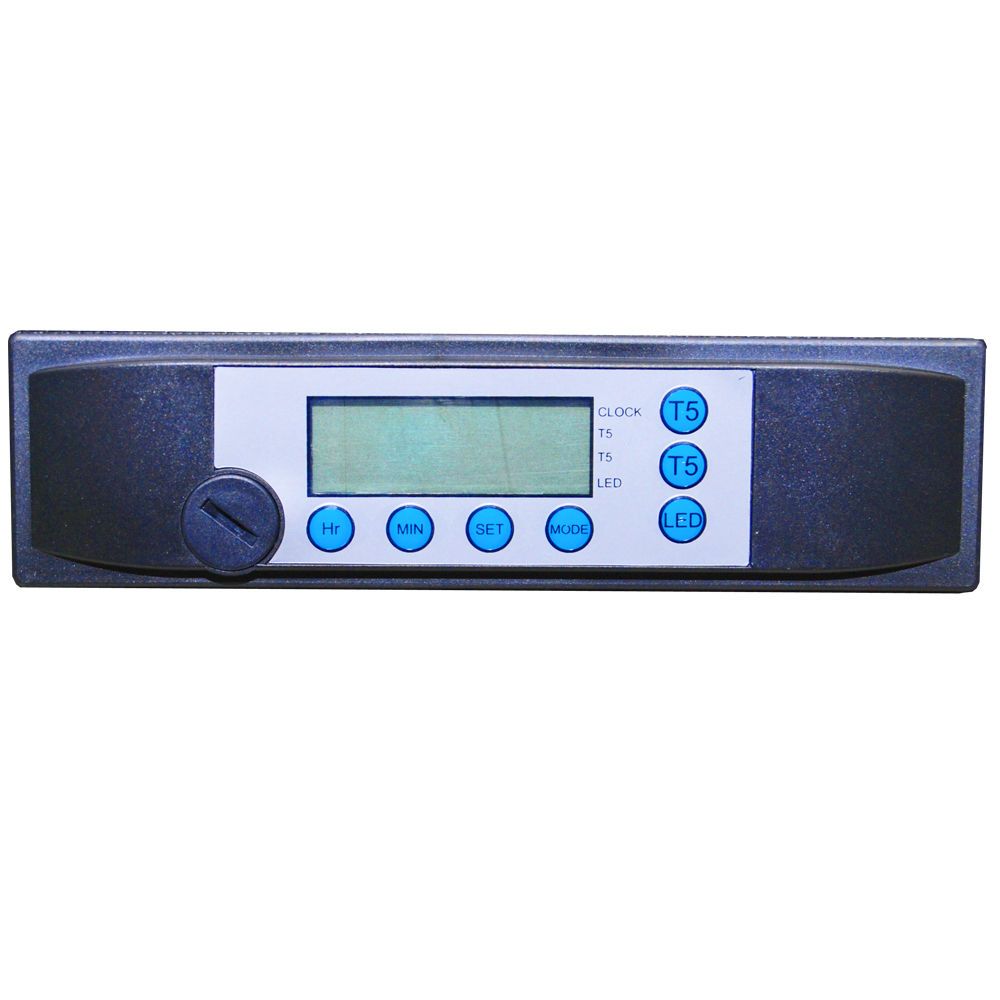
For this I bought the Light Timer that's currently in my Odyssea fixture, I thought about building a cool arduino Unit. But for $17.95 on ebay. This unit cant be beat.


Lastely (For Now) Wiring and endcaps.

After pricing out 600Volt 18gauge solid core wire, I realized CRAP that's expensive. Plus end caps, plus reflectors, The cost was getting a bit out of hand here.

I found on Kijiji someone selling used T5H0 industrial fixtures (High Bay 347 volt) and gave him a call. Told him I didn't need the Bulbs or ballasts, Was just looking for decent reflectors, end caps, and the wiring inside. We made a deal of $40.00 for two of these units;


Up Next will be the Build
 

4Hummer

Member
Joined
Jan 13, 2014
Location
Kitchener, Ontario
Chapther 4: The Build Begins

I'm going to build this light fixture out of wood to match my stand, Namely 1x4 Pine.
there will be a top half to enclose all the electrical (ballasts, Timers, wiring, fan controller, etc) and the bottom half for the reflectors, end caps, and bulbs.

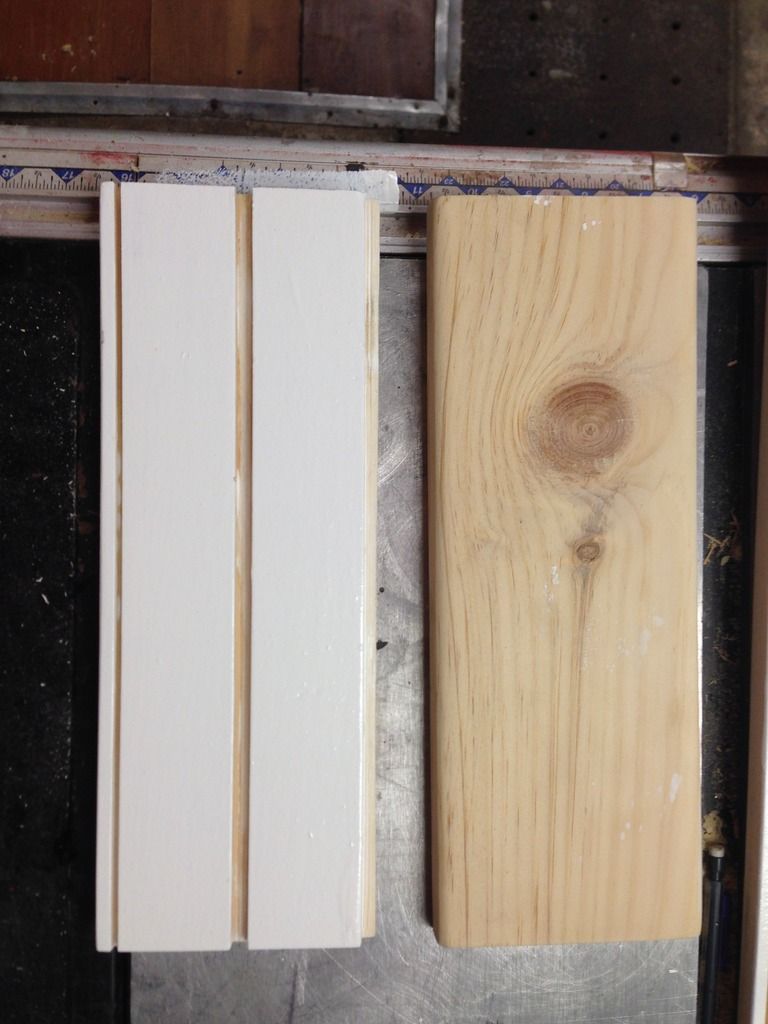
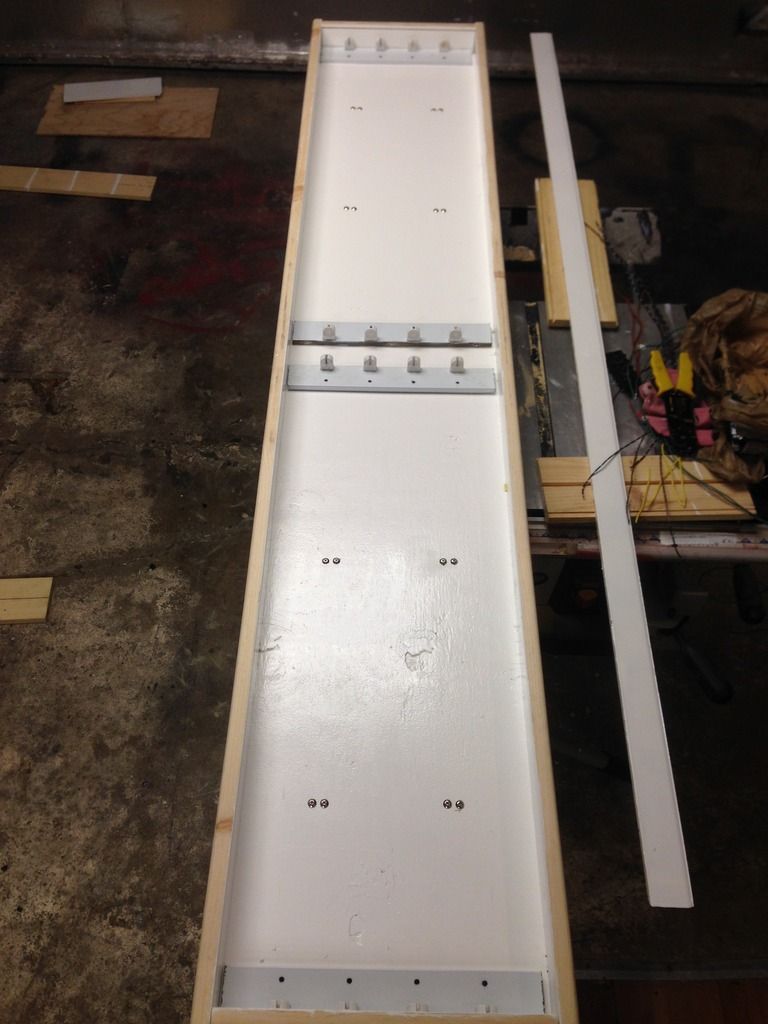
Here is a picture of the Ends (No Vent holes drilled yet) Inside Painted White, Outside will be stained black.


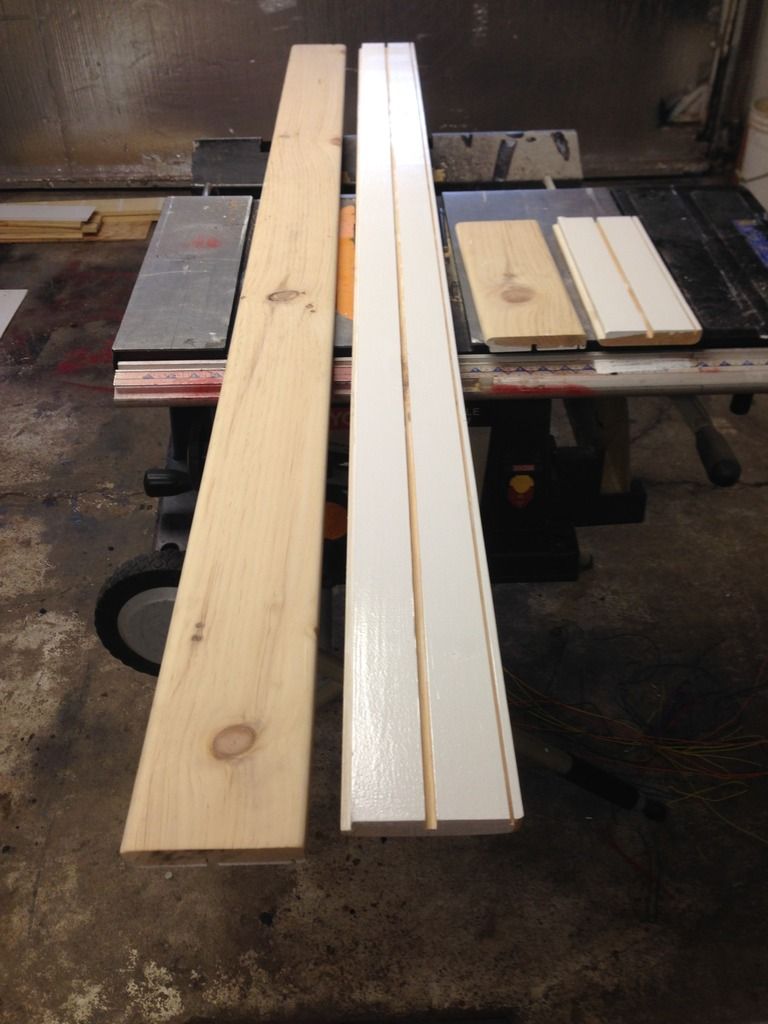
The Bottom Cut (left) is for the acrylic splash shield, Middle for the plywood to seperate top and bottom, and top for the lid which will have the fans mounted to it

The 6ft lenghts


**** NONE OF THE WOOD IS SCREWED TOGETHER AT THIS TIME. IT'S ALL JUST DRY FITTED FOR MOCK UP PURPOSES *****


I've gone ahead and hacked apart the High Bay fixtures I bought on Kijiji , I will be using the Wiring, Stand offs, end caps, and reflectors from these fixtures (Sorry didn't take pic of the fixtures)

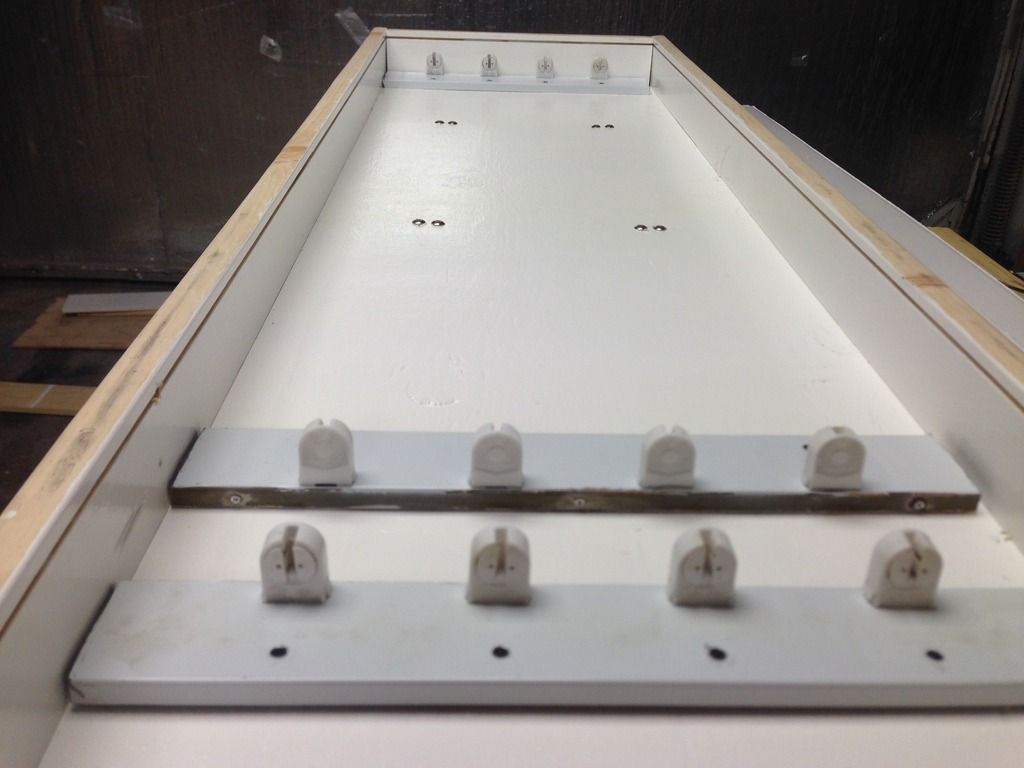
Here the Standoffs and End caps are being mocked up: There is a slight gap between the left and right side bulbs. Appartently 36" T5's are NOT 36 inches in length. But thats okay as the Gap will be where the center brace is on my tank anyway


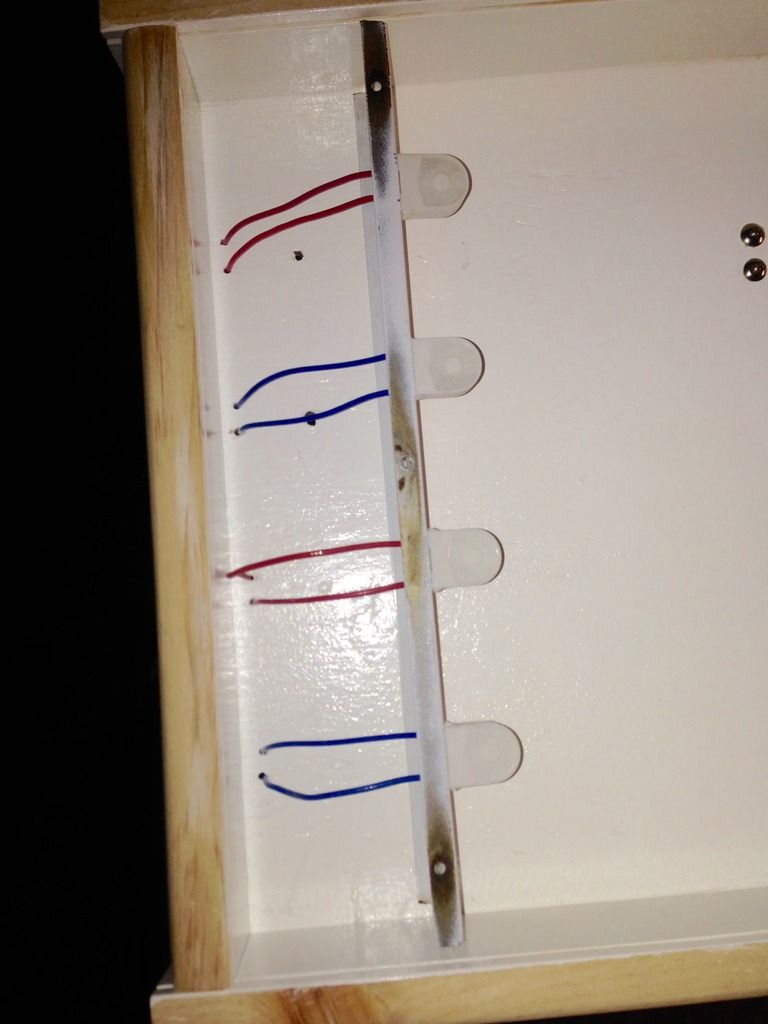
Feeding the wiring threw from the top of the fixture into the endcaps


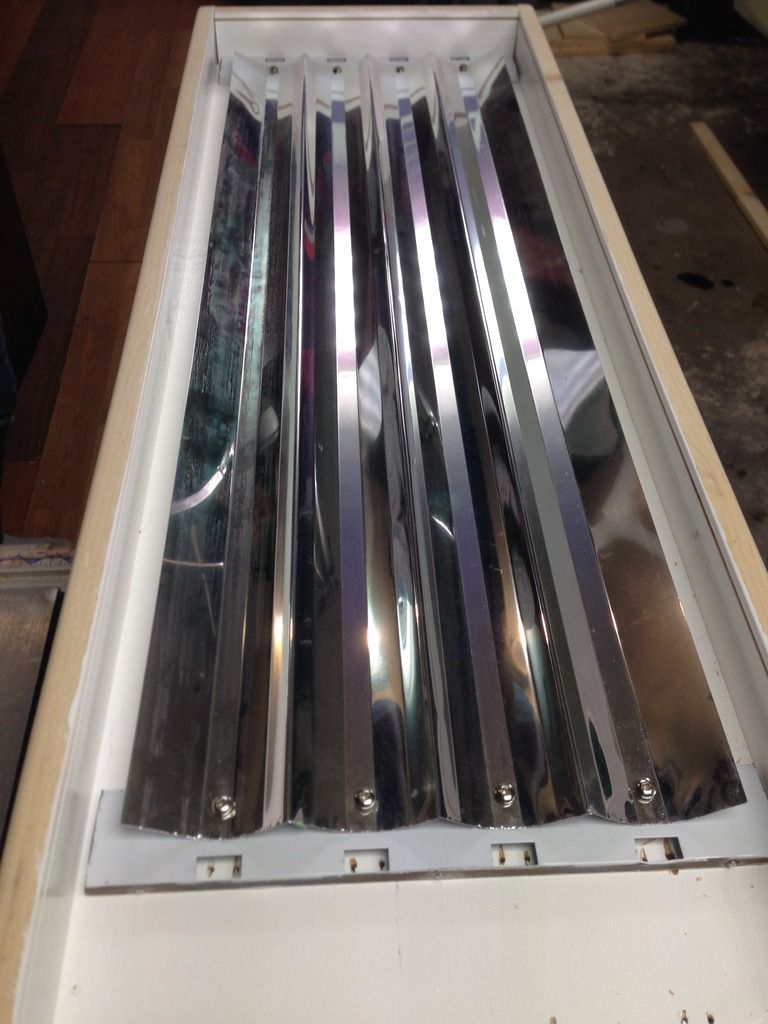
Reflectors Cut and being mocked up into place: Don't mind the dust all over the reflectors, they will be cleaned up after,
The Gap between the front and back of the reflectors is where the 21LEDUSA ReefBars will go


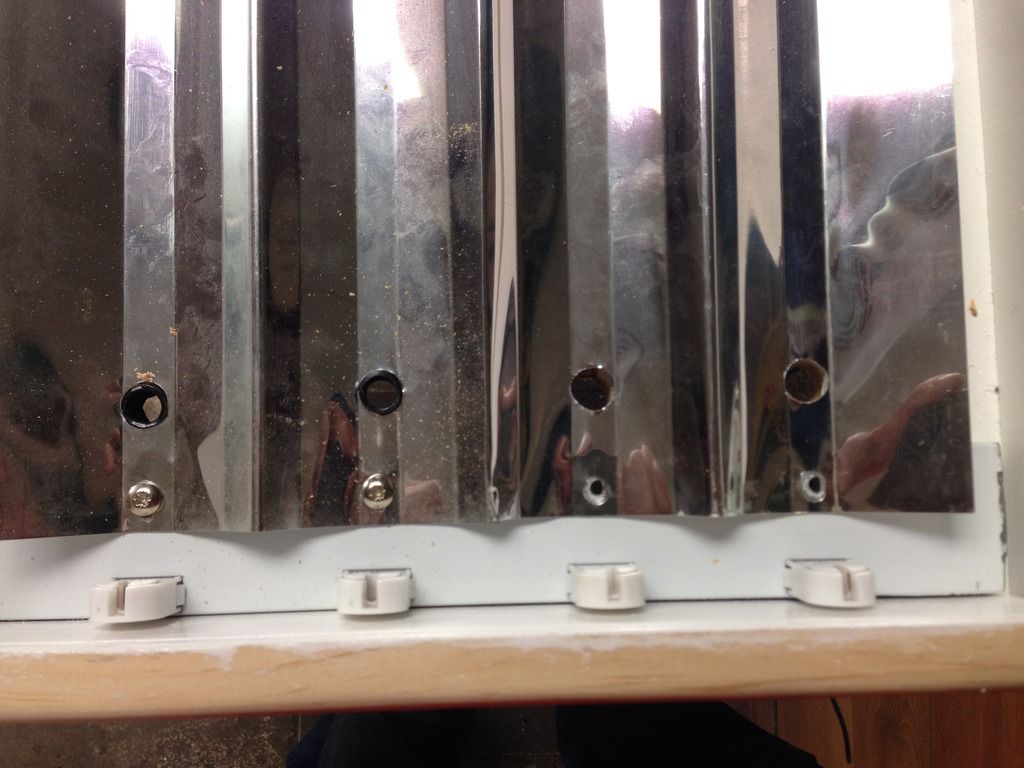
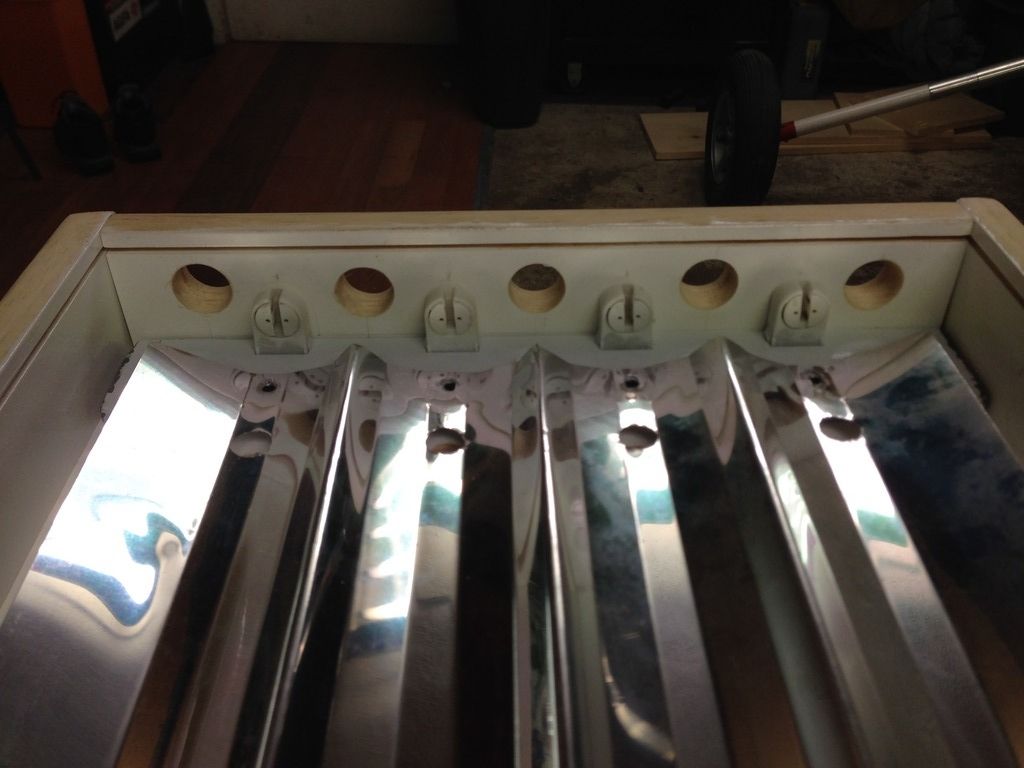
Holes cut into the refelctors and threw the plywood middle to Cool the Cold Spot: Fans will be on the top half, Blowing over the ballasts, threw these holes, and out the end vents (yet to be drilled)


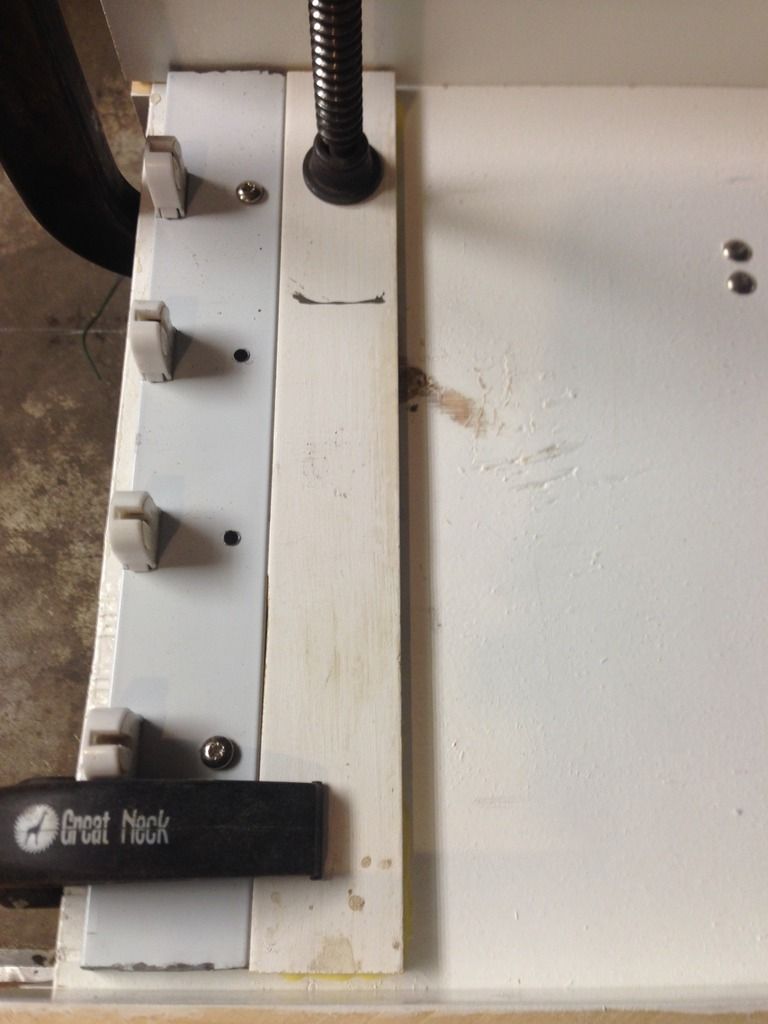
One problem I've run into is there is a GAP between the reflector, and the plywood base, (Due to the standoffs) I want the air to blow from the top of the fixture, Threw the holes, and onto cold spot of the bulbs, If I leave the gap most of the air is going to blow UNDER the refelctor,

If you look closely you will see on the left two holes of the reflector I've inserted some wire loom to go between the top hole and the reflector, This is to prevent air blowing UNDER the reflectors, but also makes the vent hole much smaller. I'm currenlty looking for better ideas (Silicone , Plumbers putty, Hot glue Maybe?....I dunno yet) Any suggestions here would be helpful
 

noobwithatank

Member
Joined
Oct 6, 2016
Location
stayner
How tall are the standoffs ? Could you not cut and glue a smalL piece of pvc to use? Like cut a 0.5 inch piece and glue it to the wood ?
 

Marcie

New Member
Joined
Jan 9, 2017
Location
Stratford
I LOVE how you laid out the build and really go through it step by step!! I am just learning - and although I still don't understand most of the most of the intricacies of the tank build - this really helps make things more understandable :)
 

4Hummer

Member
Joined
Jan 13, 2014
Location
Kitchener, Ontario
Solved the problem with the Gap between the Reflectors and bottom half of the divider. I was way over thinking this. I first attempted some wire loom, then tried to glue PVC pipe between the gap. Simple solution was just to glue down some wood cut to size,

Here is a pic of said piece, Once the glue drys I will be able to drill the vent holes threw it


Speaking of Vent holes, I got those drilled on the end pieces.
 

4Hummer

Member
Joined
Jan 13, 2014
Location
Kitchener, Ontario
Chapter 5 Wiring:

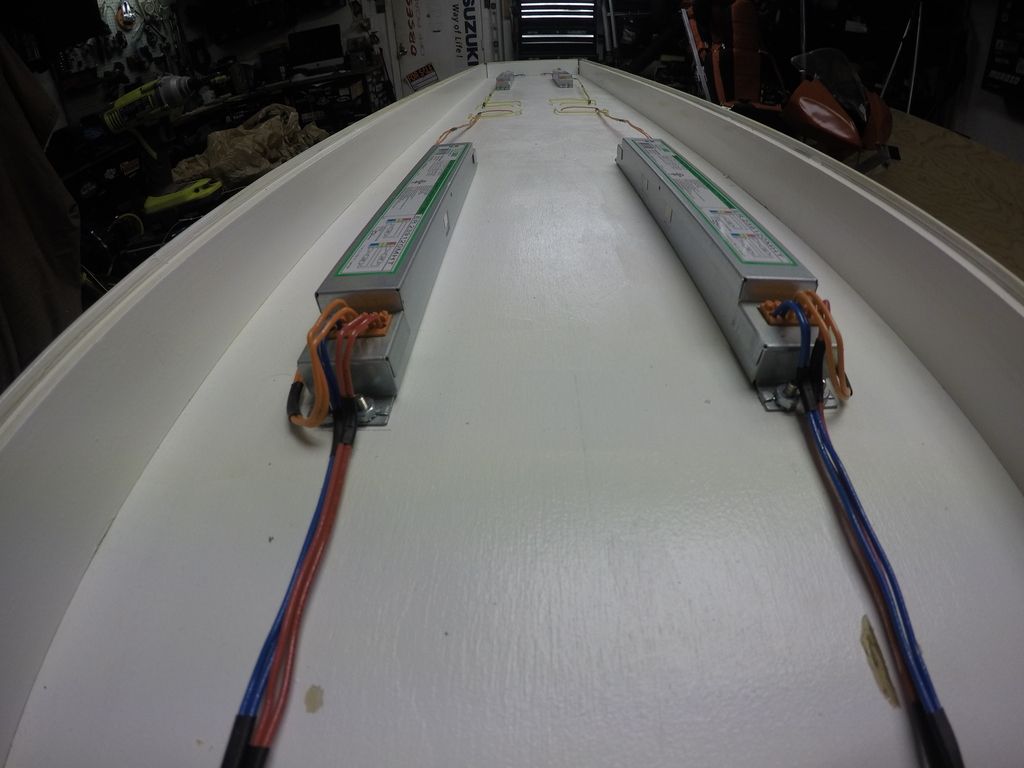
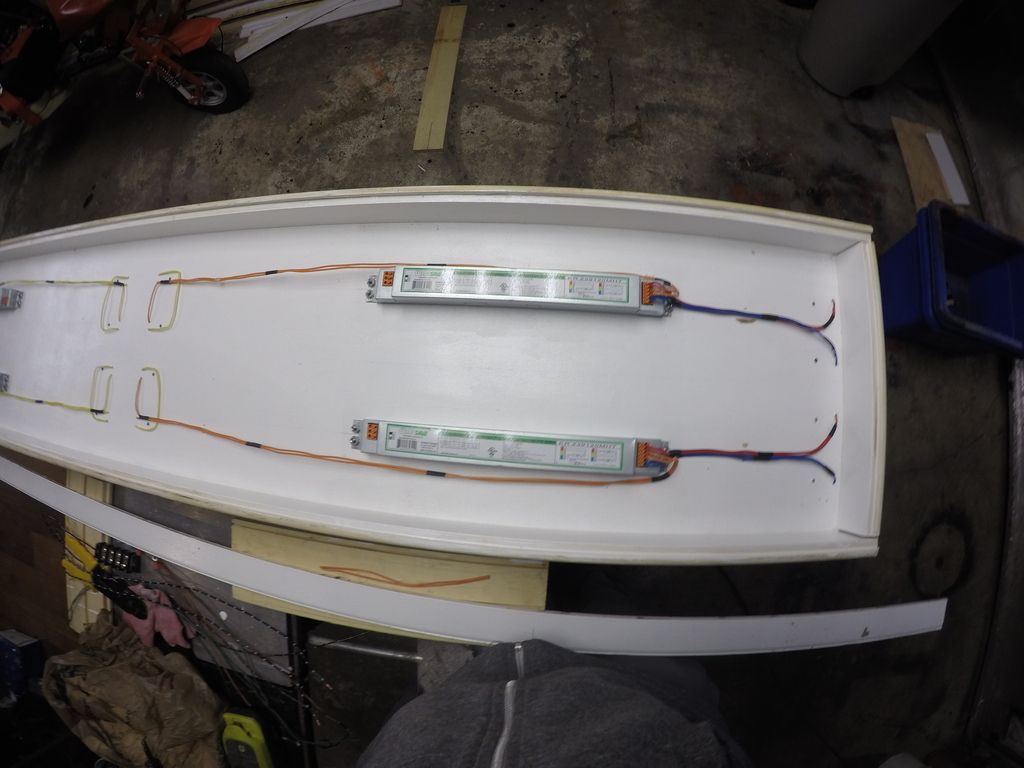
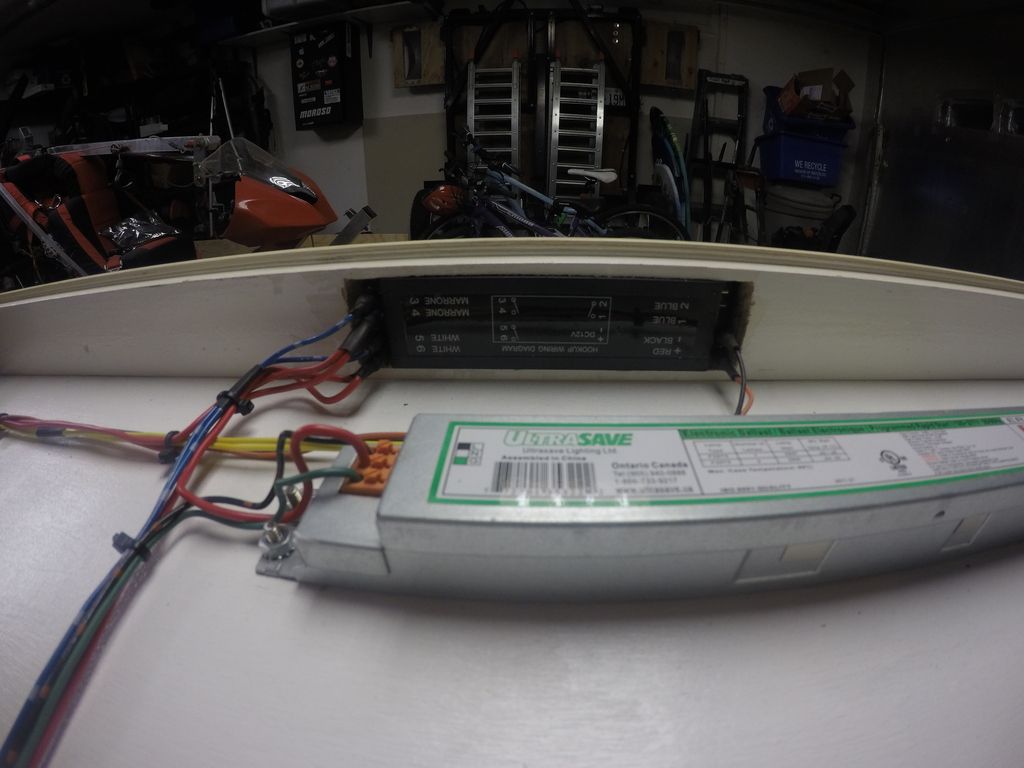
I Got most of the wiring done for the ballasts. Need to pick up some wire tie to keep everything secure and neat and tidy.


Buying the used High Bay Fixture has another added bonus, Colored Coded wiring, Were I to buy a spool of 600volt 18 Gauge Solid Core Copper, I'd probably bought 25feet of one color only.


AND Before you Ask... YES I am OCD. what would have taken most people 20 minutes to wire up, Took me over an hour. As I had to make sure all the wires were perfectly straight, in neat and tidy rows, and color coded.

Cold Spot Wiring:


Both Ballasts on One side:


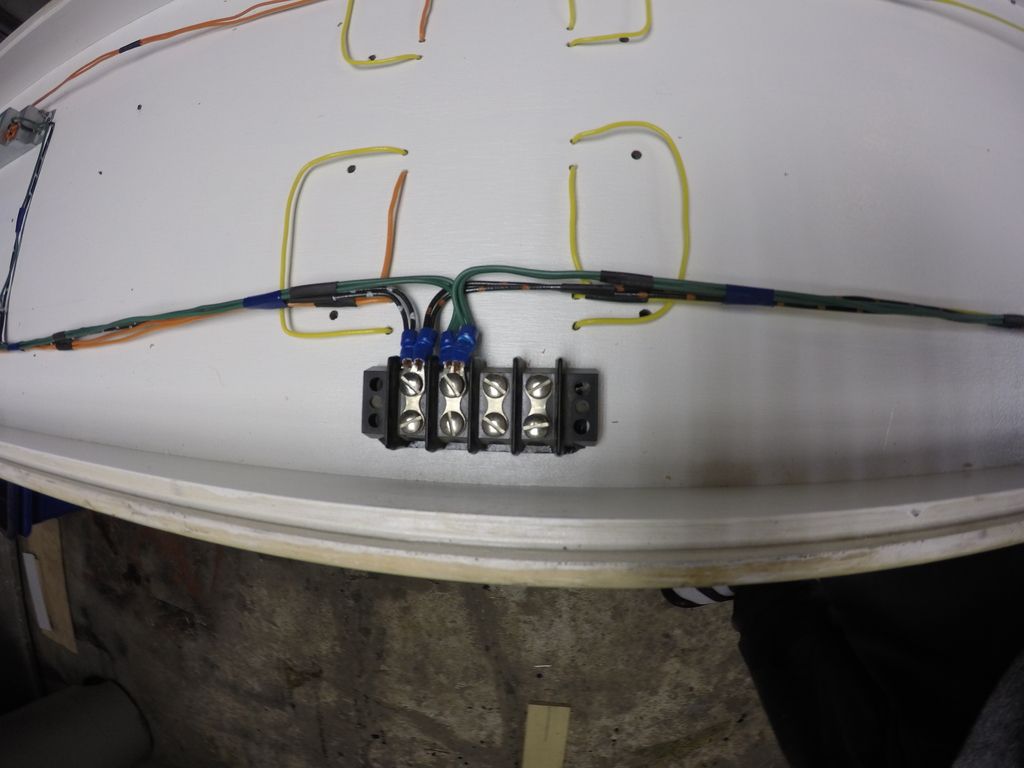
This is the Power Distribution block. Power from the wall outlet will go to the back side,
I currently Only have the Ground (Green), and Load (Black) wired, The Neutral (Normally a White Wire) will go to the Odyssea Light Timer and then to the Ballasts

 
Last edited:

4Hummer

Member
Joined
Jan 13, 2014
Location
Kitchener, Ontario
Will you be putting PC fans on the inside of the light hood to help circulate the air?

Yes Sir, Fans will be on the Top Half, Blowing over the Ballasts, Threw the Vent holes, Blowing onto the Cold spot of the T5 Bulbs, and out the End Vents.
All Controlled via a Digital PC Fan Controller.

For T5s you don't just want random air Blowing around, for Optimal PAR and Lamp life, the "COLD SPOT" of the Lamp needs to be kept at certain temperature (95)

(See the section labeled COOLING)
 

4Hummer

Member
Joined
Jan 13, 2014
Location
Kitchener, Ontario
Chapter 6: Fan Control

Sorry for the Long Delay in updates, I have been waiting for parts to Arrive.

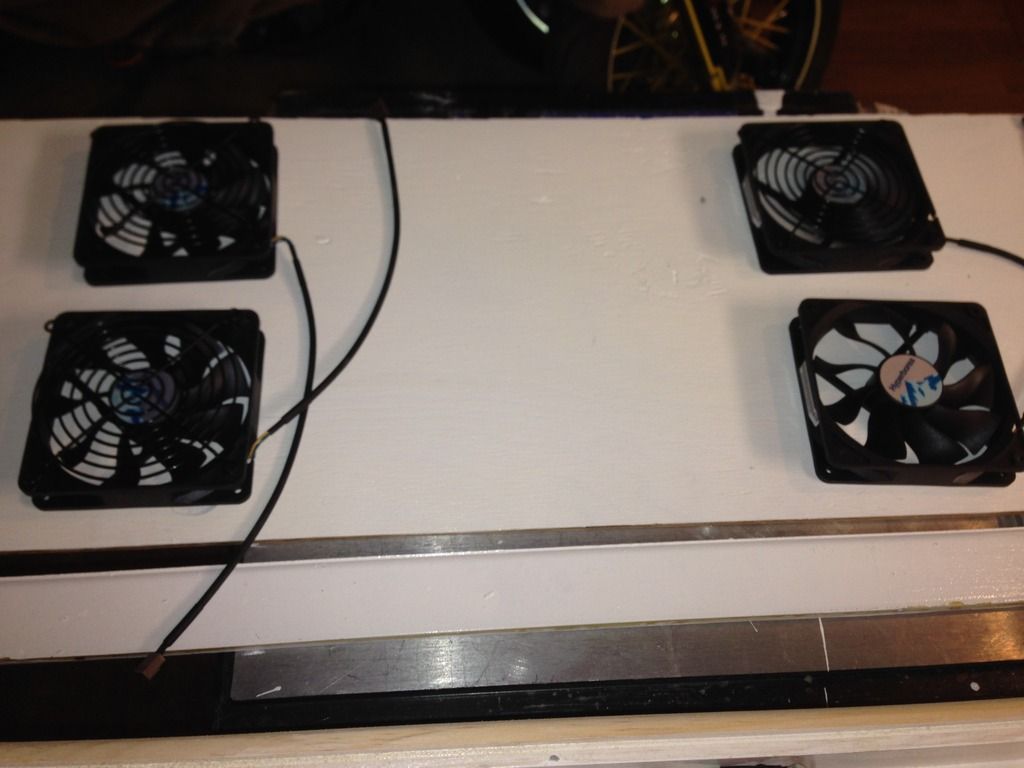
Finally Got the Fans I'm going to use:
120mm Variable Speed Case Fans, ($10 each) Be careful when picking "VARIABLE SPEED" as some manufacturers consider 2 speeds Variable.
These are 600 -1300 RPM 57.53 CFM and SUPER QUITE even at full Speed

https://www.newegg.ca/Product/Product.aspx?Item=N82E16835200068&Tpk=N82E16835200068

The will be going on the lid something like this: (Still have to drill the cut out's obviously)


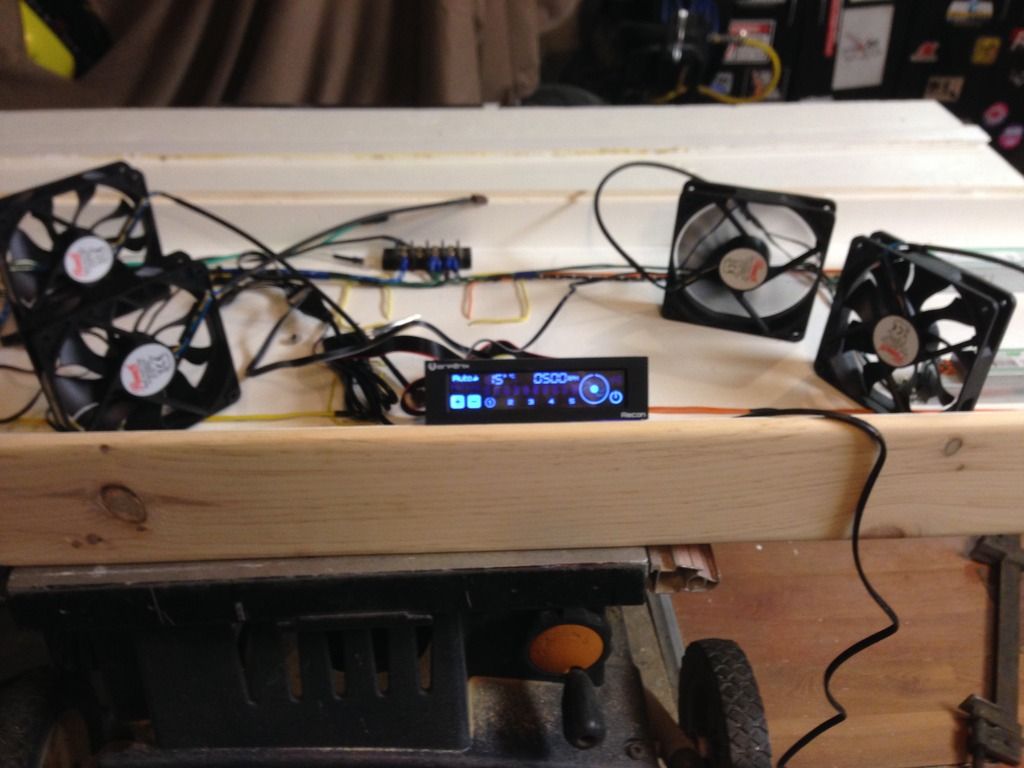
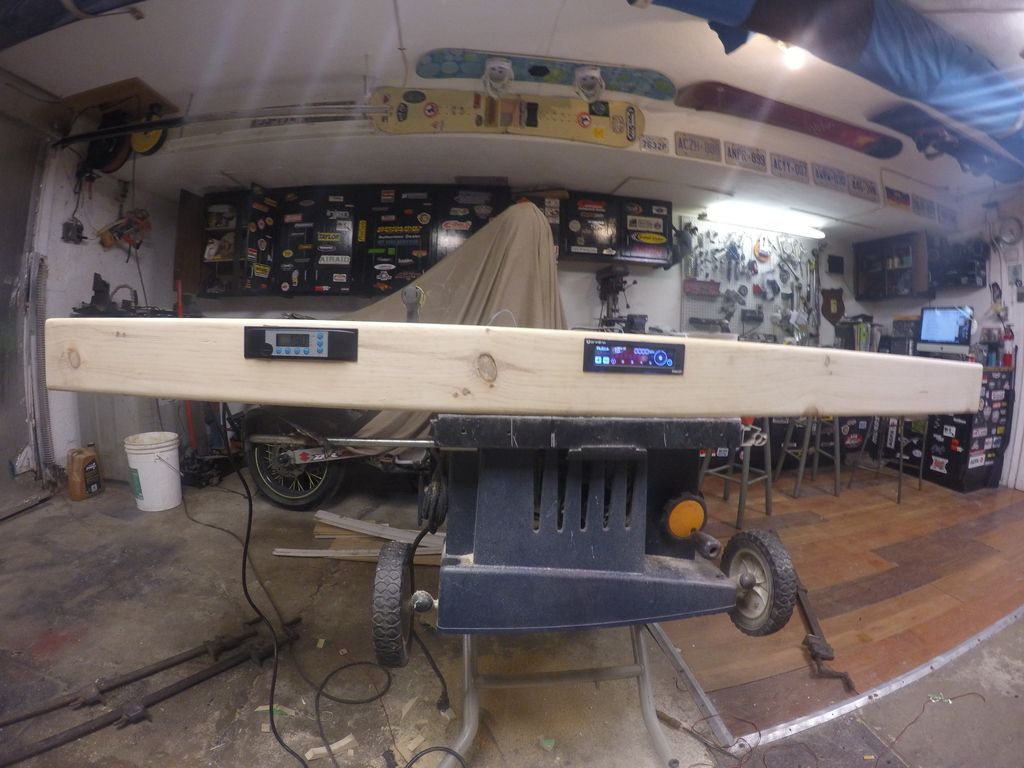
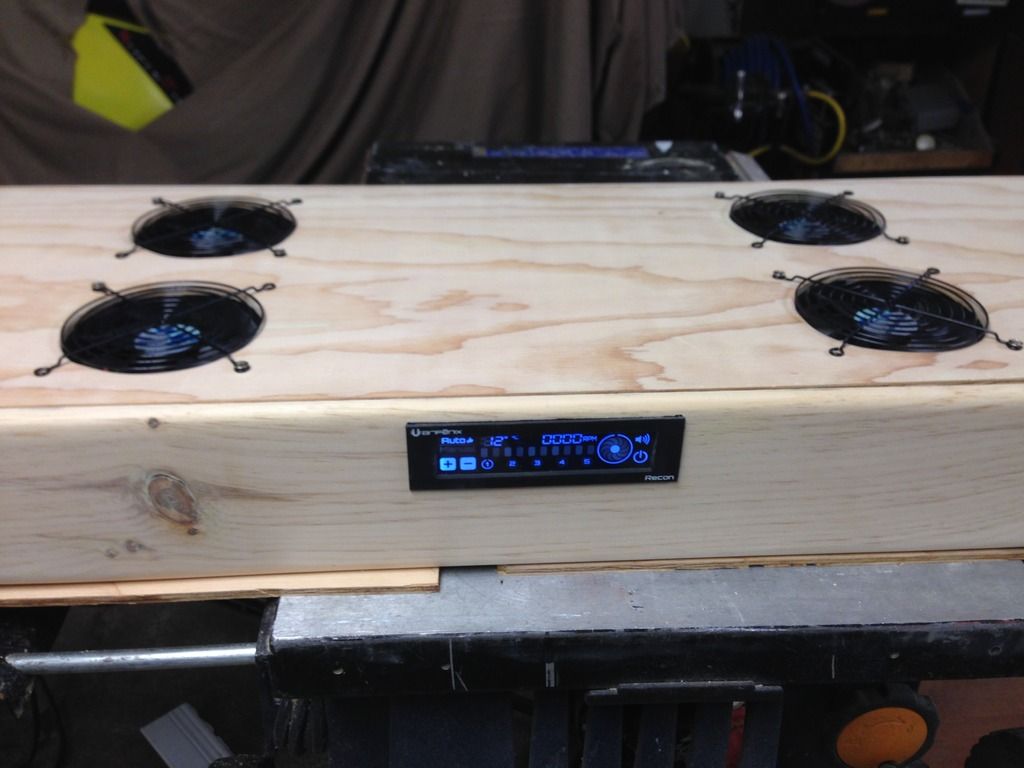
The Fan Controller also arrived. Here I'm just playing around with it. Love the Touch Screen, and Automatic control of Fan speeds according to Temperature.


Next will be to cut out the front panel to fit this unit in.


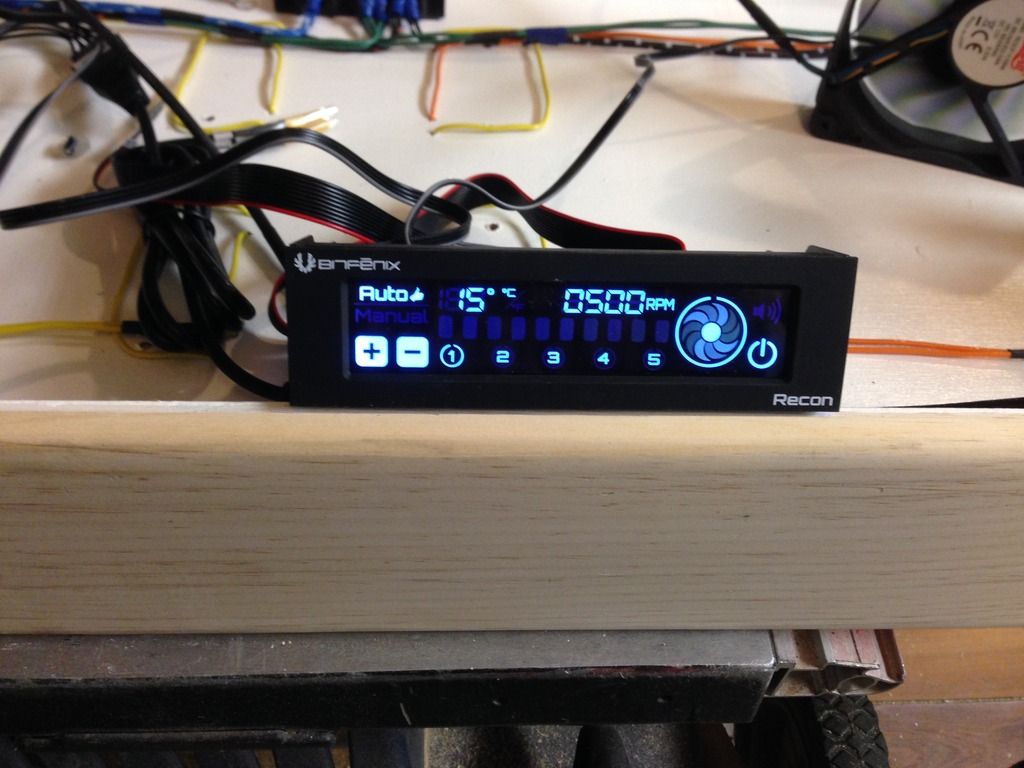
Closer look at the Fan Controller.


Hopefully I'll get some time to get this stuff installed in the next few days.
 

4Hummer

Member
Joined
Jan 13, 2014
Location
Kitchener, Ontario
Fans, Fans, and More Fans (Well one more)

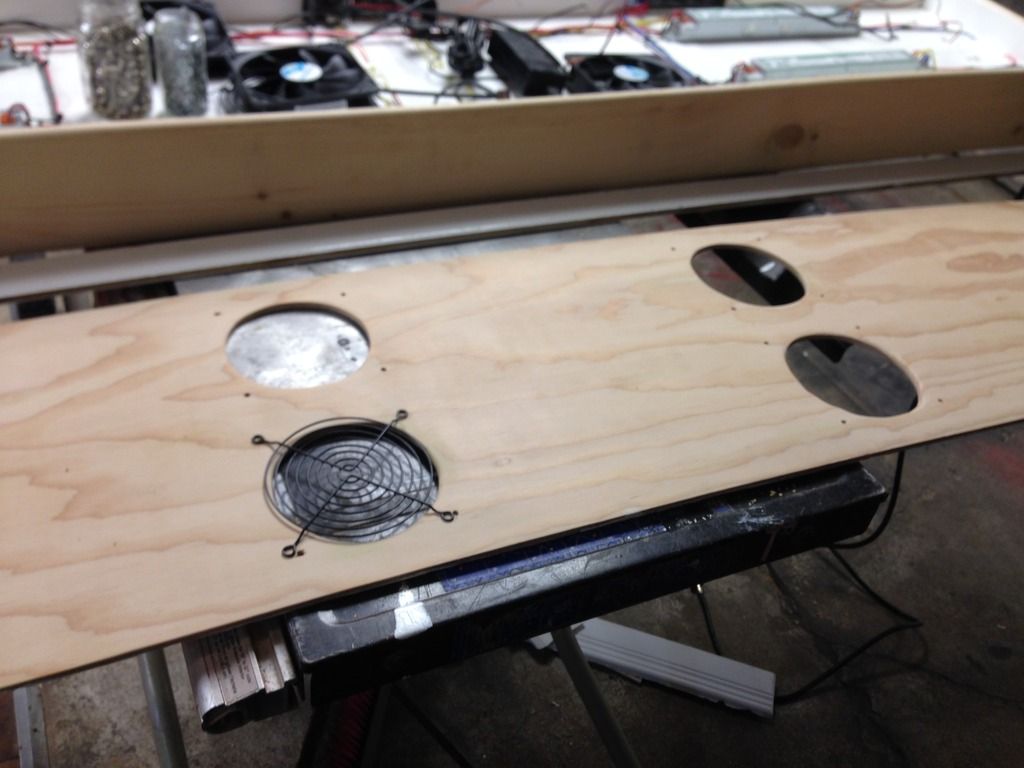
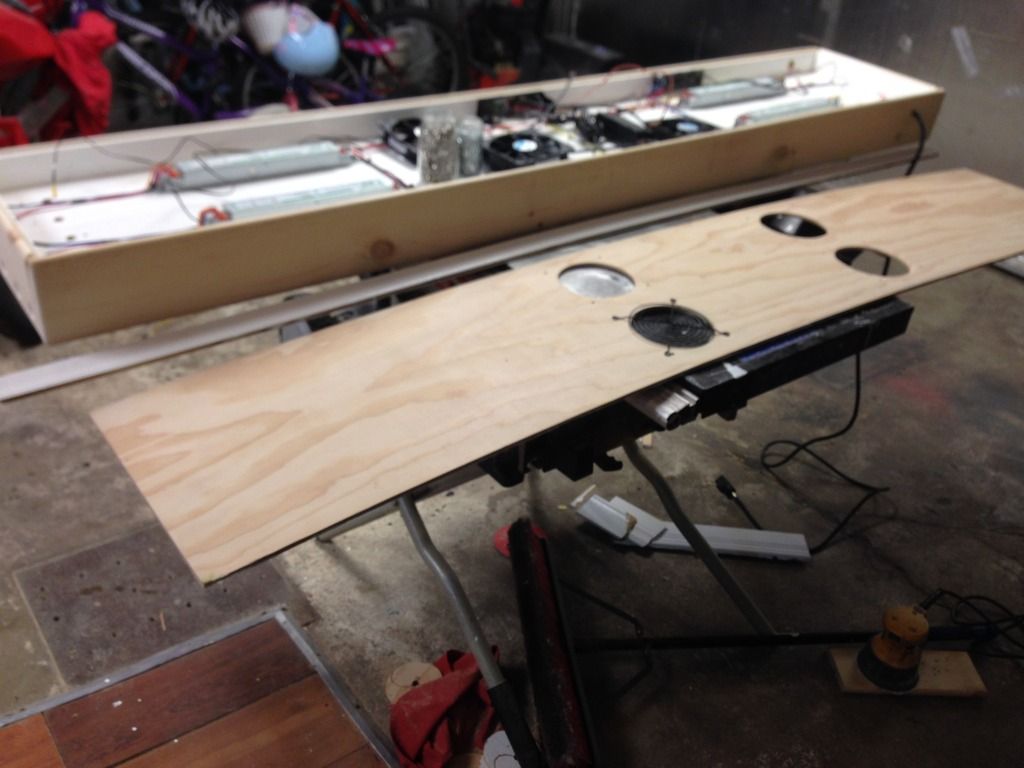
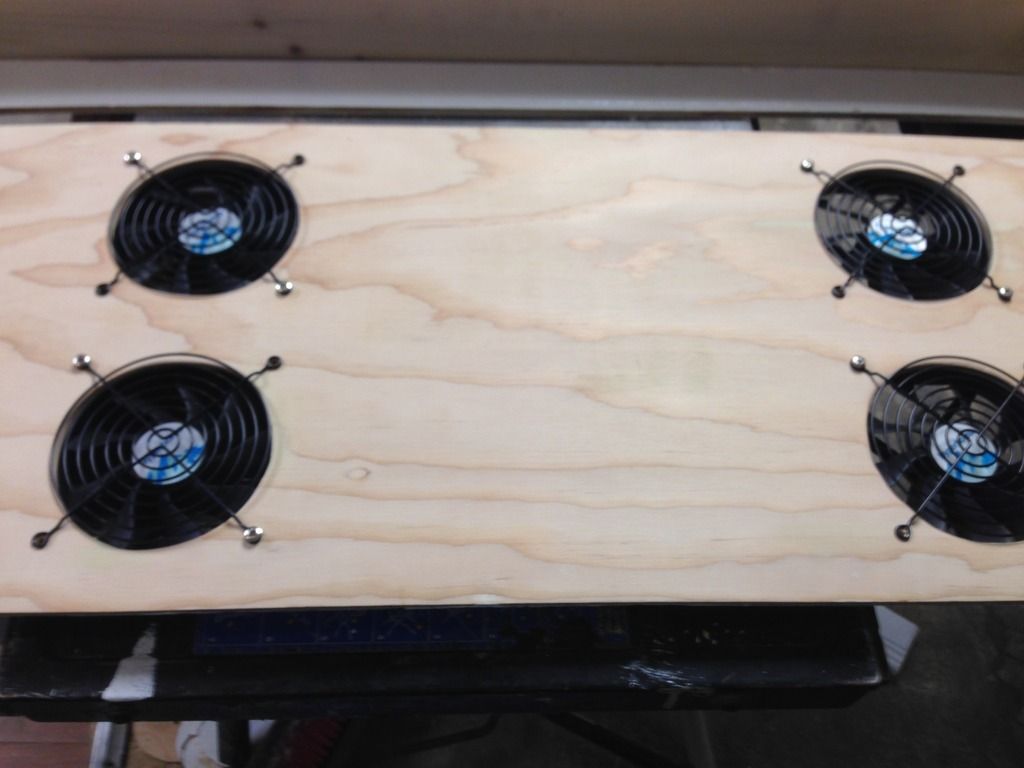
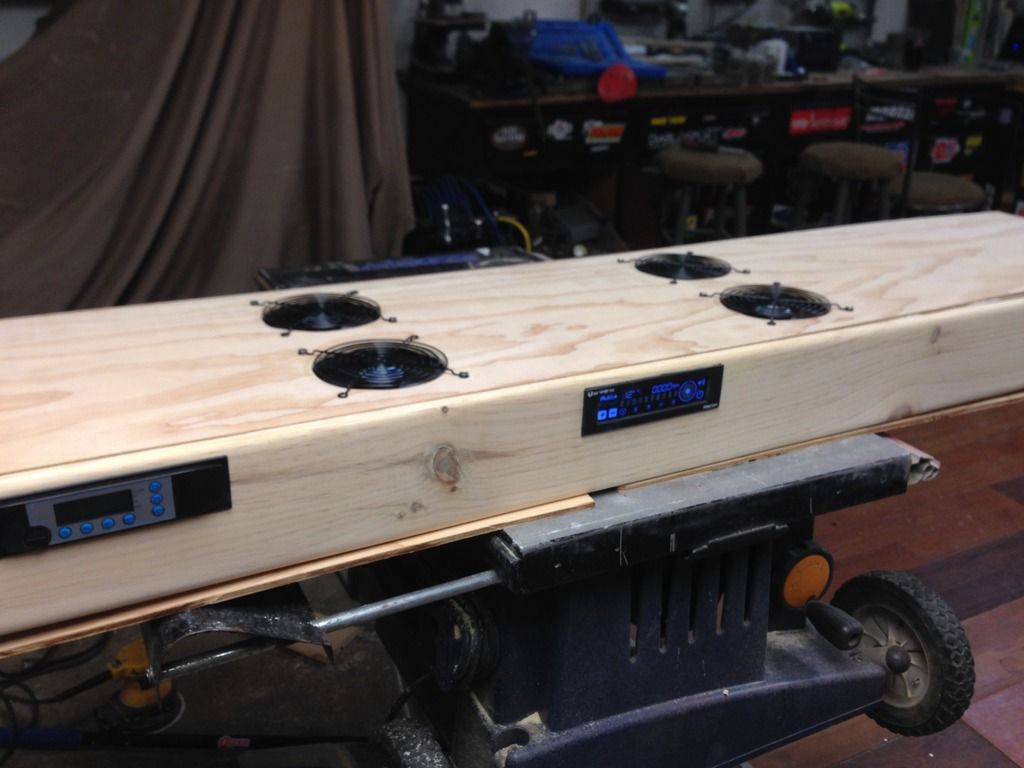
Got the Top built this weekend, and the Holes cut out to mount the fans.


(Edit: Just noticed) The Pictures make the holes not look perfectly circular (They are) it's a weird illusion with the grain of the Plywood i think


Fans Temporarily mounted (Top) I may remove that Blue sticker on the Fans


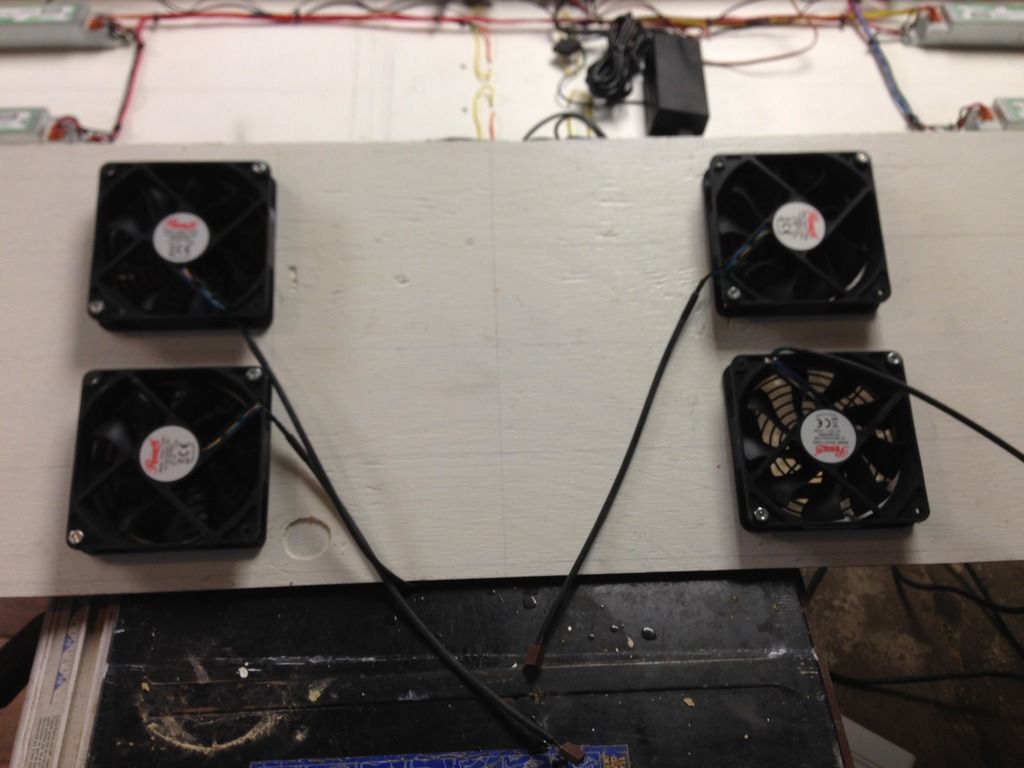
Bottom (Or inside)


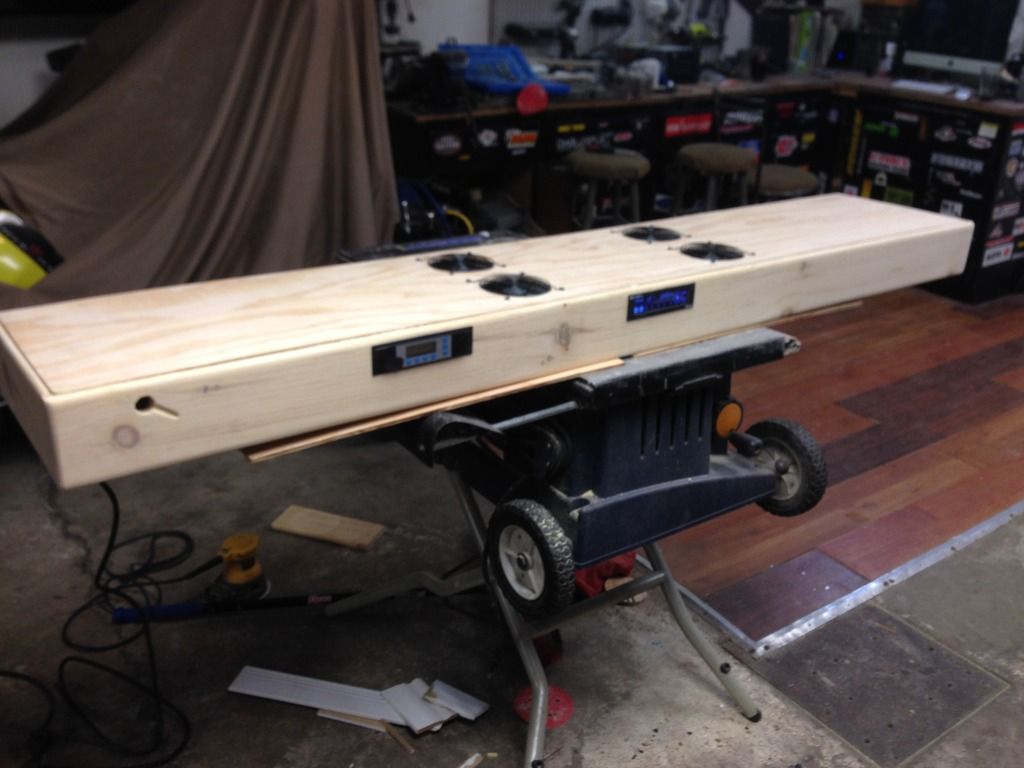
Here are a couple pictures of the entire unit Dry assembled


The Hole on the far Left is for the LED Controller Display Screen (Currently in use on my tank)


Onto final Sanding and stain.
 
Top