quikcolin
Member
- Joined
- Mar 13, 2011
- Location
- London Ontario
I wanted to share with forum how things went with my Ecoxotic Panorama Pro LED upgrade.
I received the package in the mail this afternoon and didn't waste anytime! I tore my hood down and installed the LEDs right away. The whole process from opening the box to finish took about 1.5 hours. I took things super slow and made sure it was done properly. If I had to do it again, I could polish the job off in an hour no problem.
So, what I'll do is give everyone a step by step (missing a few pictures as I forgot to take a few pictures while working lol).
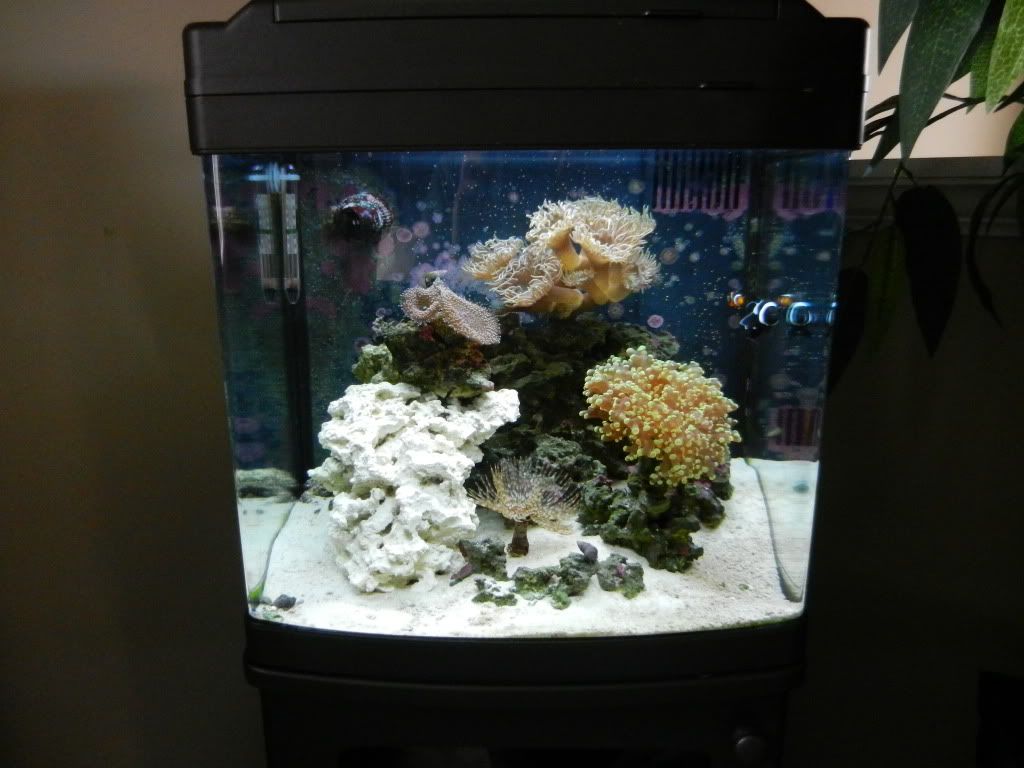
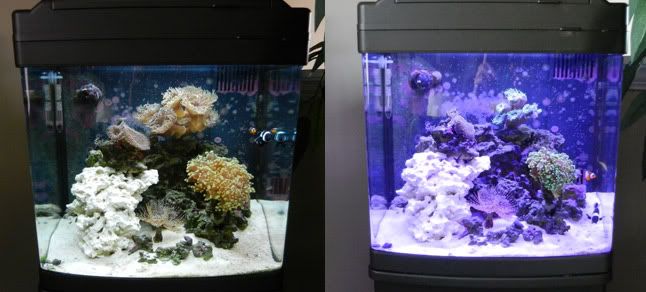
Here is my tank with the PC lighting... before the LED install.
Step One:
Open the box! It's kinda like Christmas all over again")
Step Two:
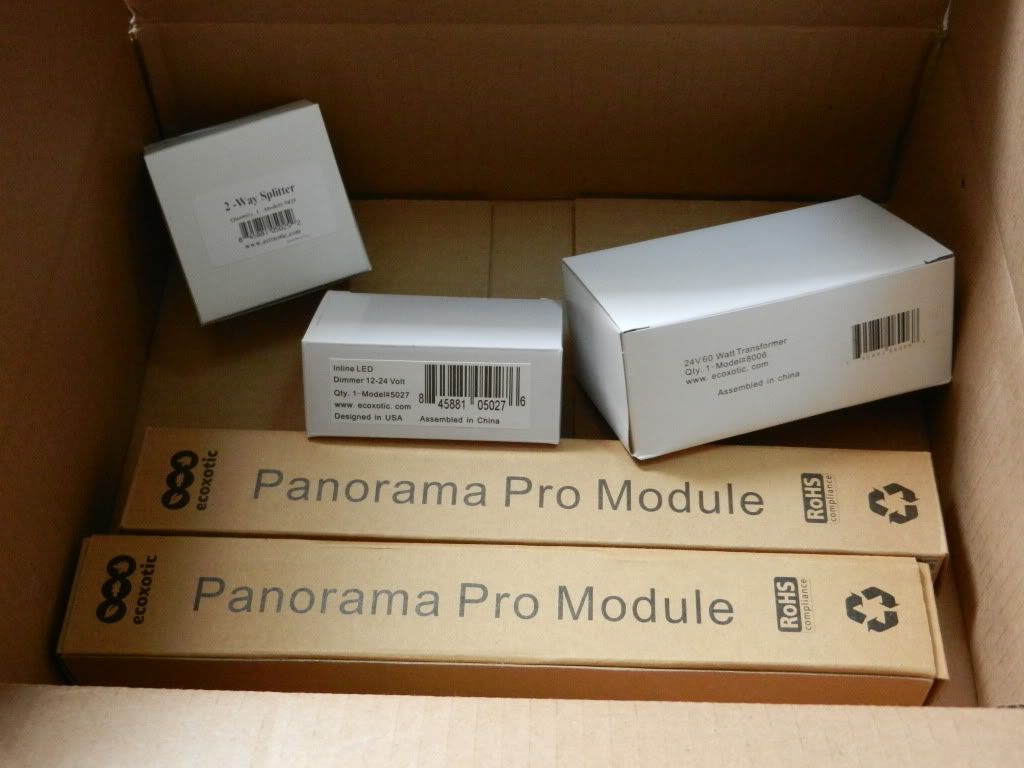
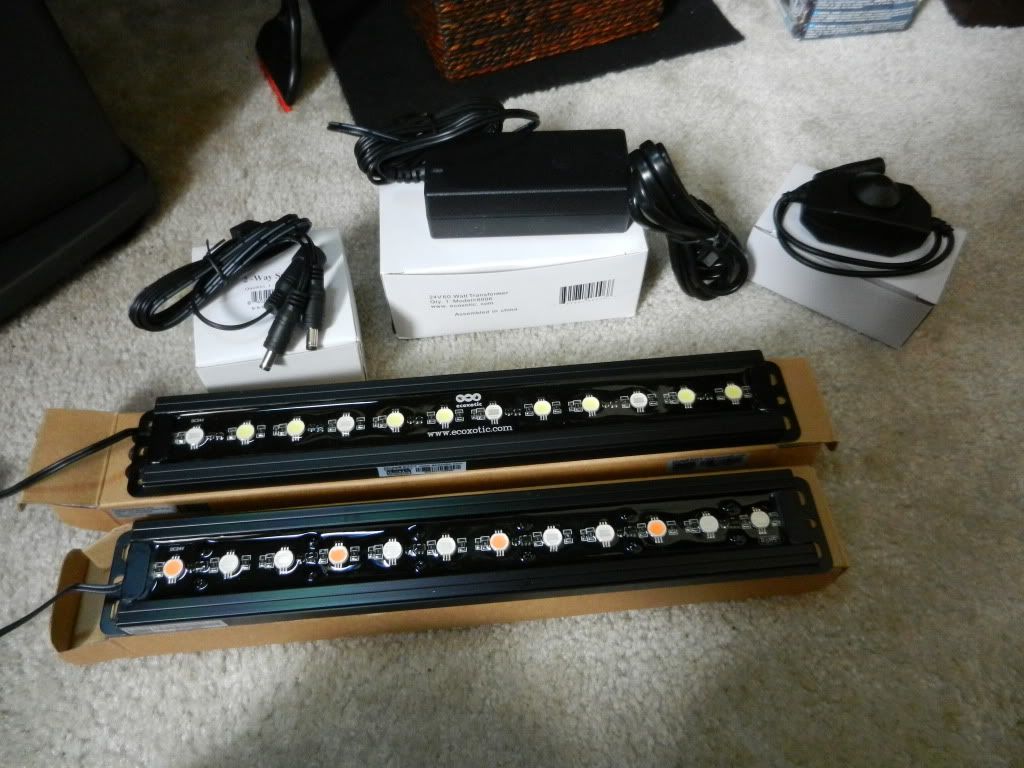
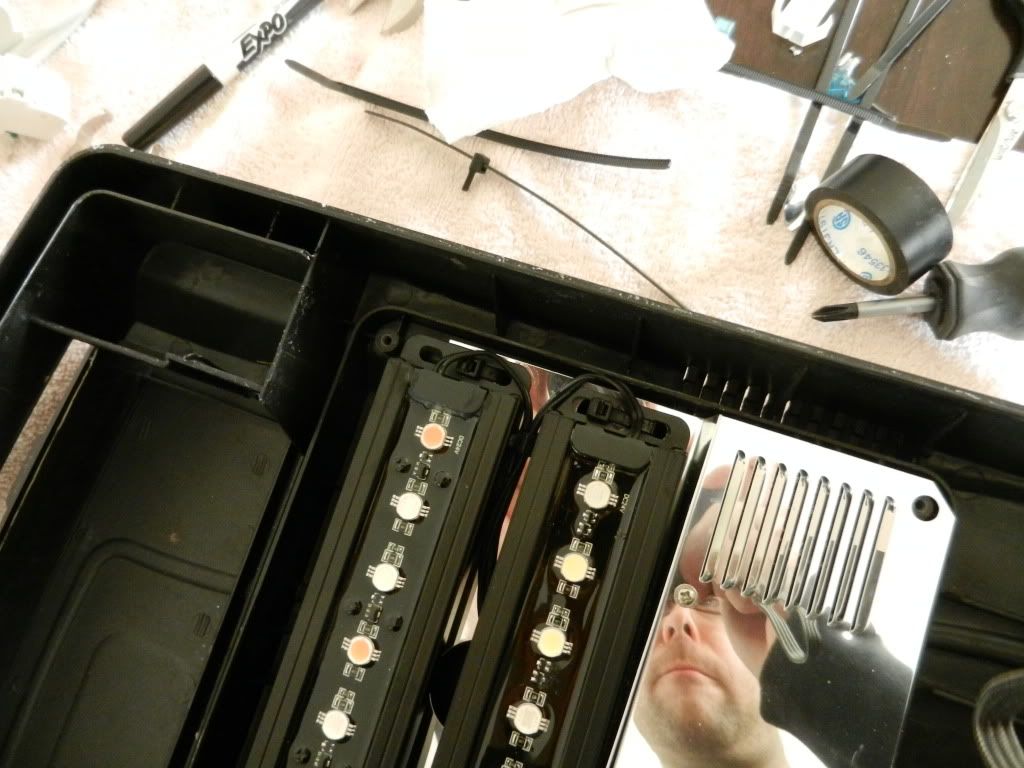
Dig a little deeper, check out the goods!
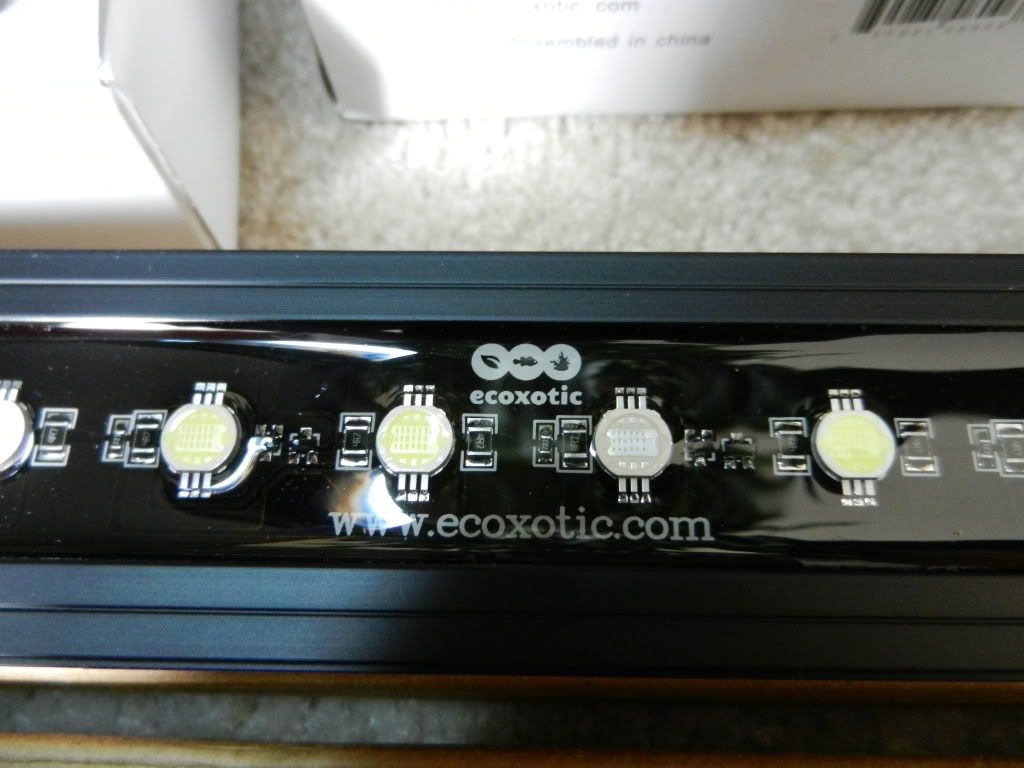
1 x Panorama Pro LED Module 24V- 19 Watt 12K White/445nm Blue
1 x Panorama Pro LED Module 24V- 19 Watt 445nm/Magenta
1 x Ecoxotic 2-Way Splitter
1 x Ecoxotic Power supply for Panorama (60W)
1 x Ecoxotic dimmer
Step Three:
Remove hood, and begin tear down
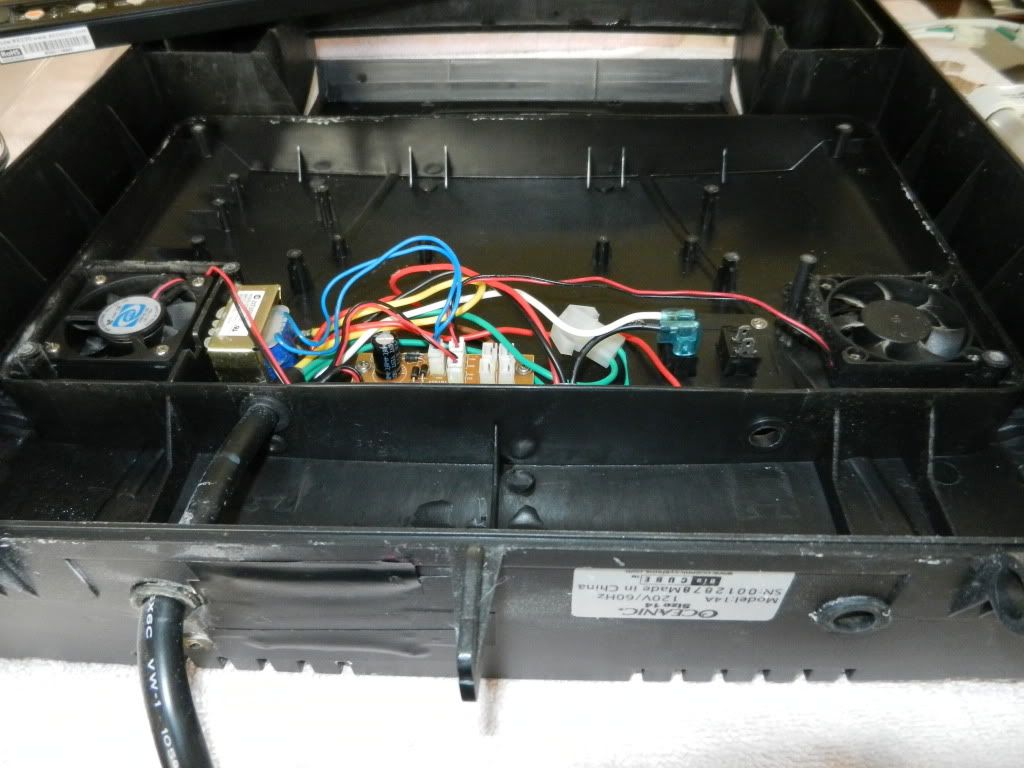
I removed the PC lighting entirely, and all wires associated with them. I also removed the moon lights (as I never used them anyways).
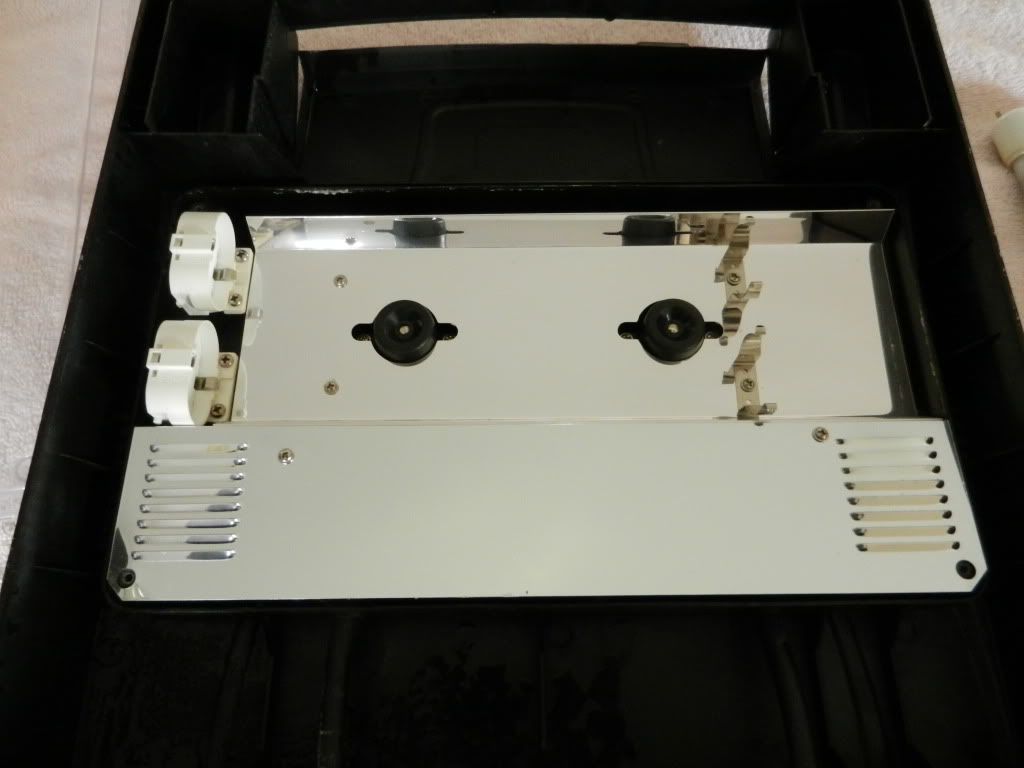
I also completely removed the second main power supply that feed the PC lighting - you can see in this pictures that it's gone. This took a little cutting to allow it to be fed out the way it came in (the holes are small)

Step four:
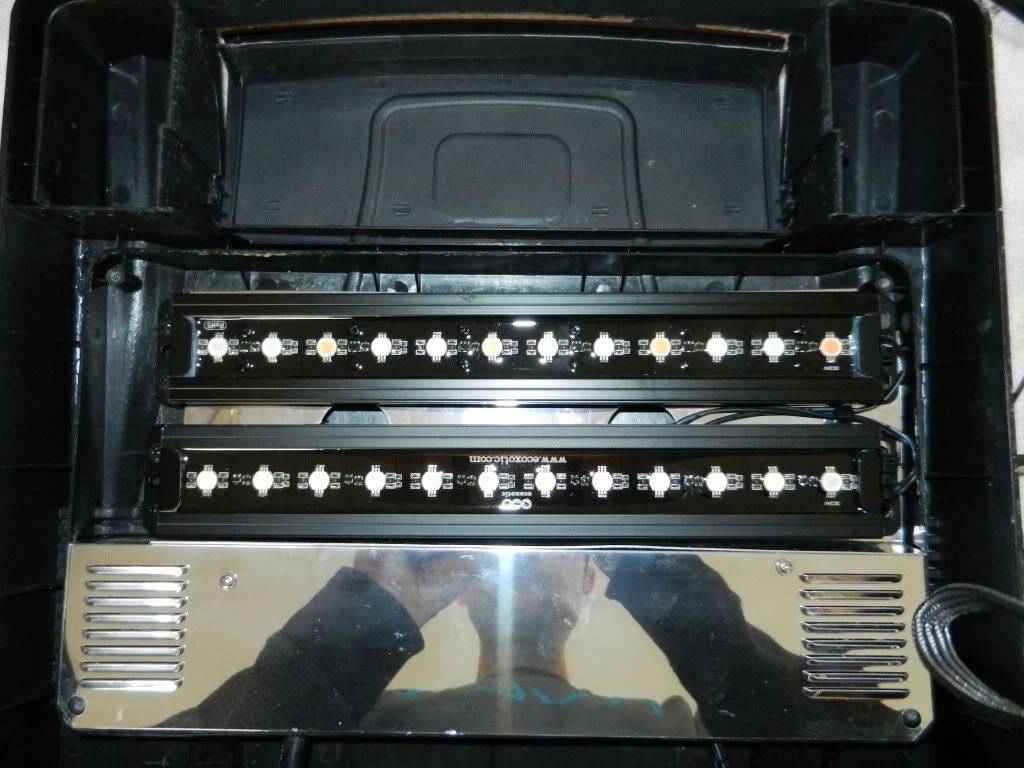
This is where I got lazy, and didn't take any pictures, but I used the reflective shield. I flattened the front of it and fit it in place. I moved the whole shield back, as I wanted it there to protect the underlying wiring from any heat the LEDs might create. You'll be able to see what I did in the following photos of the finished product.
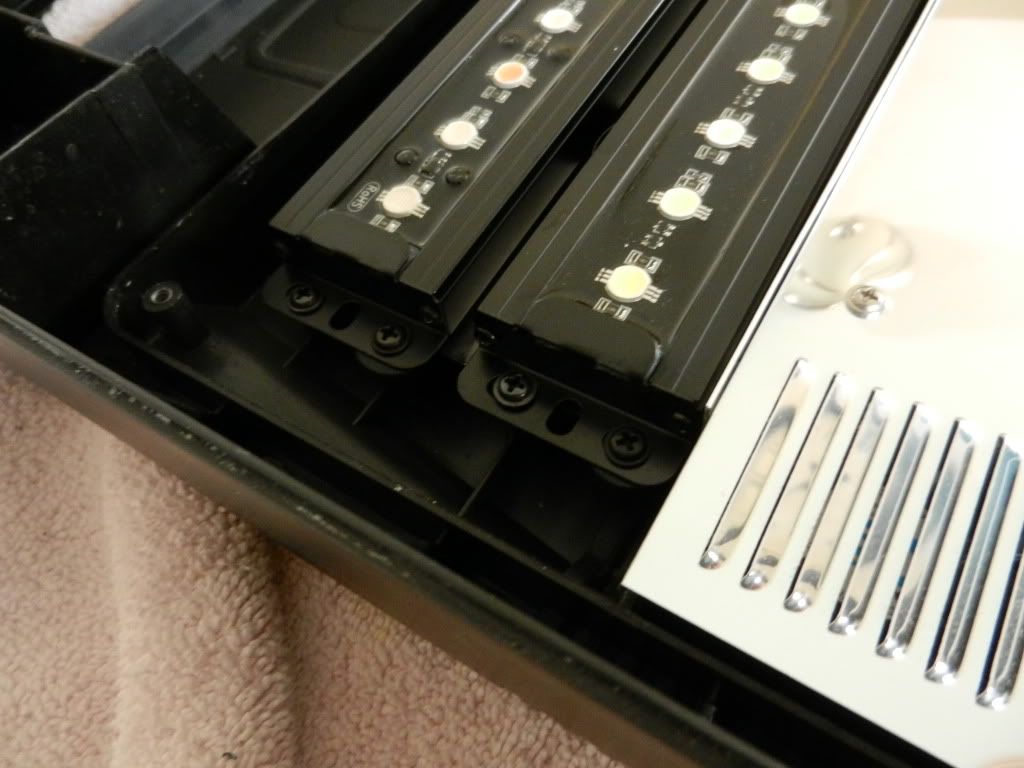
Step Five:
Fasten the LEDs to the reflective shield. I used the bolt holes that the PC lighting used for the left side, and drilled holes in the shield on the right side so I could feed a zip tie thru and fasten it down. Worked perfectly. I also used this little plastic nubs (came with the LEDs) to create a gap. I stuck them on the reflective shield to raise the LEDs so their not directly on the shield. Sorry I don't have a pic... but the LEDs aren't laying right on the shield, their raised for breathing room.
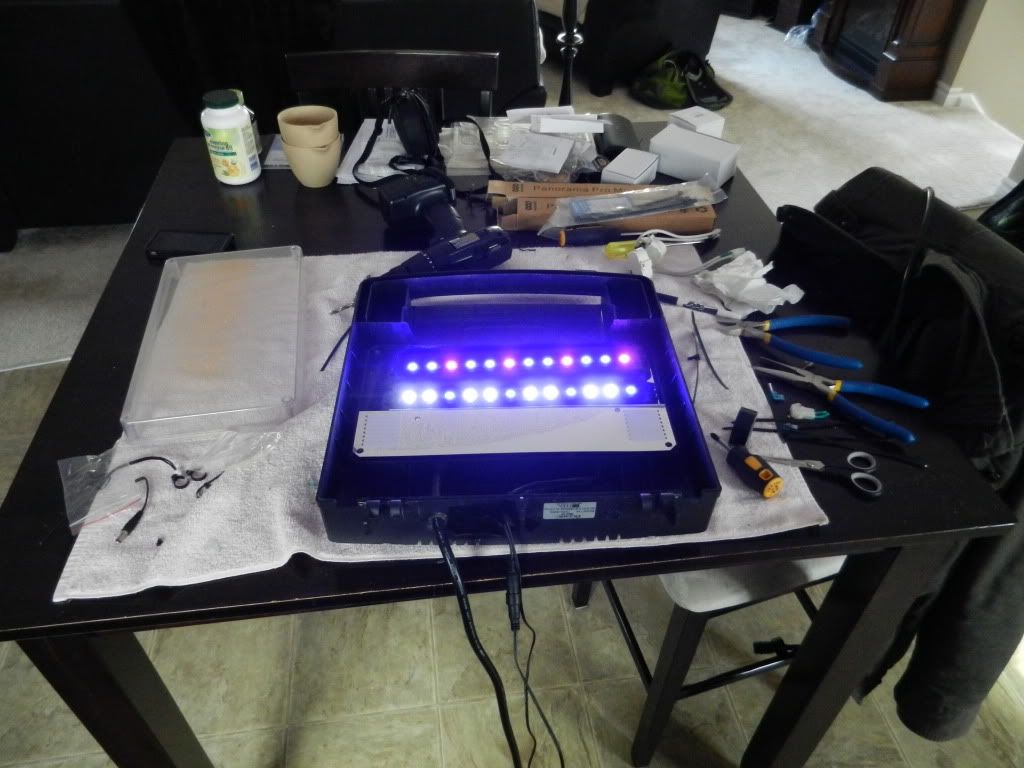
Step Six:
Next I fired them up! You're looking at the lowest possible setting on the dimmer. I would say 10% of total output... 100% is insane lol
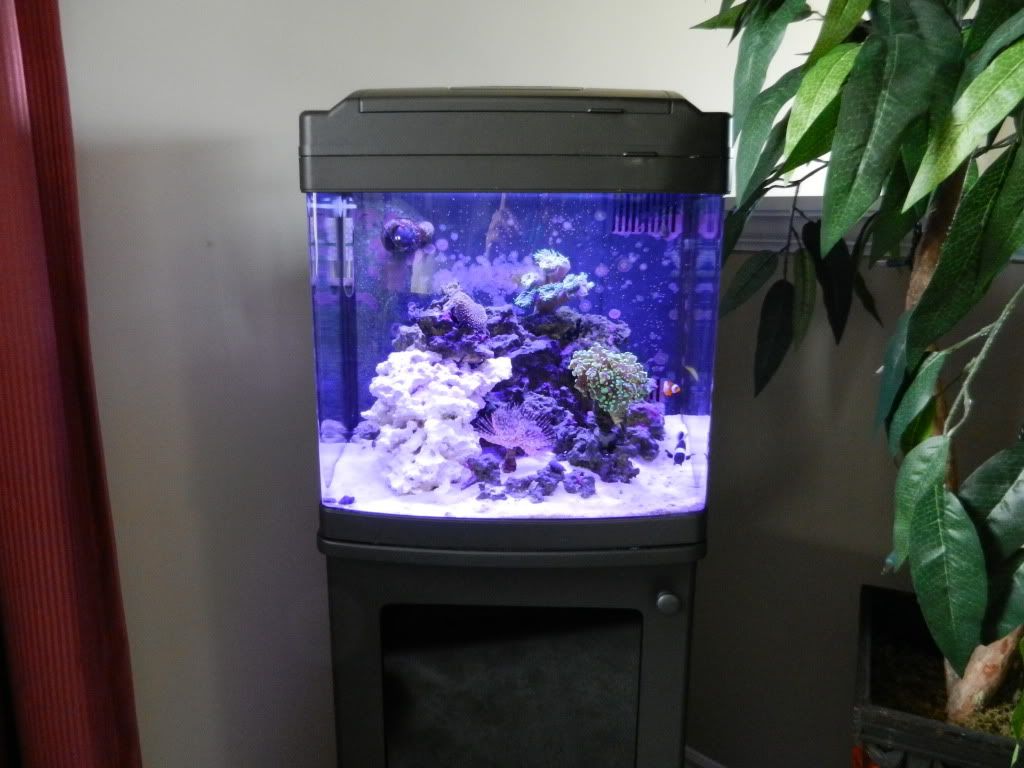
Step Seven:
Reinstall the protective cover inside the hood, and test everything to make sure it works... mine did B) and you're laughing. Here is a photo of the tank just after I put it back together. The corals went to "sleep" as they were in the dark for 1.5 hours while I was working on the hood... so they're not out yet... but you get the picture. NOTE: this is the power at 20%ish using the dimmer... it appears very magenta here, but when I turn the power up, the whites dull the magenta a bit - making it perfect!... FYI.
FINALLY - THE BEFORE AND AFTER SIDE BY SIDE (remember, the LED is only set to 20% using the dimmer)
Hope this helps anyone who's on the fence.... or that is about to tackle the job.
Colin
I received the package in the mail this afternoon and didn't waste anytime! I tore my hood down and installed the LEDs right away. The whole process from opening the box to finish took about 1.5 hours. I took things super slow and made sure it was done properly. If I had to do it again, I could polish the job off in an hour no problem.
So, what I'll do is give everyone a step by step (missing a few pictures as I forgot to take a few pictures while working lol).
Here is my tank with the PC lighting... before the LED install.
Step One:
Open the box! It's kinda like Christmas all over again
Step Two:
Dig a little deeper, check out the goods!
1 x Panorama Pro LED Module 24V- 19 Watt 12K White/445nm Blue
1 x Panorama Pro LED Module 24V- 19 Watt 445nm/Magenta
1 x Ecoxotic 2-Way Splitter
1 x Ecoxotic Power supply for Panorama (60W)
1 x Ecoxotic dimmer
Step Three:
Remove hood, and begin tear down
I removed the PC lighting entirely, and all wires associated with them. I also removed the moon lights (as I never used them anyways).
I also completely removed the second main power supply that feed the PC lighting - you can see in this pictures that it's gone. This took a little cutting to allow it to be fed out the way it came in (the holes are small)
Step four:
This is where I got lazy, and didn't take any pictures, but I used the reflective shield. I flattened the front of it and fit it in place. I moved the whole shield back, as I wanted it there to protect the underlying wiring from any heat the LEDs might create. You'll be able to see what I did in the following photos of the finished product.
Step Five:
Fasten the LEDs to the reflective shield. I used the bolt holes that the PC lighting used for the left side, and drilled holes in the shield on the right side so I could feed a zip tie thru and fasten it down. Worked perfectly. I also used this little plastic nubs (came with the LEDs) to create a gap. I stuck them on the reflective shield to raise the LEDs so their not directly on the shield. Sorry I don't have a pic... but the LEDs aren't laying right on the shield, their raised for breathing room.
Step Six:
Next I fired them up! You're looking at the lowest possible setting on the dimmer. I would say 10% of total output... 100% is insane lol
Step Seven:
Reinstall the protective cover inside the hood, and test everything to make sure it works... mine did B) and you're laughing. Here is a photo of the tank just after I put it back together. The corals went to "sleep" as they were in the dark for 1.5 hours while I was working on the hood... so they're not out yet... but you get the picture. NOTE: this is the power at 20%ish using the dimmer... it appears very magenta here, but when I turn the power up, the whites dull the magenta a bit - making it perfect!... FYI.
FINALLY - THE BEFORE AND AFTER SIDE BY SIDE (remember, the LED is only set to 20% using the dimmer)
Hope this helps anyone who's on the fence.... or that is about to tackle the job.
Colin