Well I figured it was about time I posted some pics of my set up for people to look at. Anyways, we can start at the beginning. I got into marine fish tanks after moving from Stratford to Sarnia. I just converted my 46 Gallon Bowfront to salt water. I went out and bought a bunch of rock and equipment on kijiji including a Remora Pro HOB skimmer, Tek5 6 bulb T5 fix(Thanks Phi) and a bunch of other random equipment.
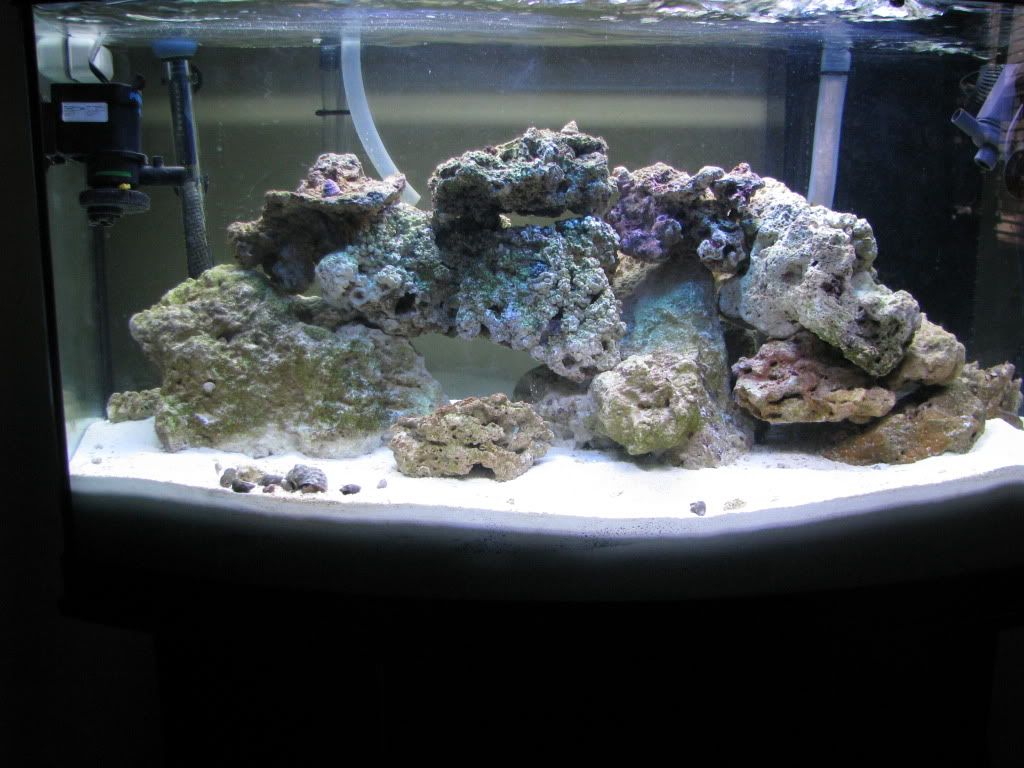
Anyways with the wealth of info out there I ended up with a tank that looked like this. You cant see it but there is almost 6" of sand in places. It was enough tot put 1.5" down in the new 120 gallon tank")
I had two clowns in there for no more than a month before I decided to upgrade to a larger tank.
So the kijiji watch began. This was before I knew fragtank.ca even existed or I probably woudla grabbed a tank from someone here. The spot where the tank was going to go was the same as where the 46 sat, but woudl fill out the area more. I needed as large a tank as possible. I thought of going 6' but there is a thermostat on the wall that would be covered by a tank that size so that led me to the 5' x 18 x 24 tank.
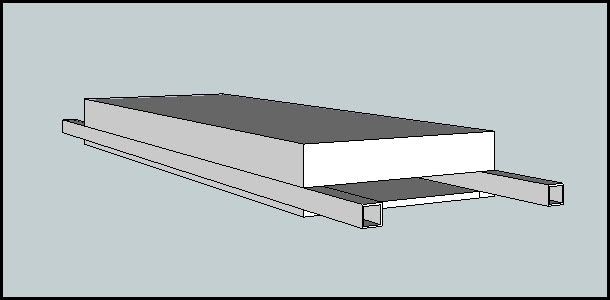
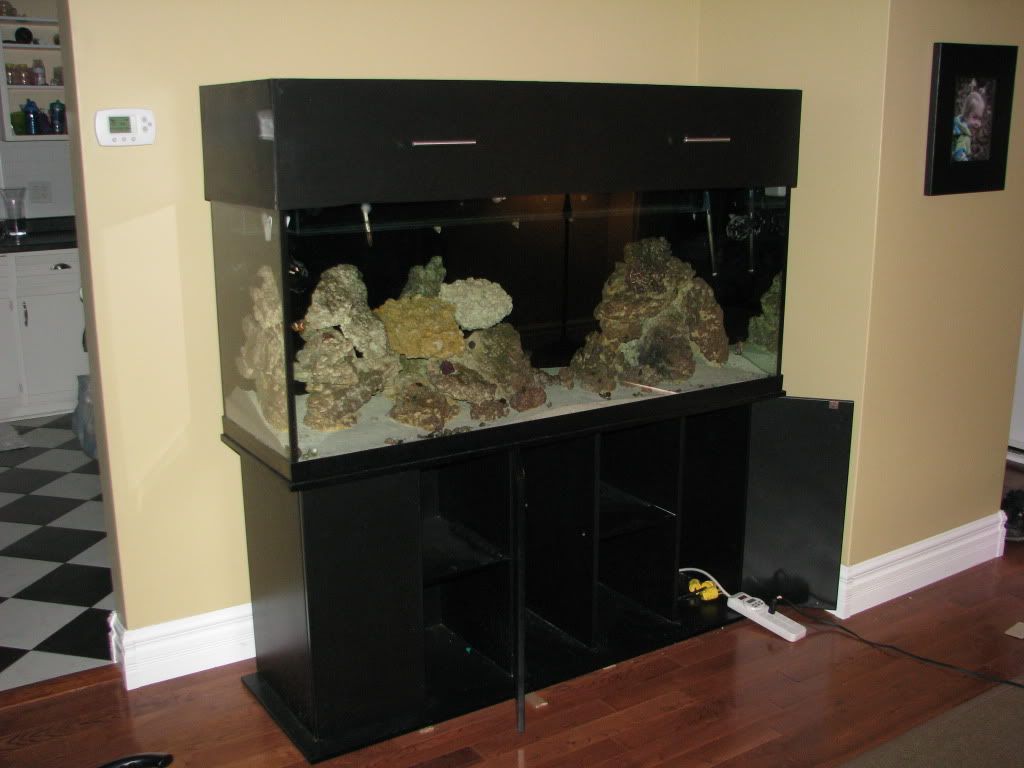
I can be a little impatient and probably should have waited longer until a better deal came up but i didn't I found a tank in St.Thomas that came with a stand, a large Eheim Canister, some air pumps, and a miracles light fixture. for 450 bucks.
There are some scratches on it that I did not see at the time of pick up, oh well. The original plan was to put in a typical under stand sump but the way the stand was designed did not allow for that. So it gave me the excuse to turn this set up into something more fun. BASEMENT SUMP
No noise no equipment no messy maintanence upstairs
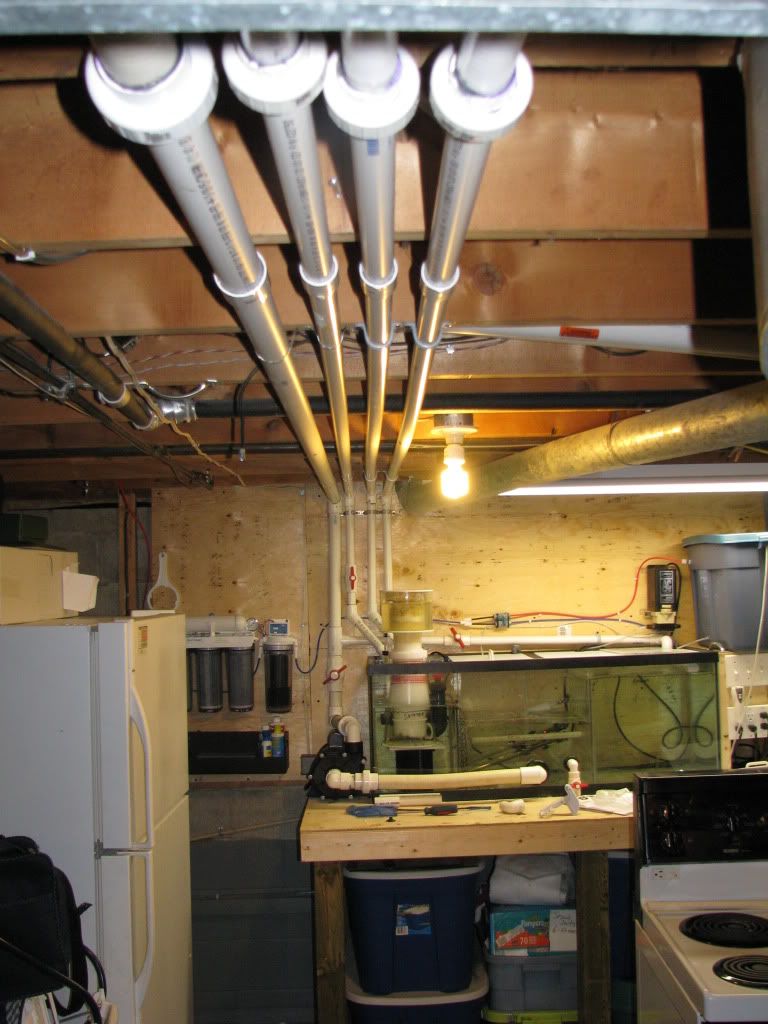
There was an opening to the utility room already
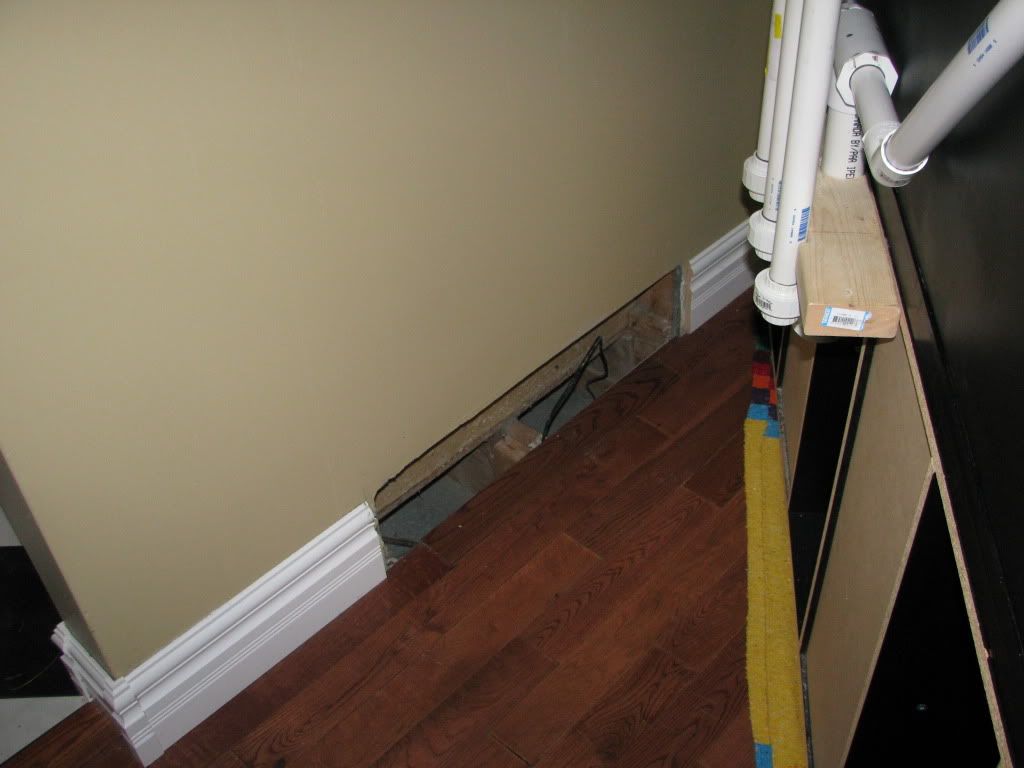
Is it a bad idea to run plumbing through the cold air return ducts.... probably. Did I do it anyways, of course. Helps keep the temp down in the tank too
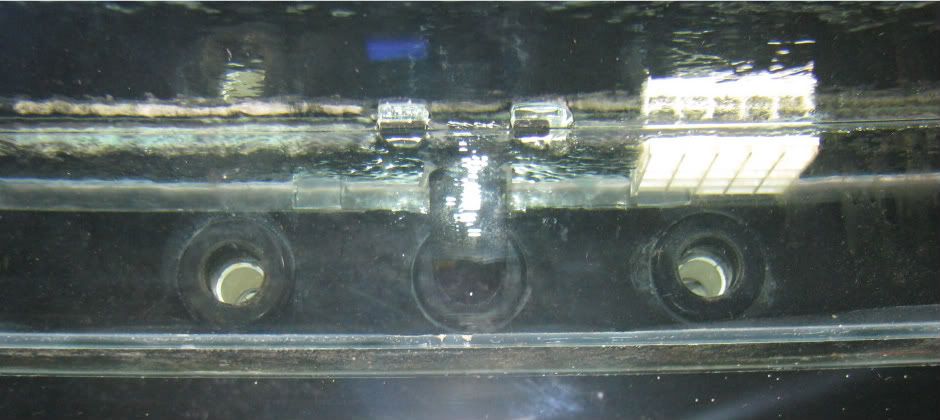
So Step one was to drill the tank. I oringinally went with a bean animal type set up with 1" lines. Well I would find out later that I had already messed up on step one. If you are putting in a Bean or Herbie go with 1.5" lines, or larger if needed. At least that applies if you want to move mroe than 900ish gallon per hour. I wont get into the High Flow Sump vs Low Flow Sump, thats up to you to figure out.
You can pick up Diamond Glass hole saws from MOST princess autos, or order them online. I suggest to get some clamps, a piece of plywood for backing, a jig of some sort to start and a water flow. Oh and a corded drill is useful, I had to charge my drill completely between each hole.

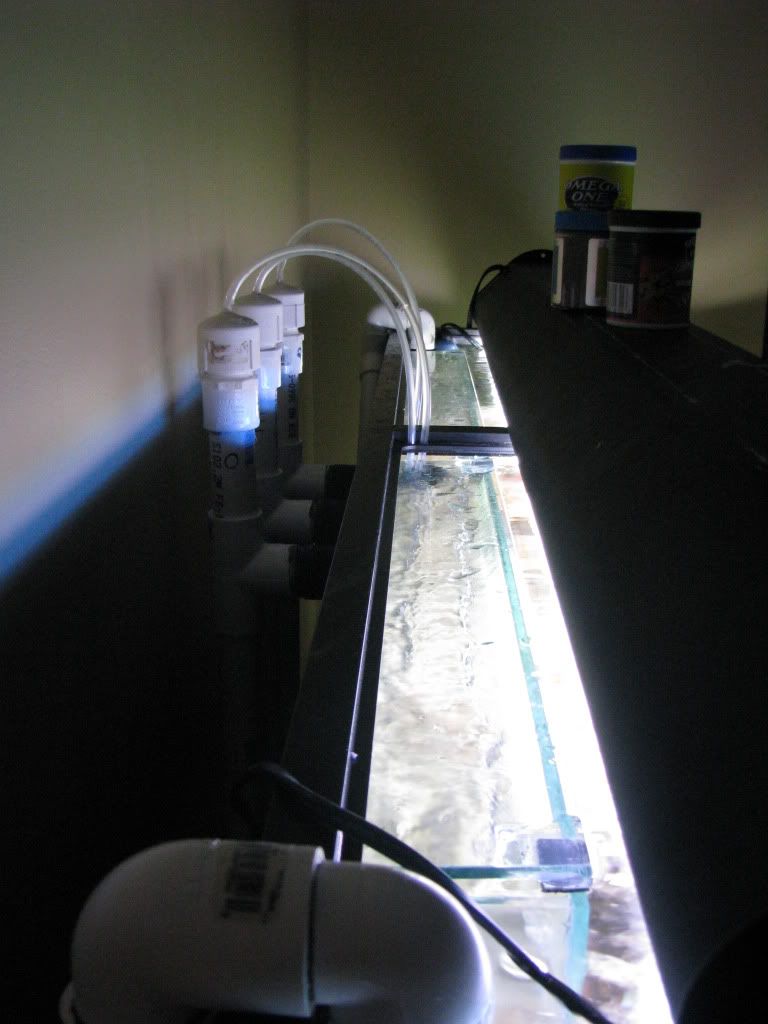
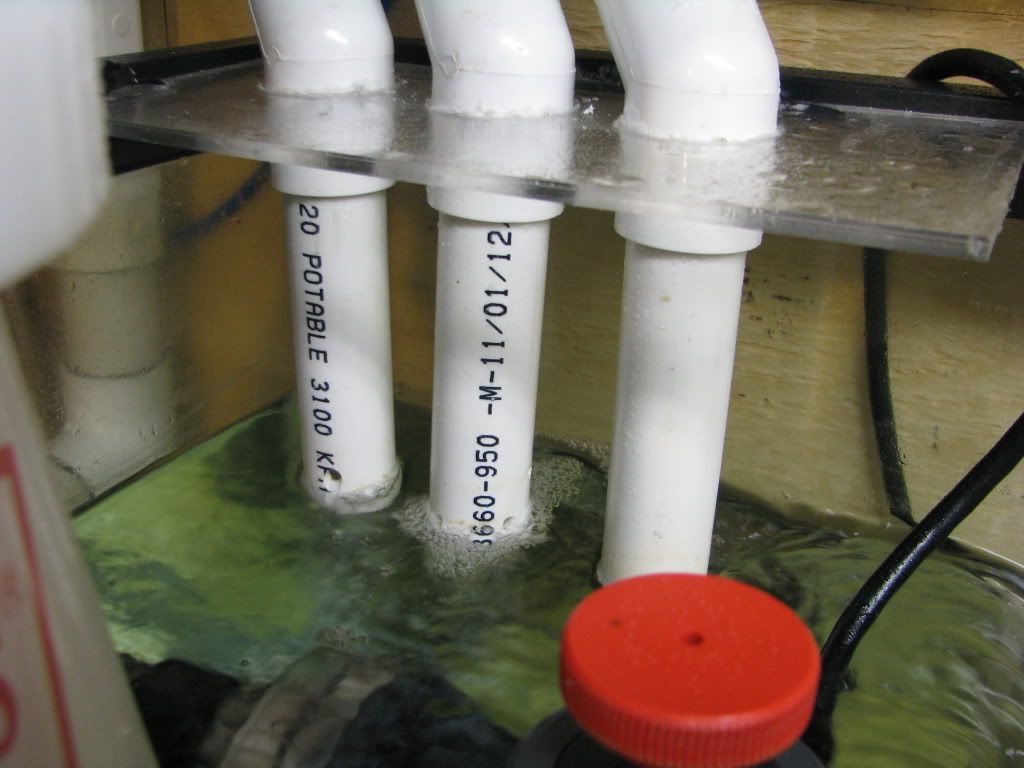
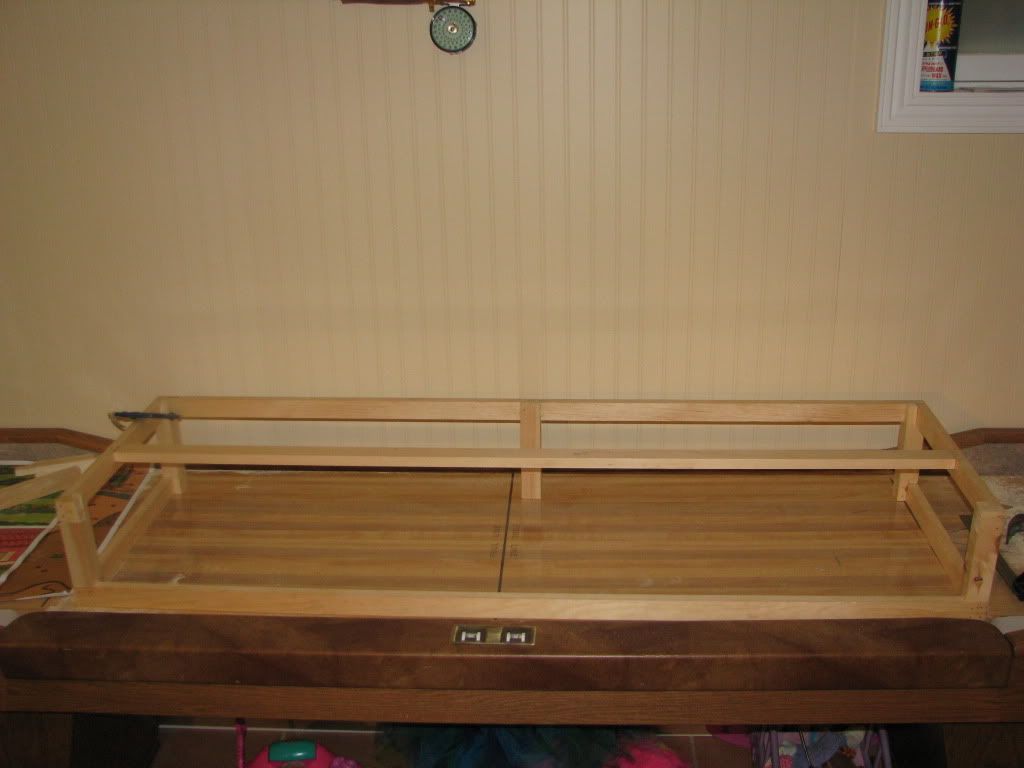
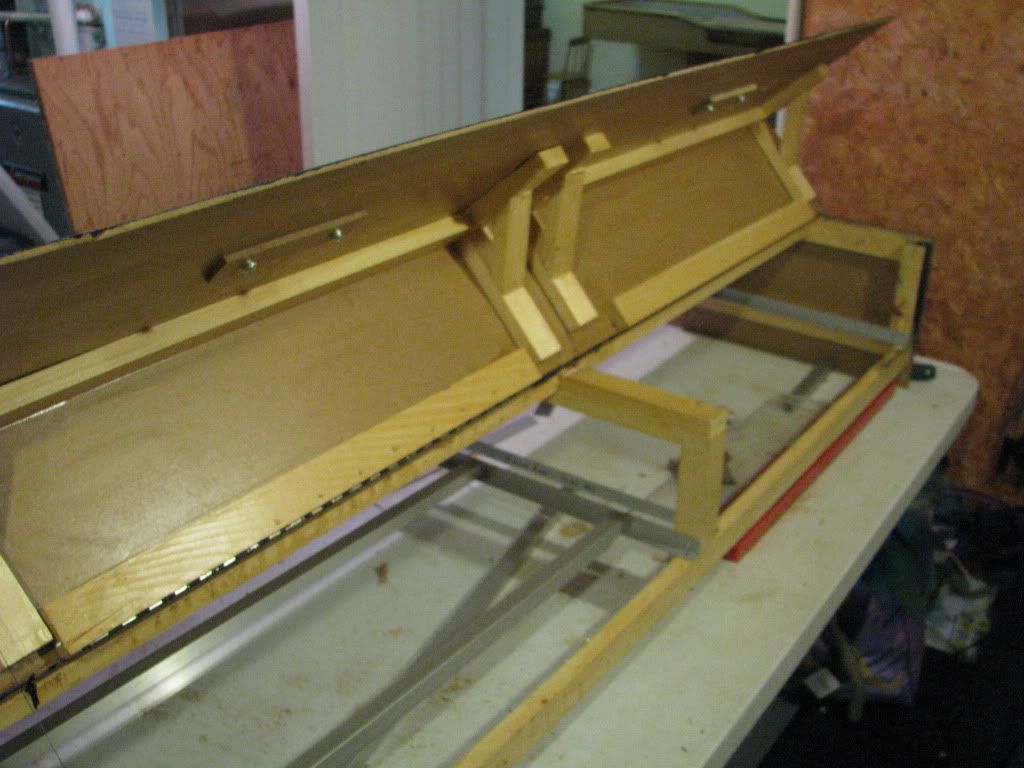
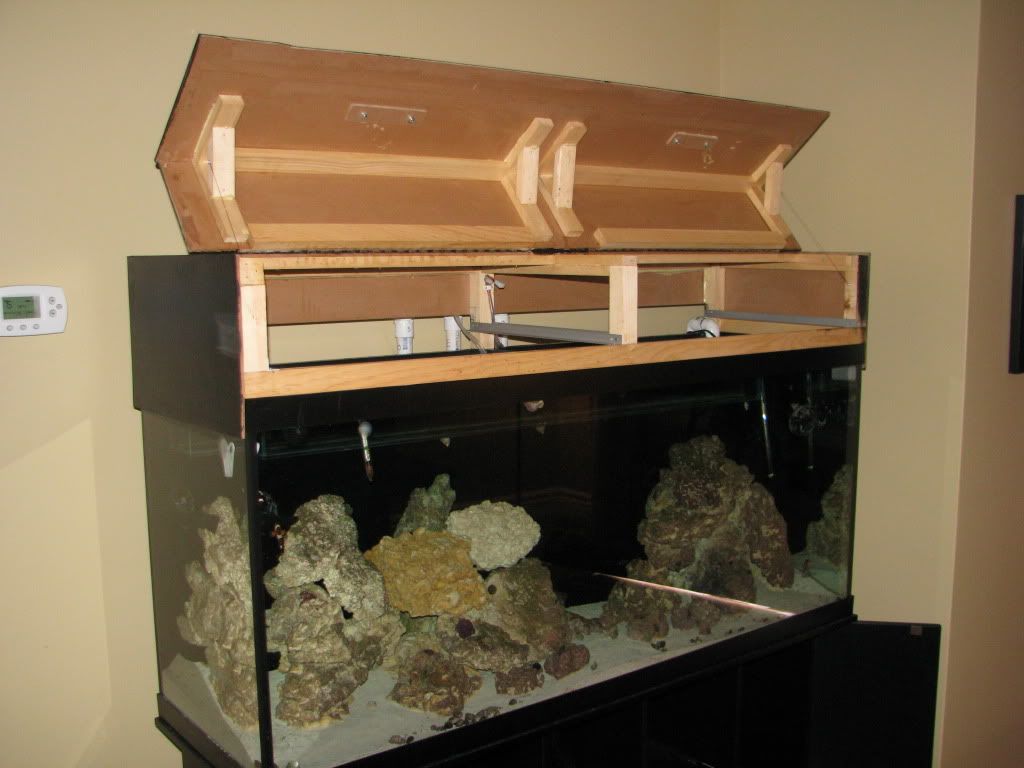
Next was the overflow box. I decided to go with the coast to coast type internal oveflow. Picked up some glass and had it cut to make roughly a 3.5" square box. The overflow box is 50 inches long and it skms the surface very well.
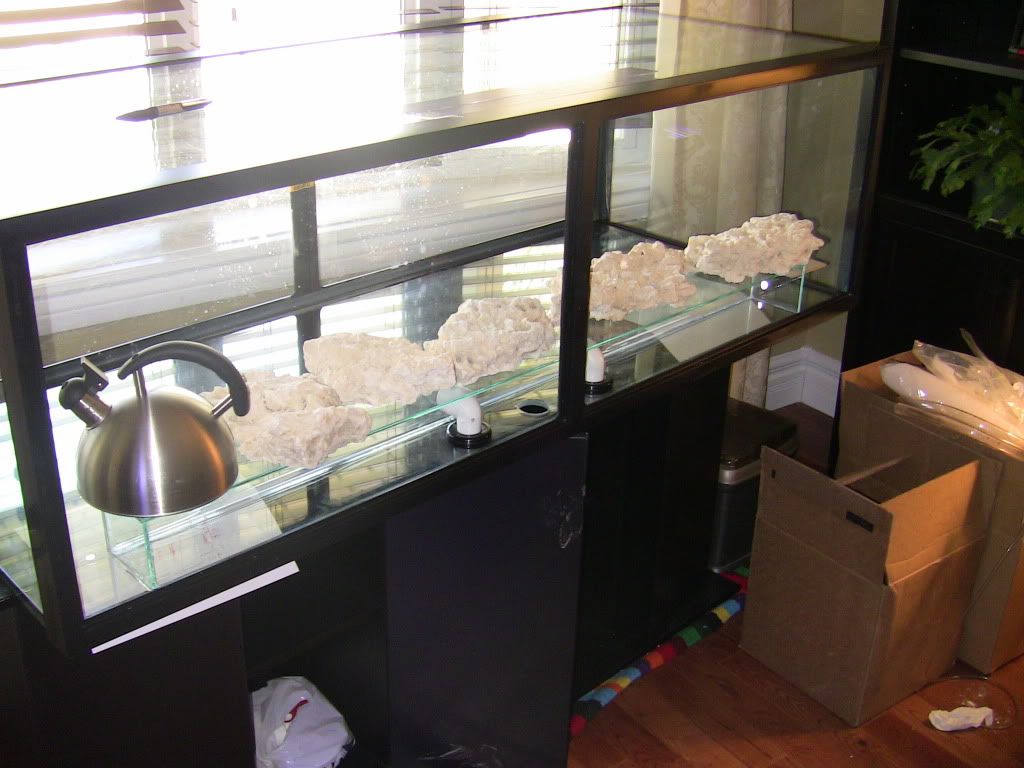
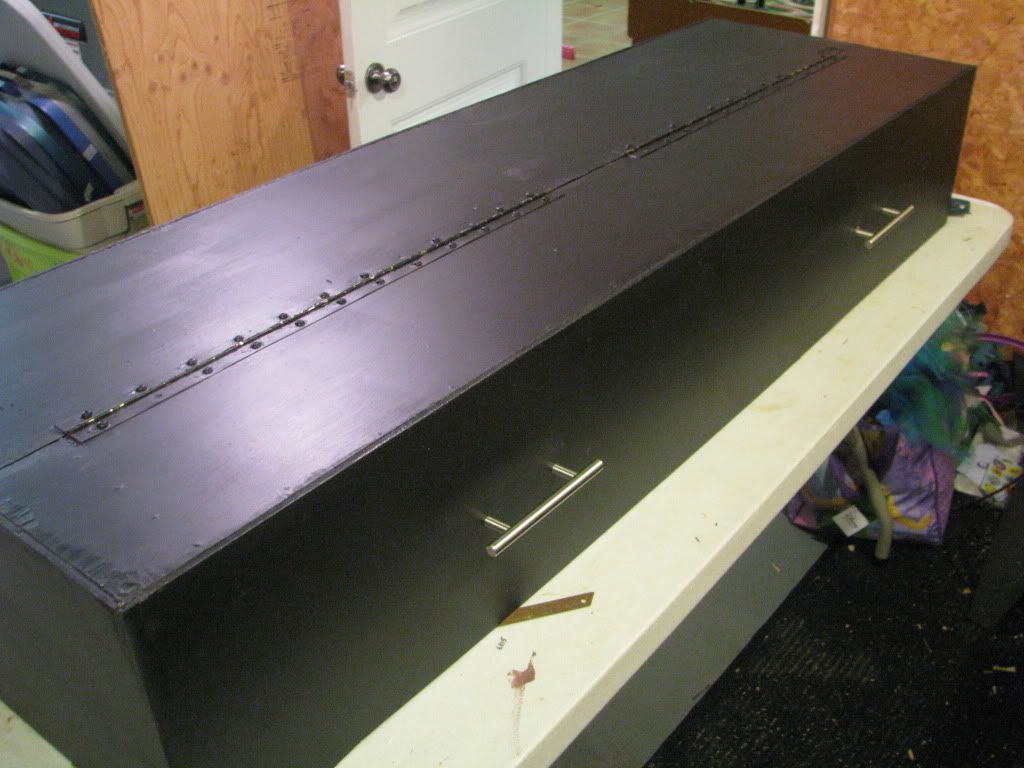
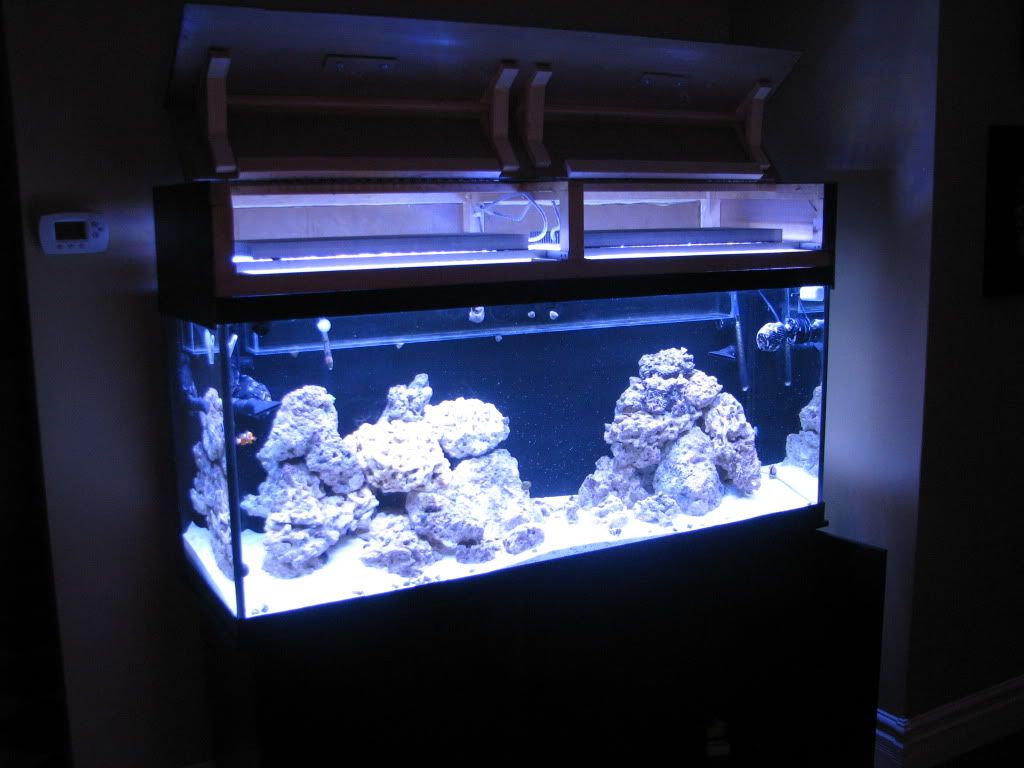
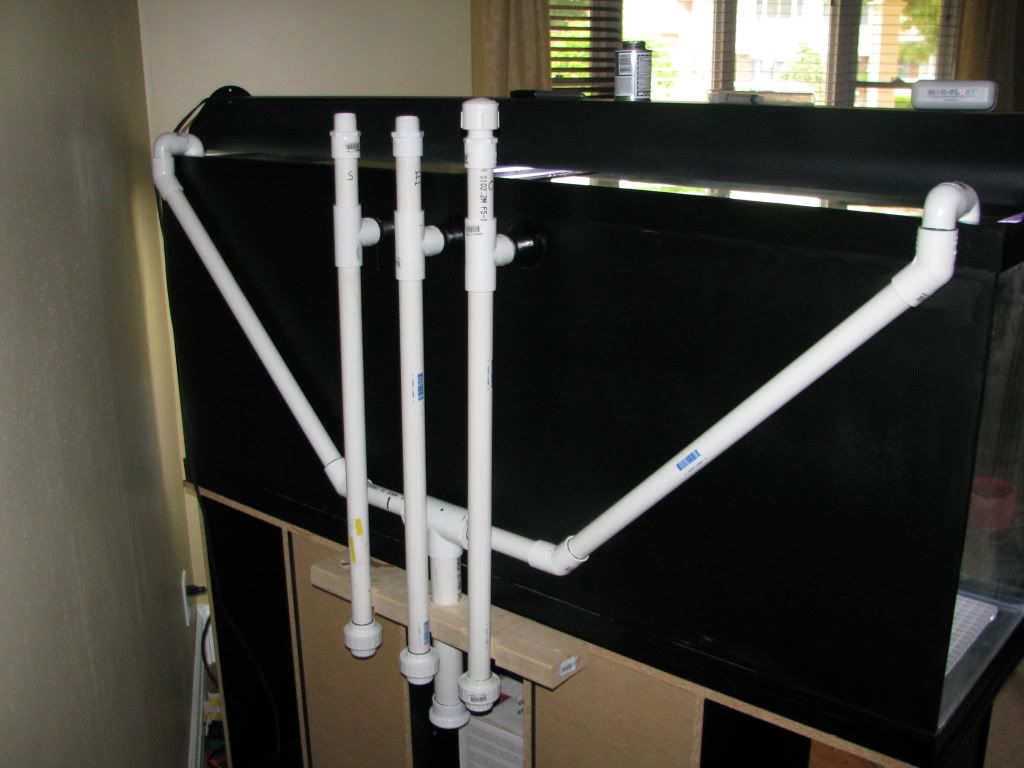
I put a couple coats of black paint on the back of the tank and have no regrets. After the paint had dried I installed the plumbing on the tank and was left with this.
More to Come
Anyways with the wealth of info out there I ended up with a tank that looked like this. You cant see it but there is almost 6" of sand in places. It was enough tot put 1.5" down in the new 120 gallon tank
I had two clowns in there for no more than a month before I decided to upgrade to a larger tank.
So the kijiji watch began. This was before I knew fragtank.ca even existed or I probably woudla grabbed a tank from someone here. The spot where the tank was going to go was the same as where the 46 sat, but woudl fill out the area more. I needed as large a tank as possible. I thought of going 6' but there is a thermostat on the wall that would be covered by a tank that size so that led me to the 5' x 18 x 24 tank.
I can be a little impatient and probably should have waited longer until a better deal came up but i didn't
I found a tank in St.Thomas that came with a stand, a large Eheim Canister, some air pumps, and a miracles light fixture. for 450 bucks. There are some scratches on it that I did not see at the time of pick up, oh well. The original plan was to put in a typical under stand sump but the way the stand was designed did not allow for that. So it gave me the excuse to turn this set up into something more fun. BASEMENT SUMP
No noise no equipment no messy maintanence upstairs
There was an opening to the utility room already
Is it a bad idea to run plumbing through the cold air return ducts.... probably. Did I do it anyways, of course. Helps keep the temp down in the tank too
So Step one was to drill the tank. I oringinally went with a bean animal type set up with 1" lines. Well I would find out later that I had already messed up on step one. If you are putting in a Bean or Herbie go with 1.5" lines, or larger if needed. At least that applies if you want to move mroe than 900ish gallon per hour. I wont get into the High Flow Sump vs Low Flow Sump, thats up to you to figure out.
You can pick up Diamond Glass hole saws from MOST princess autos, or order them online. I suggest to get some clamps, a piece of plywood for backing, a jig of some sort to start and a water flow. Oh and a corded drill is useful, I had to charge my drill completely between each hole.
Next was the overflow box. I decided to go with the coast to coast type internal oveflow. Picked up some glass and had it cut to make roughly a 3.5" square box. The overflow box is 50 inches long and it skms the surface very well.
I put a couple coats of black paint on the back of the tank and have no regrets. After the paint had dried I installed the plumbing on the tank and was left with this.
More to Come