Our First Reef 135g

MDGraves

Member
Joined
Feb 27, 2011
Hello all
We are new to reefing and building a 135 display
Over the past 12 years I have been on the "fresh" side of the hobby, now with a fresh home time for a reef
I am building this setup slowly and reading alot to learn from others on what works and what will eventually lead to a fail
in the past the tanks were spread throught the house making weekly maintenence a pain and a mess.  Always wanted a fish room!!
In our new home I finished the downstairs bedroom with fish in mind.

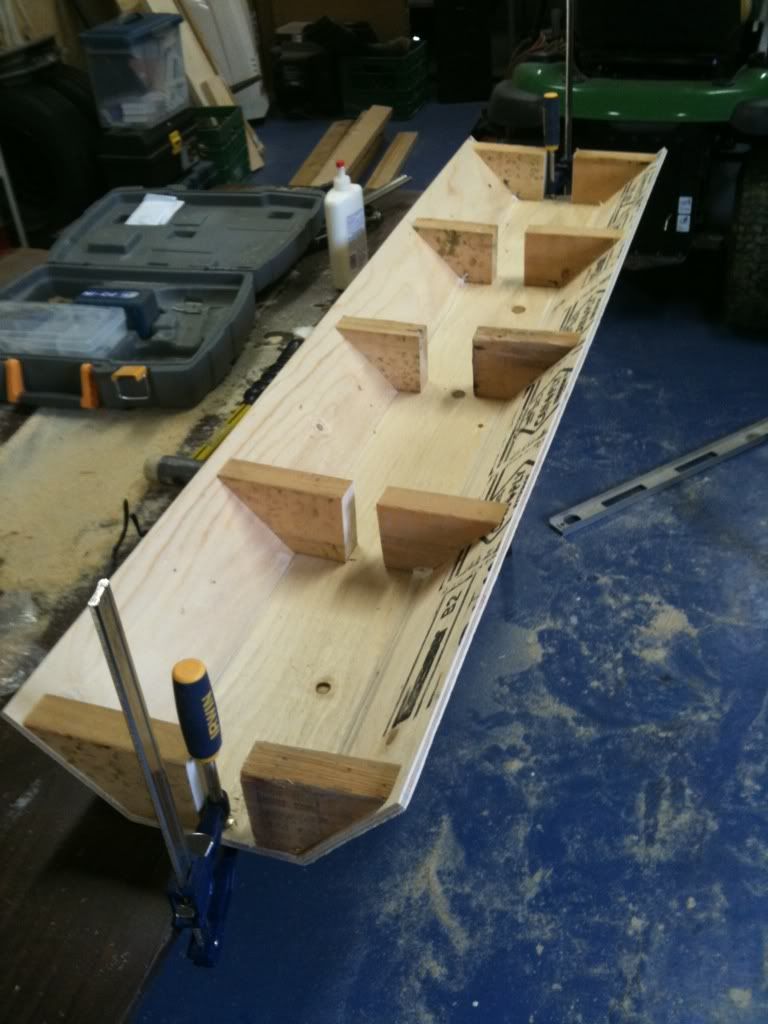
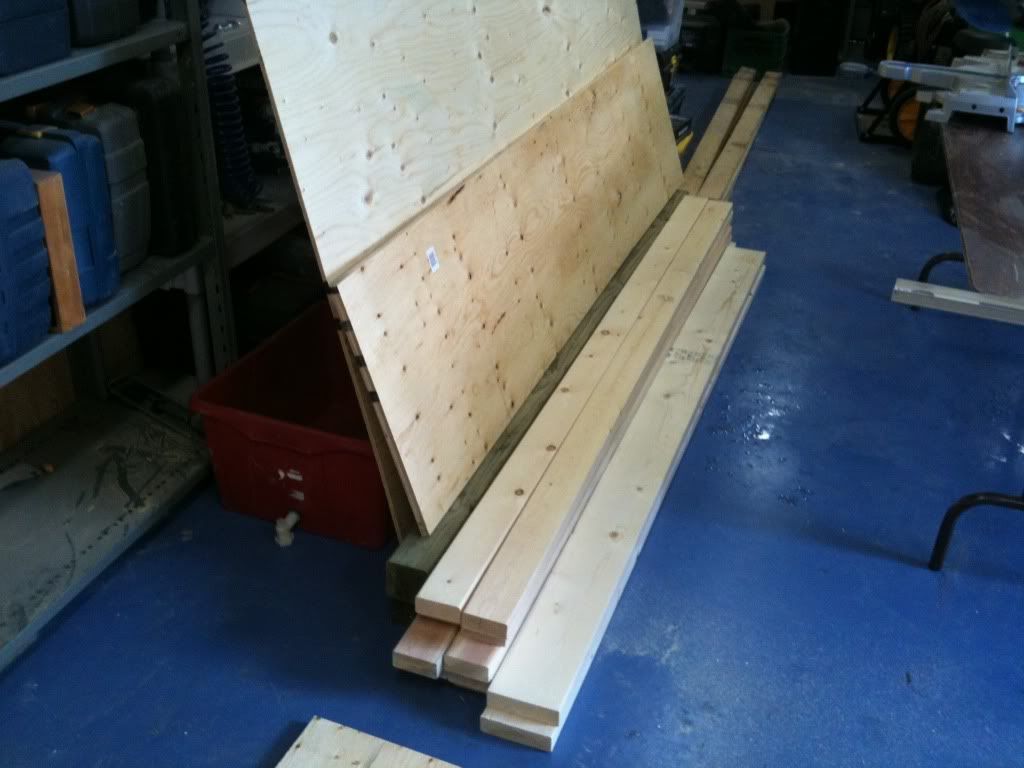
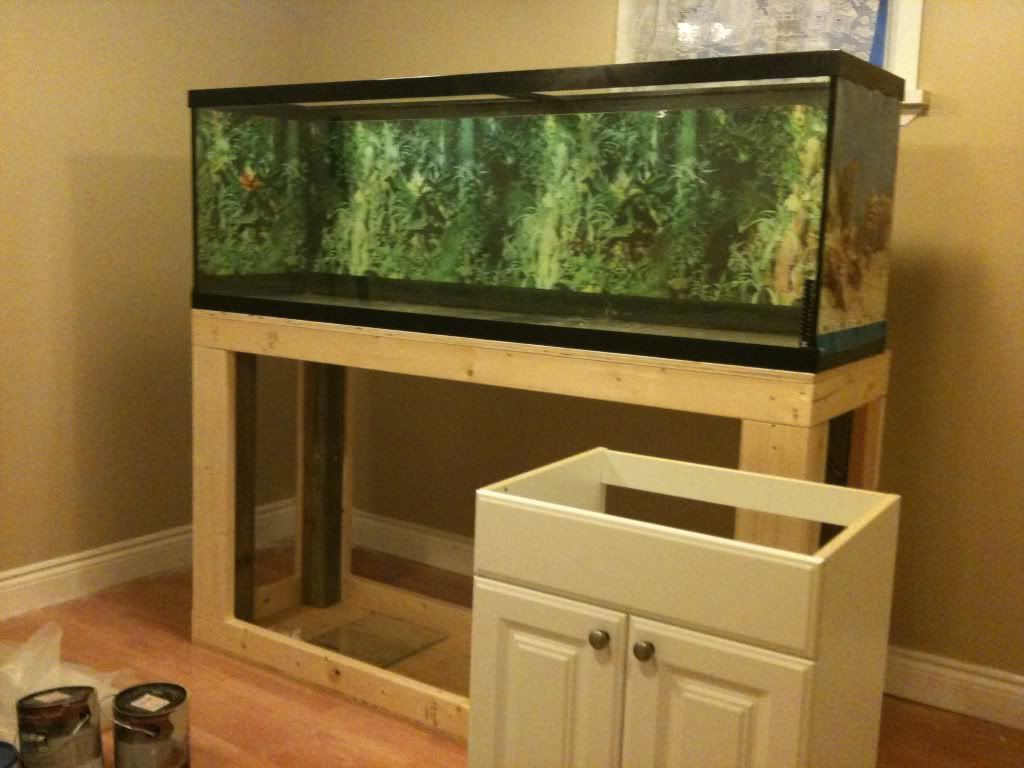
Started with a pile of wood to make a stand for the 135g
IMG_0543.jpg


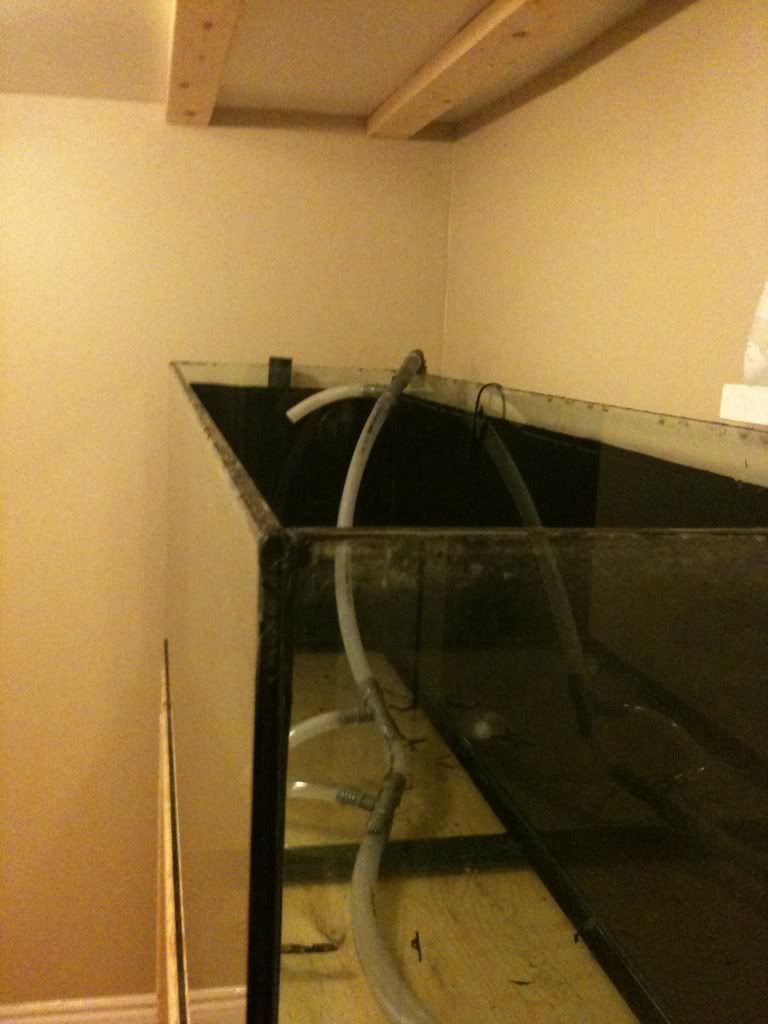
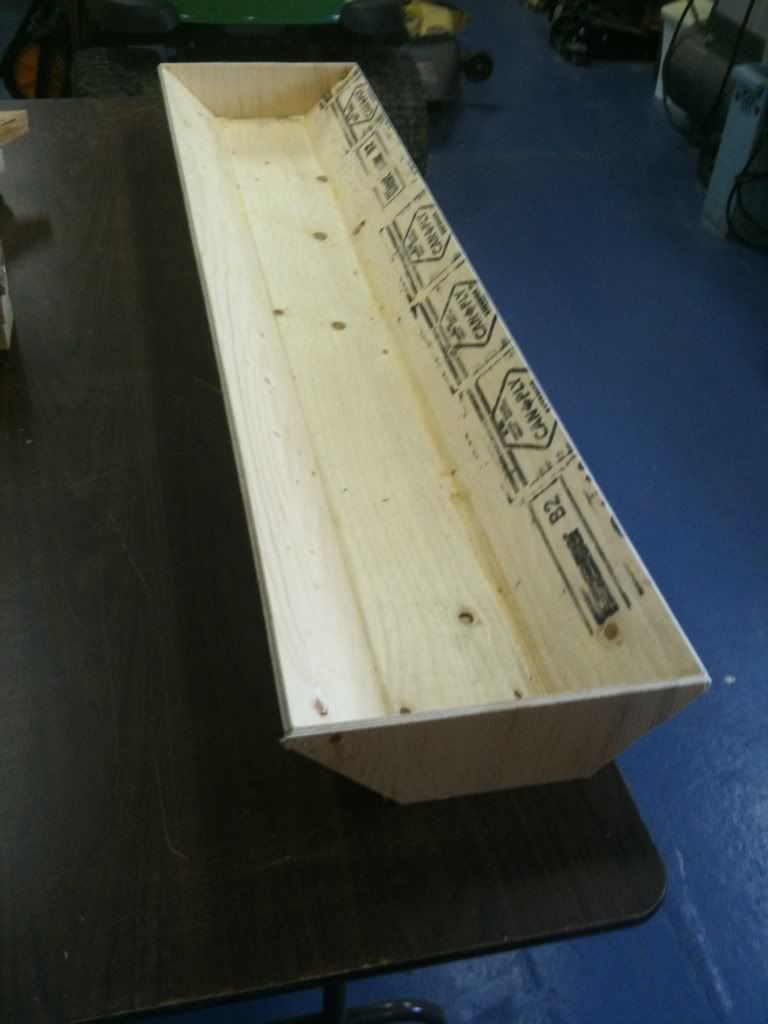
Made the stand and put tank on
IMG_0544.jpg


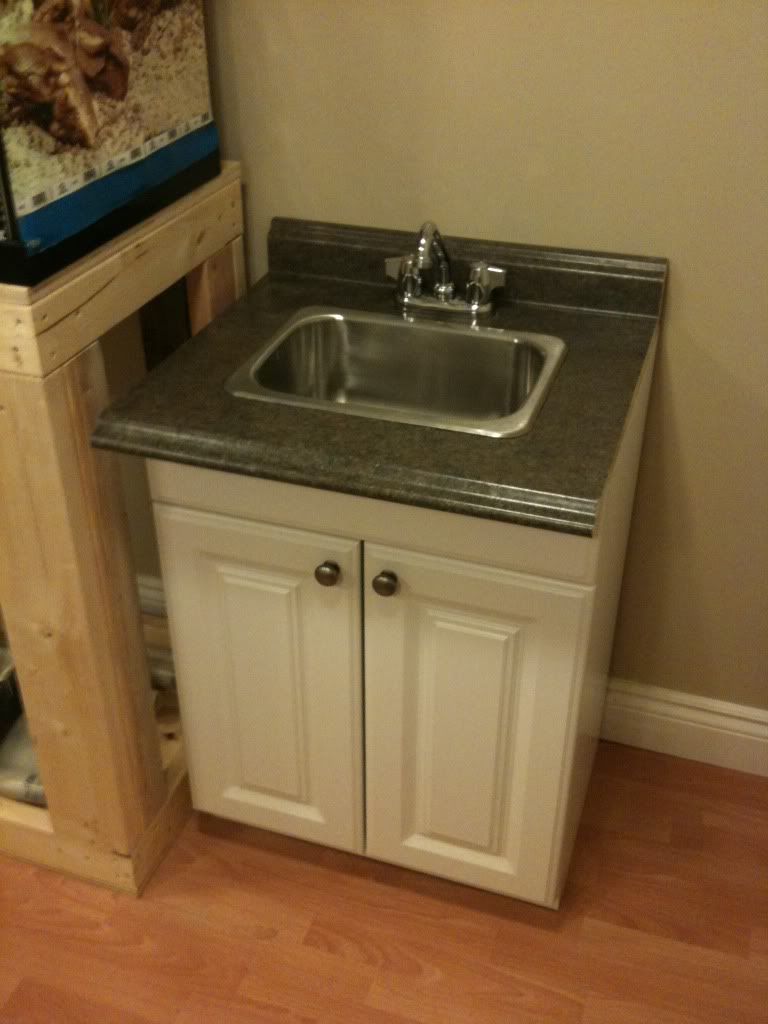
installed sink next to tank
IMG_0550.jpg


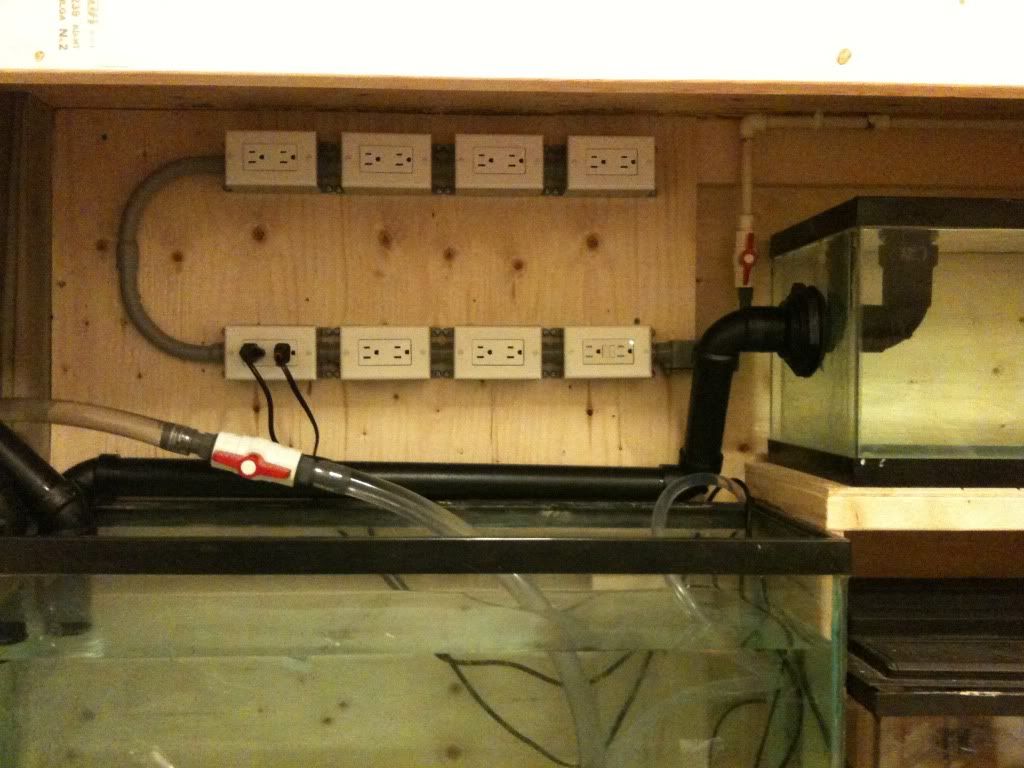
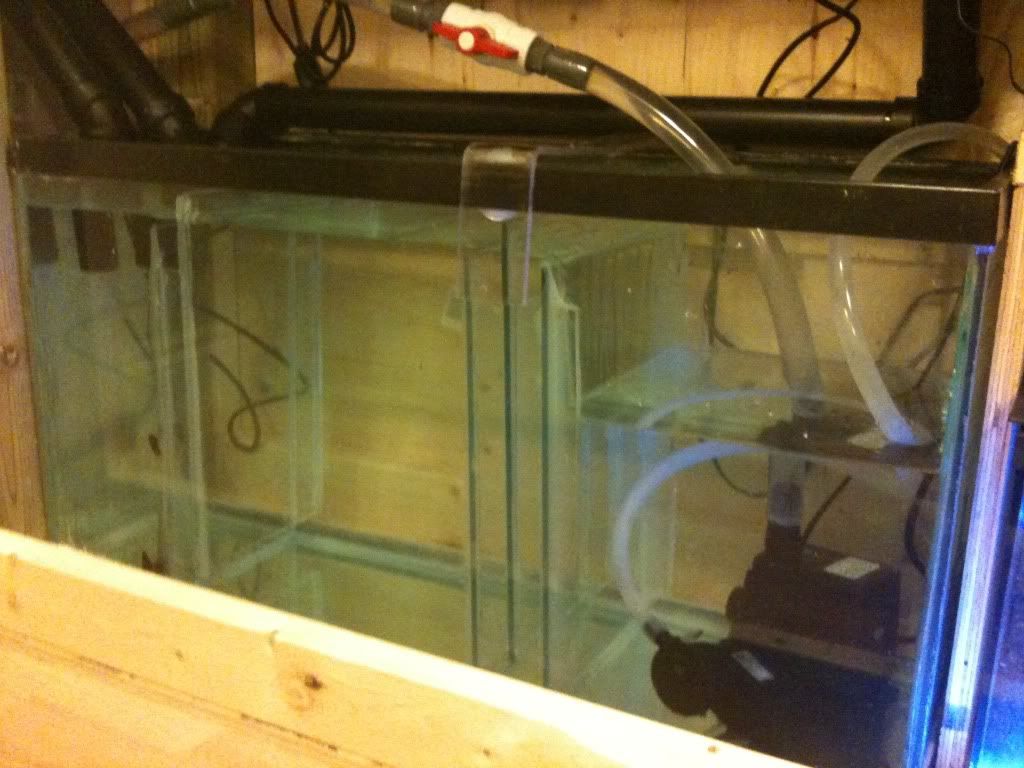
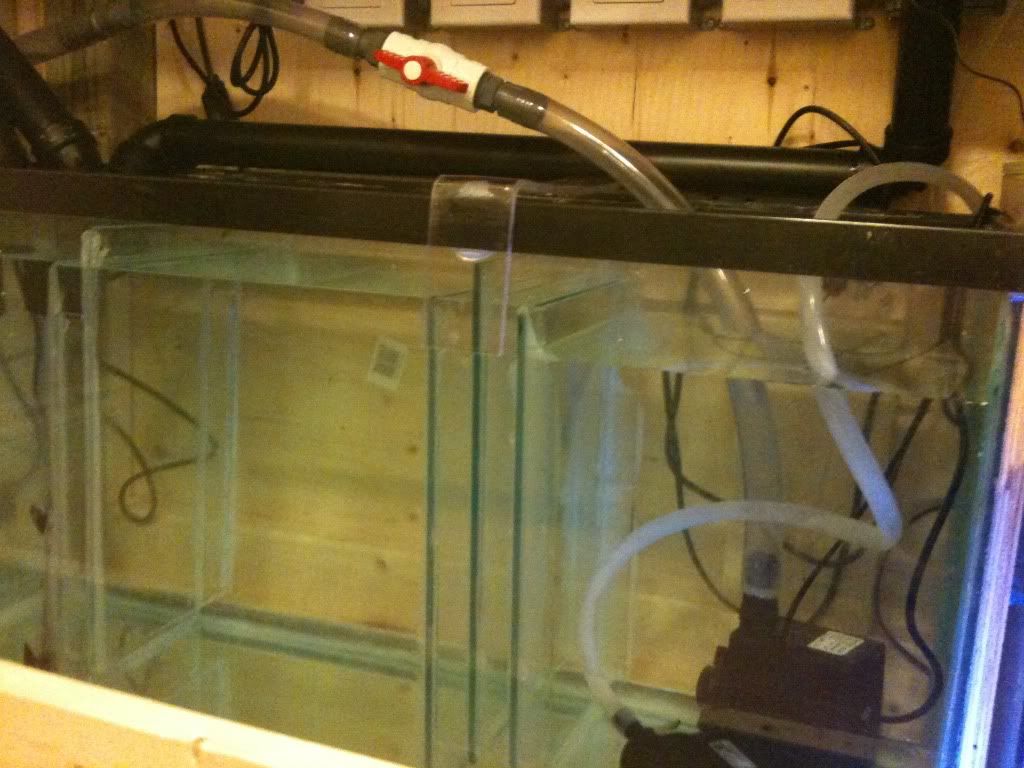
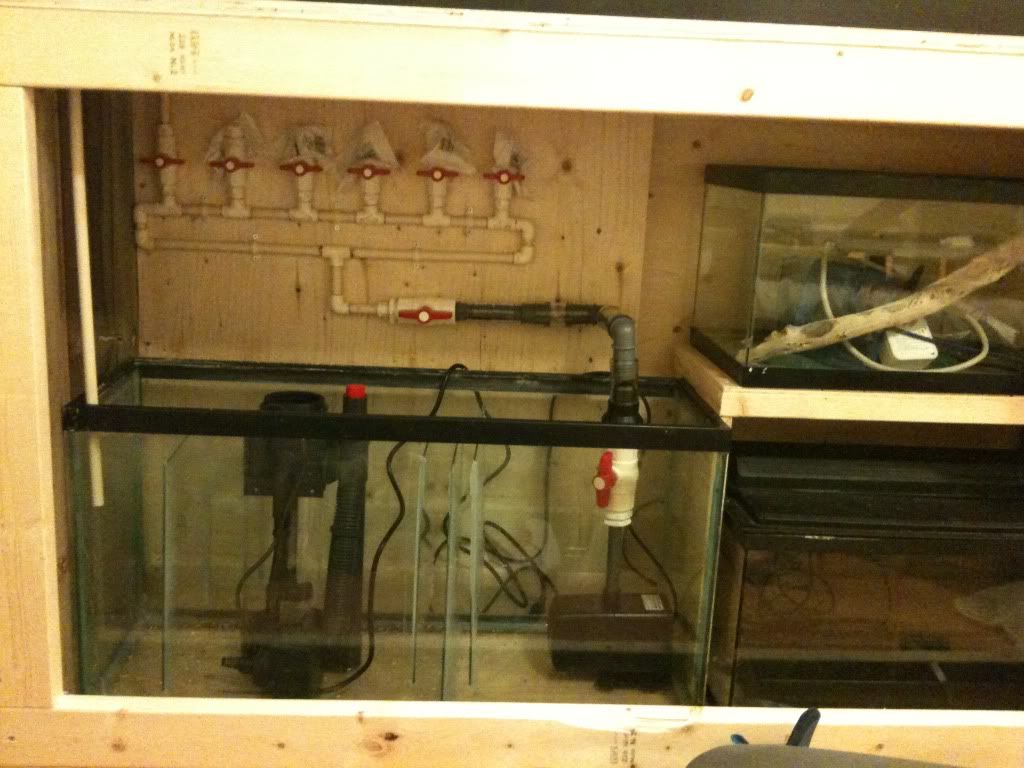
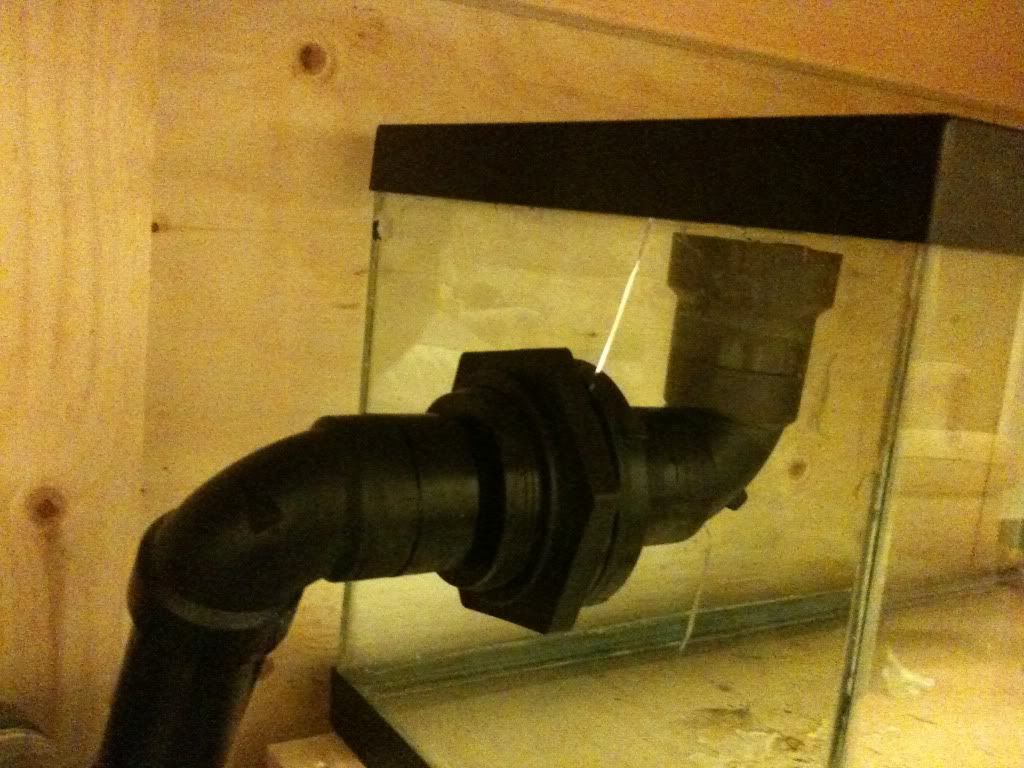
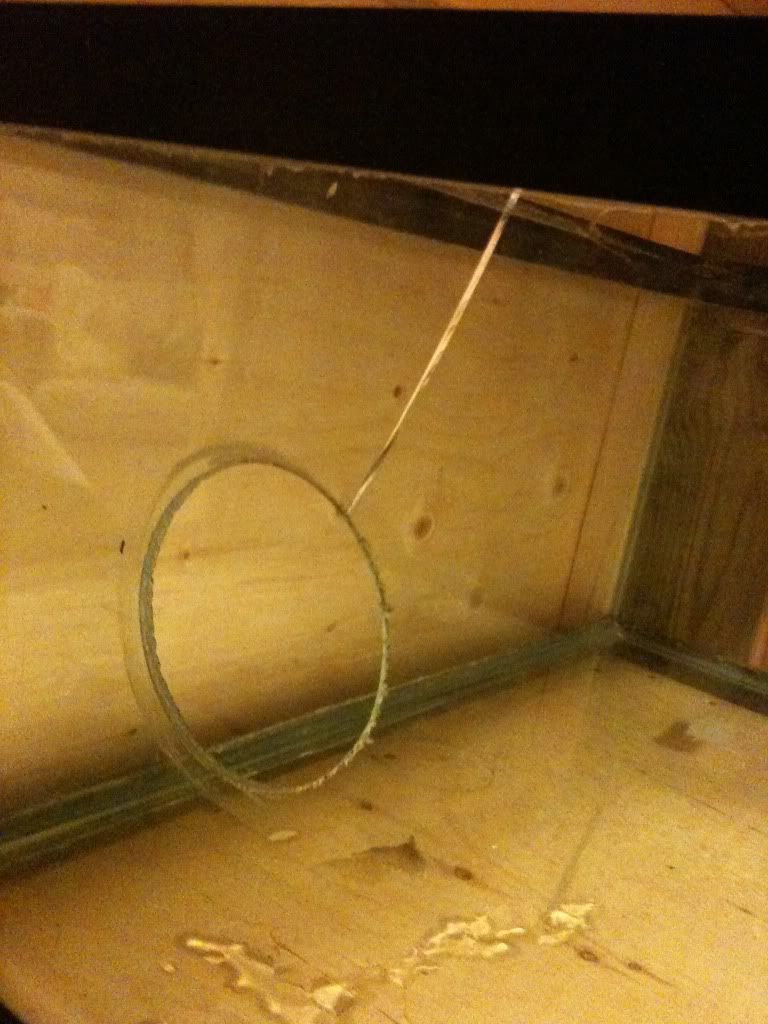
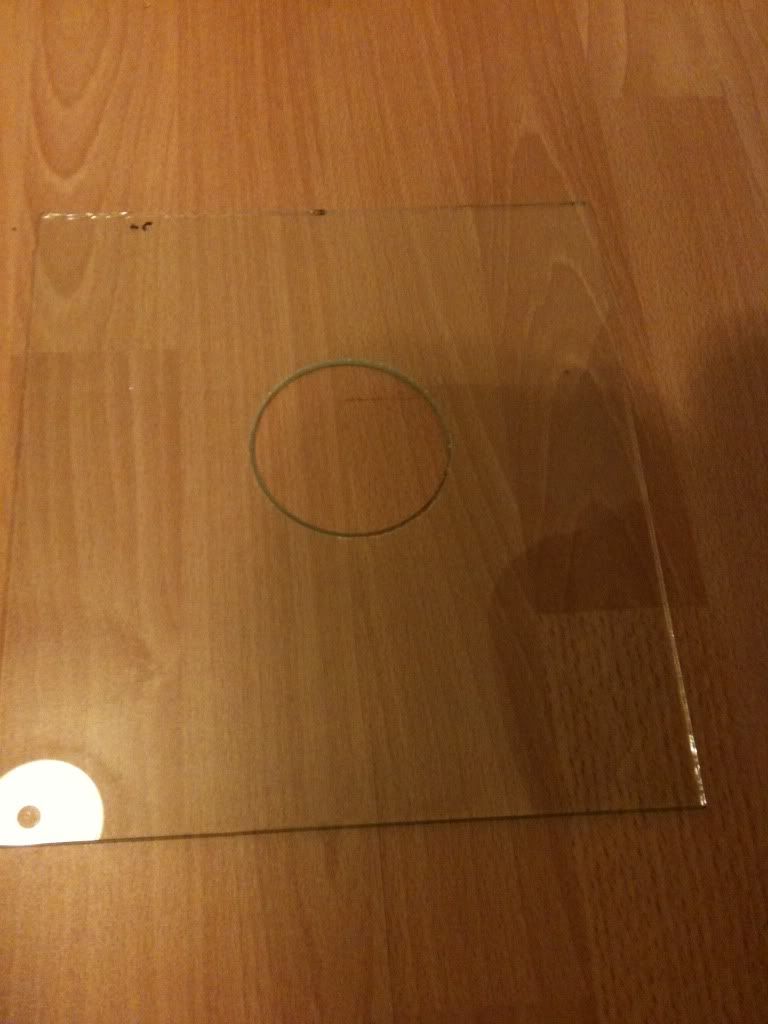
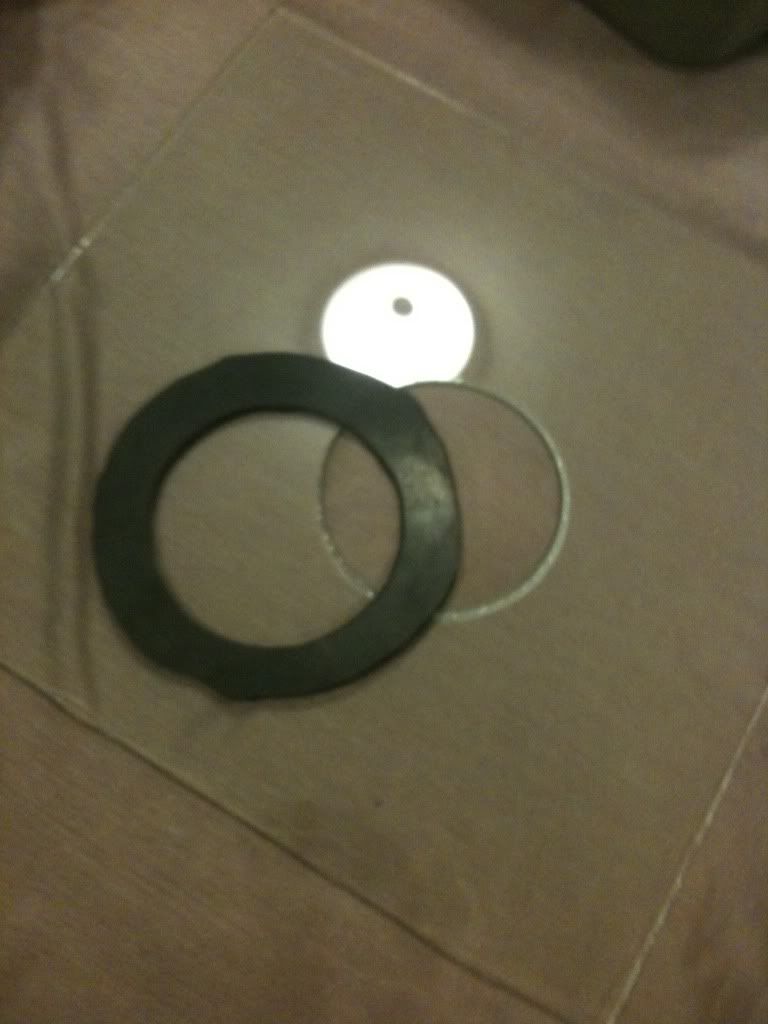
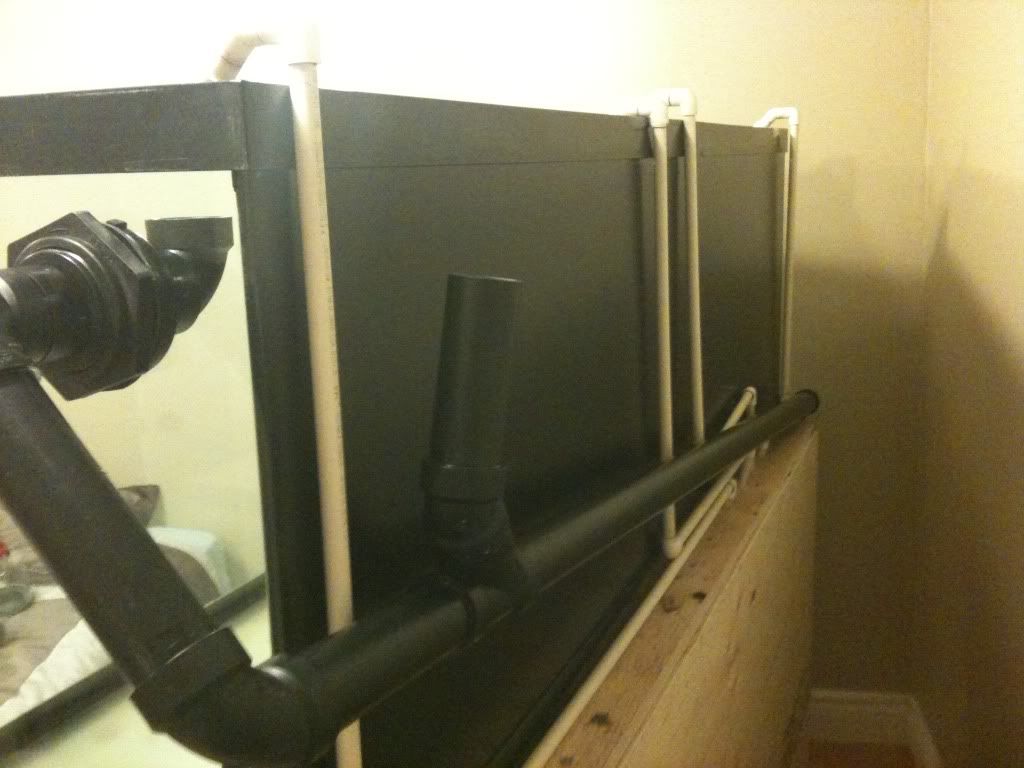
installed sump, frag tank (top right), and quarantine tank (bottom right)
IMG_0567.jpg


Painted the back and far side black
IMG_0568.jpg
 

MDGraves

Member
Joined
Feb 27, 2011
Next was to drill the Frag tank and the Display
Got a 75mm diamond hole saw to fit the bulkheads from TSC
first time ever drilling glass, so a desision was made to start with the frag tank (good thing)


no problem drilling the hole, I just put it in the laundry tub on end, worked great
IMG_0571.jpg


put the tank back in place, installed bulkhead.  Gave the bulkhead one last tighten to ensure no leaks.....
IMG_0573.jpg


because the bulkheads only had a rubber gasket on the water side and a hard plastic ring on the dry side the imperfections in the hard ring put point load on the glass and that was that.
IMG_0574.jpg


Time to fix my my mistake. I cut a pc of glass to cover the crack, and drilled another hole
IMG_0575.jpg


Installed the new pc of glass and sealed it up good, replaced the bulkhead this time with a new rubber gasket between the hard ring and the glass
IMG_0576.jpg

IMG_0577.jpg
 

MDGraves

Member
Joined
Feb 27, 2011
Drilling the Display was no problem, now that I am a "pro", lol
I drilled both sides as to not have any dead spots on the surface


IMG_0584.jpg

IMG_0581.jpg


Installed the drain tubes to the sump

IMG_0588.jpg
 
F

fishit

Guest
looks great cant Wait to see it done butt one comment!!! your baffles in your sump are way to tall your water level will be two hi and could flood during drain back also the water level will be two deep  for that skimmer
 

Blob-79

Super Active Member
Joined
Jan 13, 2017
Location
Tillsonburg
fishit link said:
looks great cant Wait to see it done butt one comment!!! your baffles in your sump are way to tall your water level will be two hi and could flood during drain back also the water level will be two deep  for that skimmer

im pretty sure he did not drill his sump. He only showed his display and frag tank. Also depending on size, it may be jumping the gun to say his sump "will" overflow. this is not a fact. For instance, on power outage, the way my 55 gallon was set up it only drained about 10 gallons down to the sump..easily compensated for.
 

Blob-79

Super Active Member
Joined
Jan 13, 2017
Location
Tillsonburg
bah..correction, you can kinda see the baffles in the sump. they are on the high side..but depending on where the water line is kept at in the return pump section, should be able to work something out.
 

MDGraves

Member
Joined
Feb 27, 2011
The baffels have been removed, the silicone gave way on one and broke the glass.  I have new thicker glass and will install this week.  The old setup I had done lots of "power outage" tests with very little water backflow.
When I get the new baffels installed I will post pump on and pump off pics
Also I have sealed the bottom of my stand and am putting a drain line to the floor drain just incase of a tragedy

Thank you for the feed back any info is muchly appreciated :mad:)
 

MDGraves

Member
Joined
Feb 27, 2011
I've been sick the past 2 weeks, got nothing new done :(
This weekend I hope to have the new baffels in the sump and make the canopy
 

MDGraves

Member
Joined
Feb 27, 2011
This week I did the electrical, and installed the new baffels in the sump
I got my lights in, ordered an MP-40 pump, and a RO/DI unit from SpectraPure (cant wait)


Electrical work, also installed new breaker in electrical pannel
IMG_0611.jpg


This is the return pumps running
IMG_0641.jpg


This is the pumps off all water returned to sump
IMG_0642.jpg
 

MDGraves

Member
Joined
Feb 27, 2011
I should be building the light fixture this week, so hopefully this weekend I will have some new pics up for ya :mad:)

Thanks for all the feed back
I have to keep it looking nice, cause my "fish room" is also the guest bed room, lol
 

MDGraves

Member
Joined
Feb 27, 2011
Tank on hold for a bit While I repair my top brace (see "broken top brace" in general reef discussion)
I got my mp-40 pump this morning too, could not try it out cause I had to drain the tank to fix this brace issue :(
 

MDGraves

Member
Joined
Feb 27, 2011
I have removed the old top frame and brace in prep for euro bracing
I am getting glass strips cut, should be ready this week

eb6d799f.jpg


Making the light fixture this week as well

49094cfc.jpg

af659b11.jpg


And I got my RO/DI unit today.  Very happy

97136c62.jpg
 
P

phi delt reefer

Guest
hood is looking like its going to be pretty pro when you're done! Nice RO unit! You got some quality gear there!

Where are you getting the glass cut?  I need some 1/4" for some sump baffles and am looking for a relatively cheap place. I know London Glass was a little outrageous with their pricing when I tried to price out a custom nano tank.
 

MDGraves

Member
Joined
Feb 27, 2011
Thanks a lot, this is going to be the last tank I build (famous last words eh)
I want it done right, and I have fun dong the build
My family has already picked out the fish they want, so I guess I should get a move on, lol
Email tntracing I know he got some glass cut for a good price
Mine is being done with scrap glass from my work
 
Top