Reef Keepers 220 Sps Build

reef keeper

Super Active Member
Joined
Nov 19, 2014
Location
Hamilton, Ontario
Tomorrow is what I call "majority of the plumbing" day and I'll be finishing up some painting and sealing the stand with silicone to prevent over the edge leaks lol.

I'll keep you up to speed with a photo a minute ;)

I also need to get to JTs and get my sock holder.

And.... Because of the screwing around with the first movers I could t get out to get my sump glass. Monday. Grrrr.
 

reef keeper

Super Active Member
Joined
Nov 19, 2014
Location
Hamilton, Ontario
I inspected it with a flashlight. No bubbles in the seams. No chips, cracks or smacks lol. I would not hesitate to go with them again. Value for money? Absolutely. Great customer service? 100%

They are really nice guys and they build one hell of a tank. I paid right around $1500 including tax and shipping. That's just a little more than a reef ready perfecto 180 gallon.
 

reef keeper

Super Active Member
Joined
Nov 19, 2014
Location
Hamilton, Ontario
I've got the plywood for the back and sides of the cabinets now. I will be painting and attaching them tomorrow. Monday, I pick up the glass for the sump and get that finished. Then Tuesday I can move the sump under the tank, get my last 2 bulkheads for the overflow, finish up the plumbing and then.... Aquascaping!!!

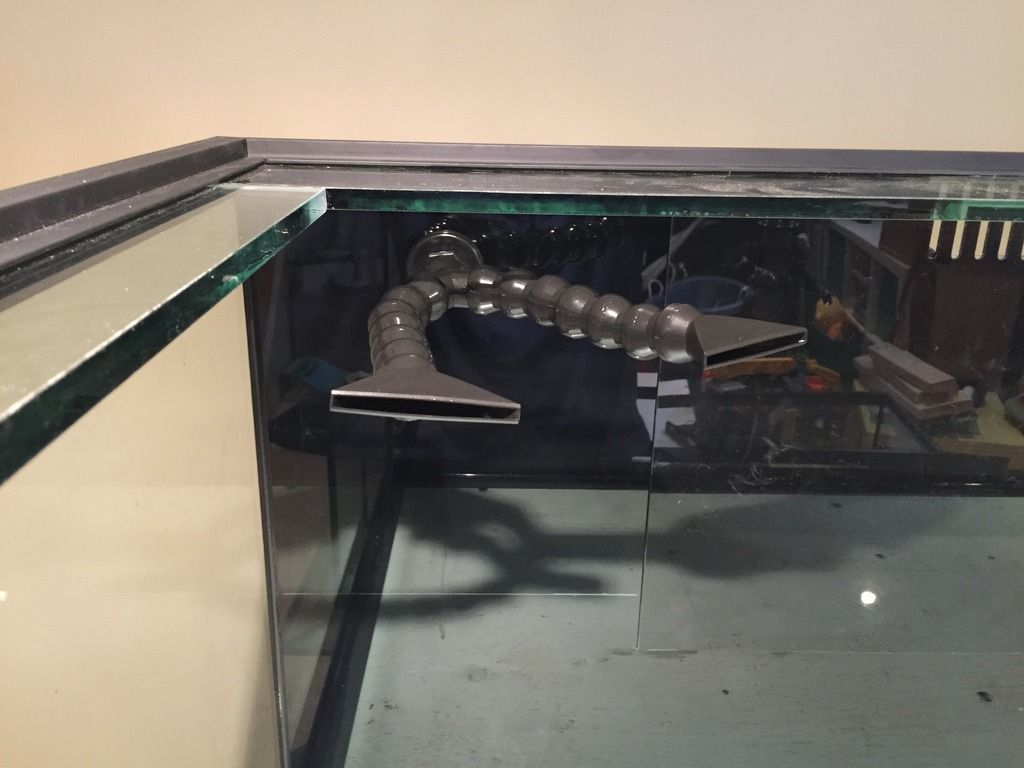
I got the loc line in today and did 2 of the overflow pipes. I'm going to cut one a bit shorter. I need to tap it and put the airline in.


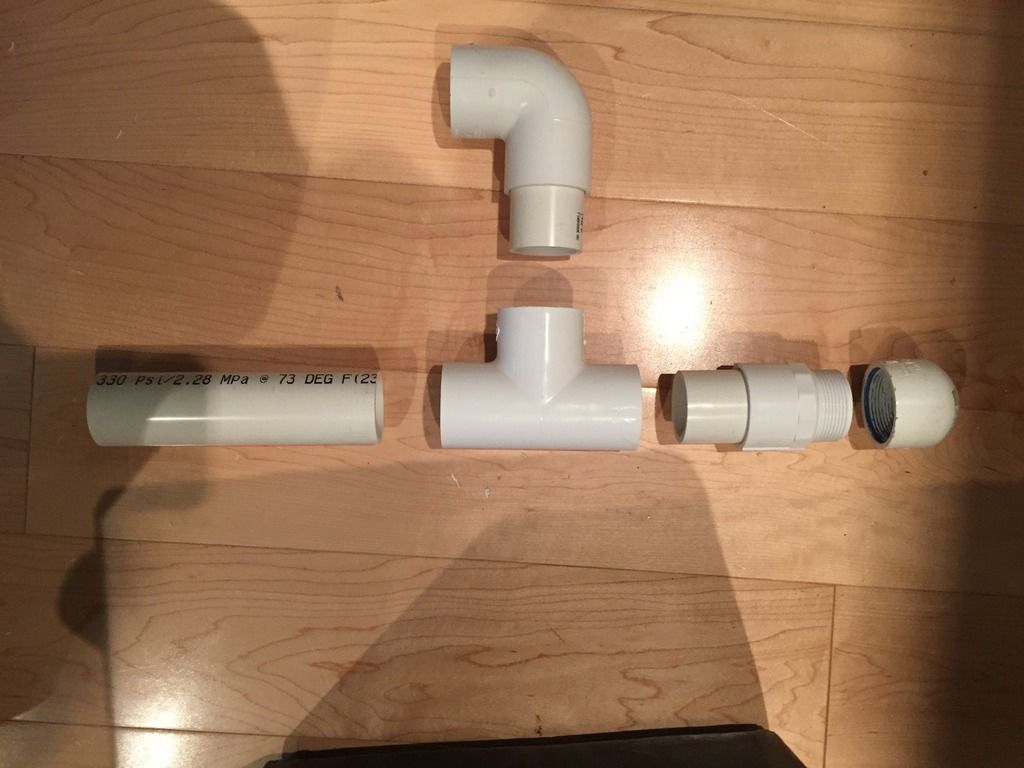
And an exploded view


reef keeper

Super Active Member
Joined
Nov 19, 2014
Location
Hamilton, Ontario
Inch and a half. I actually am knocking it down to an inch after the gate valve. I'm only running around 1000 gph through the sump so 1 1/2 isnt necessary. The emergency and secondary drains are both 1 1/2" so I'll have no worries about flooding.

I can't believe I do t have enough inch and a half bulkheads. And a 1 1/2 street elbow. Amateur. ;)

Locline was easy. Put the parts in hot water. Without that? Screwed
 

reef keeper

Super Active Member
Joined
Nov 19, 2014
Location
Hamilton, Ontario
Thanks for the sock holder JT. It's awesome!! My only issue is how nice it is and it's going to be hidden away in that ugly ass 125 down below lol.

I always overbuild my stands. This one especially. All 2x6 top and legs and a 2x4 bottom covered in 3/4" ply. I'm going to spray foam under the cabinet where the pumps are going to be. That should knock down the vibration a bit.

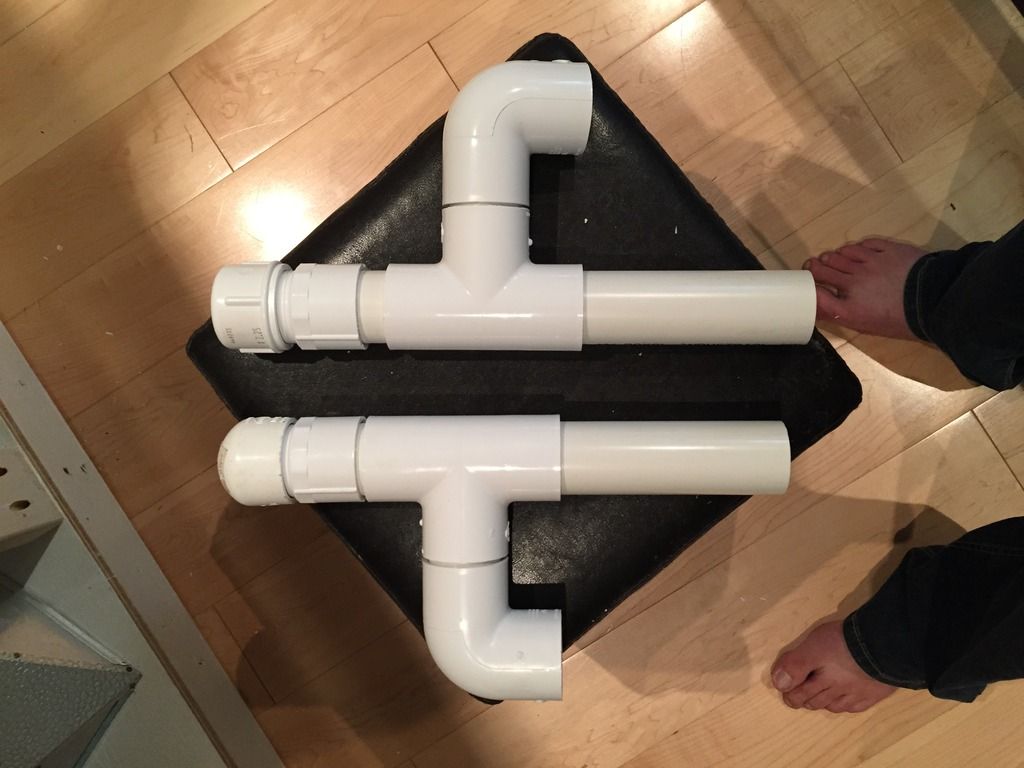
Tonight I test fit the plumbing and glued up the drain pipes. I installed 2 of the 3 drain pipe supports on the back of the stand and got the backs painted and installed on the shelving. Tomorrow I get the glass for the sump and will be putting that in. Tuesday the sump goes down below and then I can finish up the plumbing and begin aquascaping!! Wednesday the water starts. That's almost 3 days of filling. Brand new RO. Then I'll mix the salt in while it's running.
 

reef keeper

Super Active Member
Joined
Nov 19, 2014
Location
Hamilton, Ontario
Lol. No kidding. Tomorrow is work in the am and then work play on the tank. Once the glass is in the sump it's going to be a fast ride from there.

Jeez I am getting excited.

Once the tank is in its final spot I need to shim it (floor is out by 1/4". As it fills I'll just leave the shims in until it's full. That way if the floor sinks (dricore subfloor) I can level it out.

They did such a nice job.
 
Top