Barry's 120 Gallon Reef

C

crazybizzle

Guest
just my 2 cents on ur overflows with the airline tubbing coming out top. thats to quie it down right?  durso? i did the same but found it still was loud off and on, add a bleeder valve to it ut works way better. the way u have it will be loud for sure at least thats what i think
 
C

crazybizzle

Guest
oh ya forgot his are big ones..my drain was my old tank i got rid of it ,was inch an half...
 
S

Siderjan

Guest
crazybizzle link said:
just my 2 cents on ur overflows with the airline tubbing coming out top. thats to quie it down right?  durso? i did the same but found it still was loud off and on, add a bleeder valve to it ut works way better. the way u have it will be loud for sure at least thats what i think

Thanks for the info bizzle.  It's the same setup as on my 55, the old thing I can here from it if the hum from the fans on the lights, and the water falling over the edge of the overflow because I made the pvc too short.
 
S

Siderjan

Guest
Wow!!  November was such a long time ago.  Christmas came and went, New Years, and my birthday.  Guess it's about time I  updated this thread.

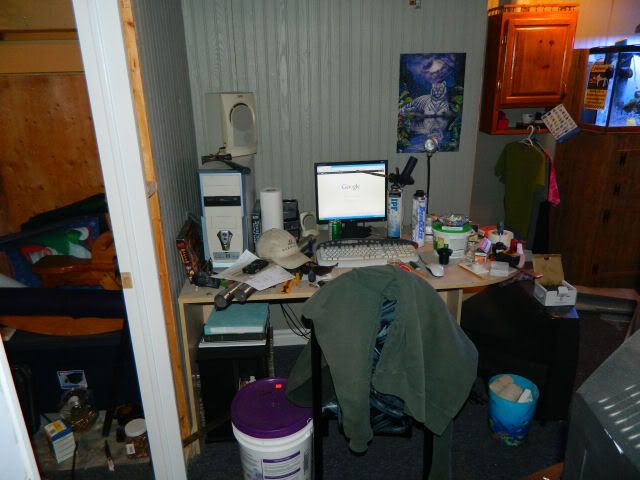
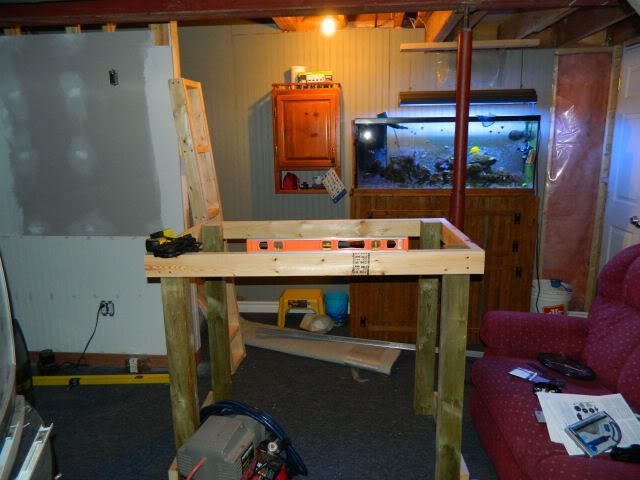
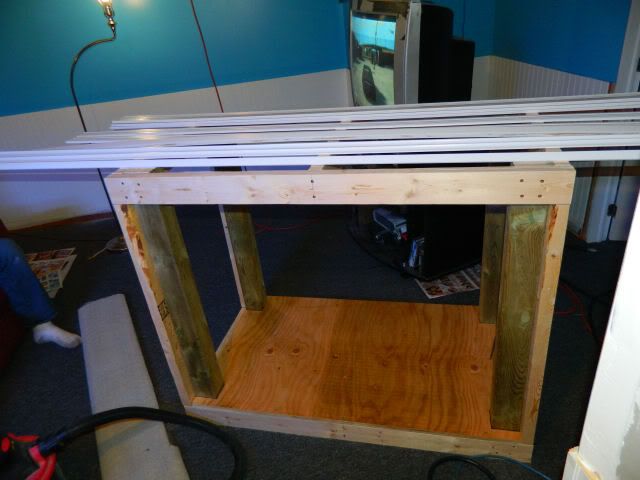
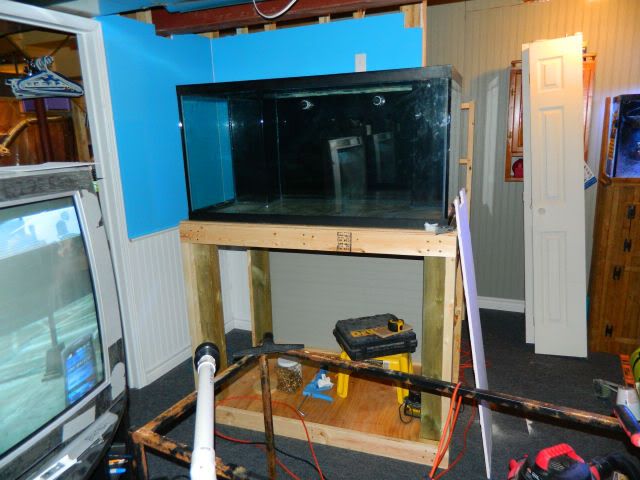
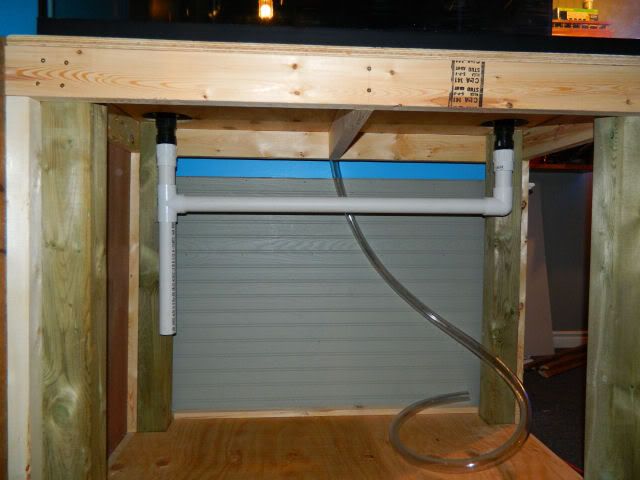
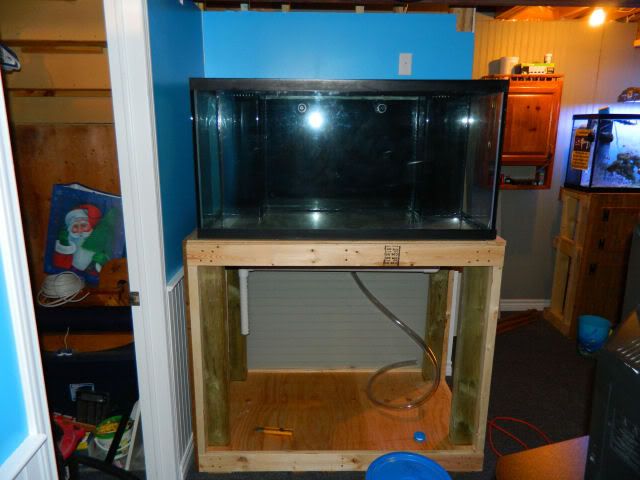
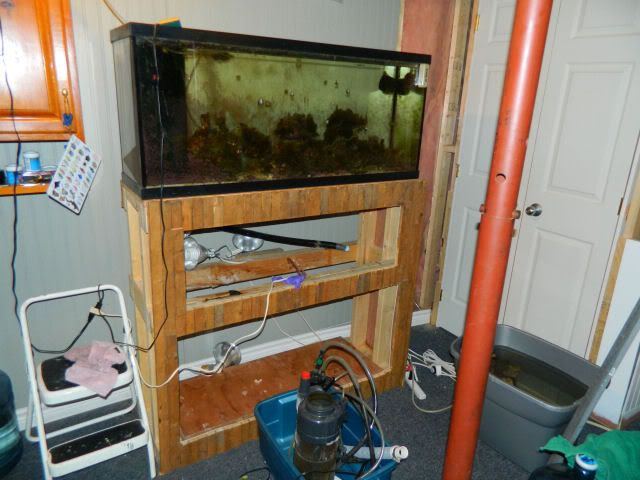
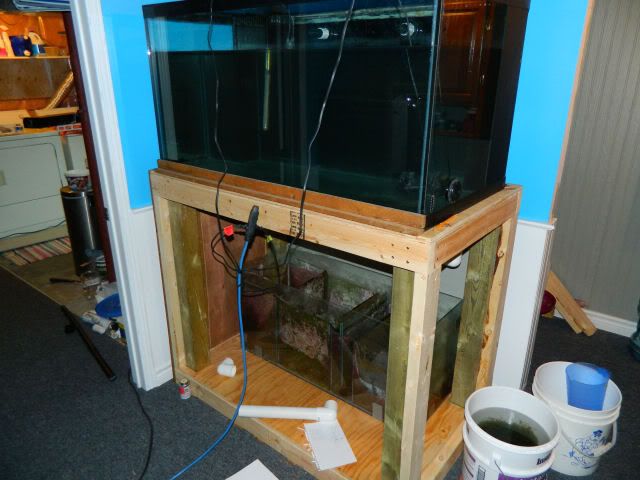
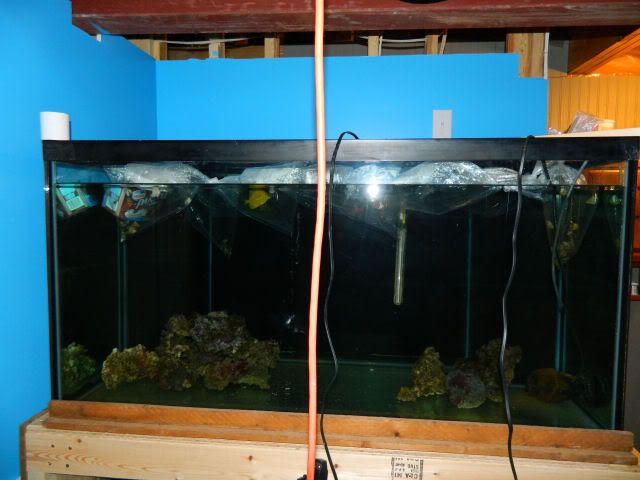
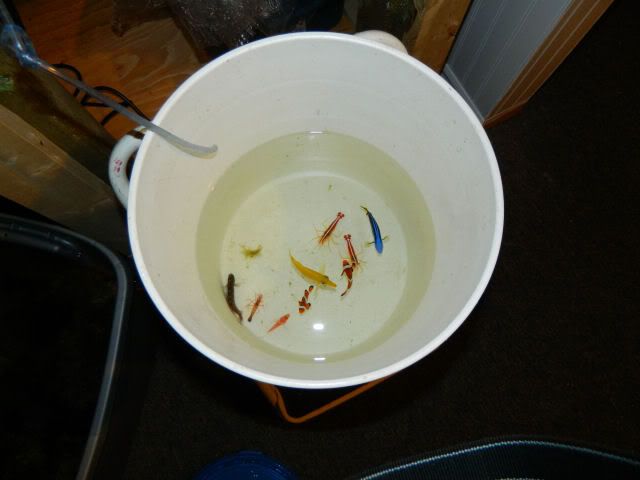
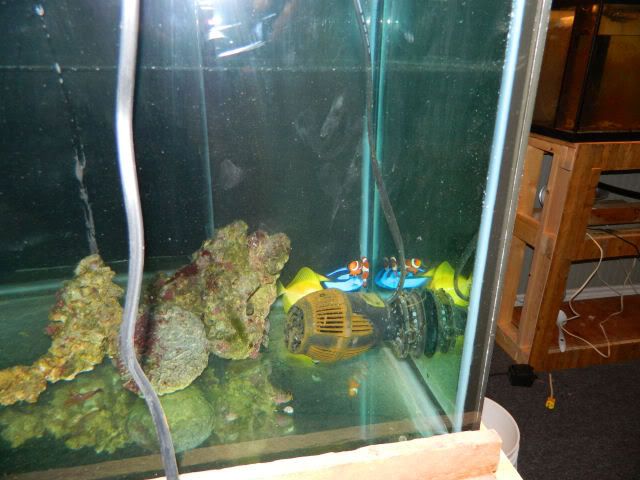
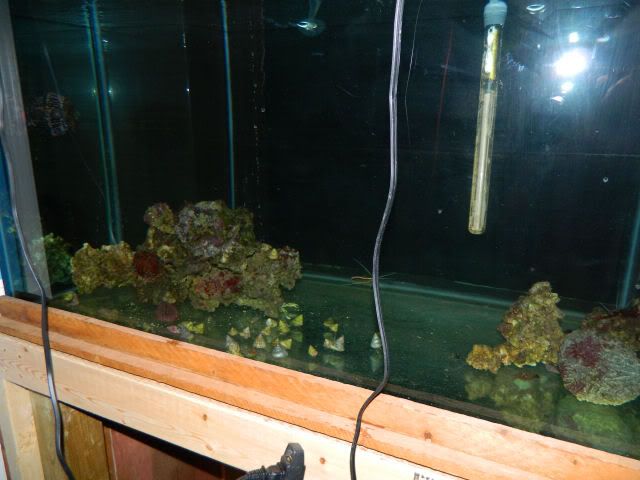
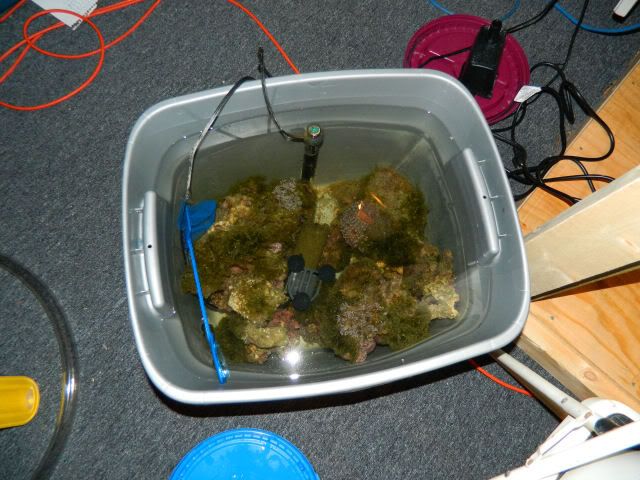
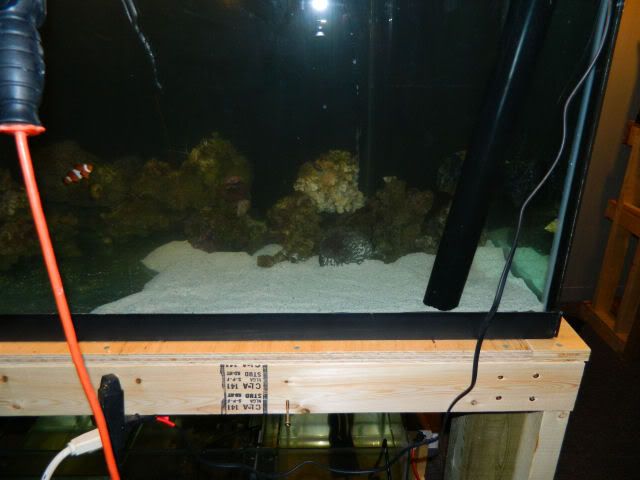
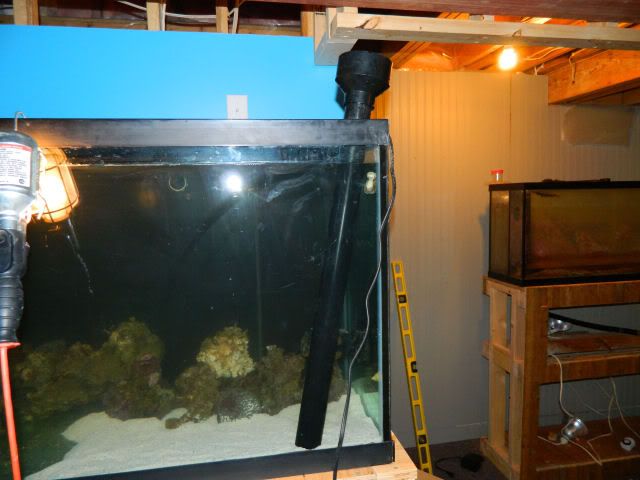
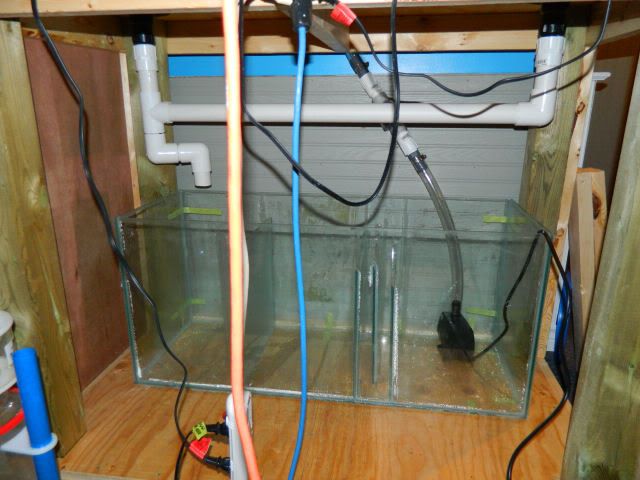
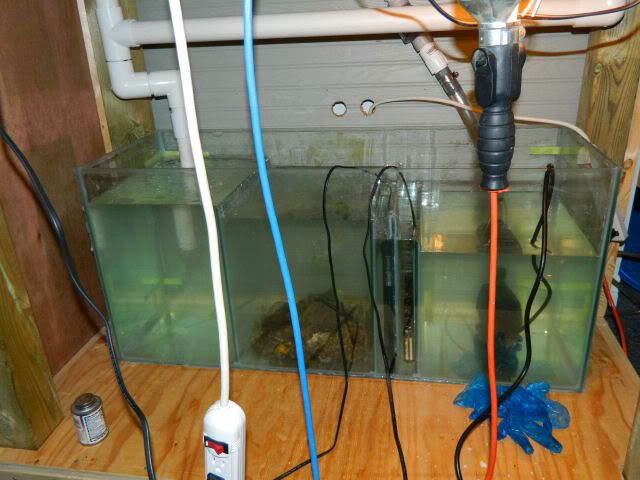
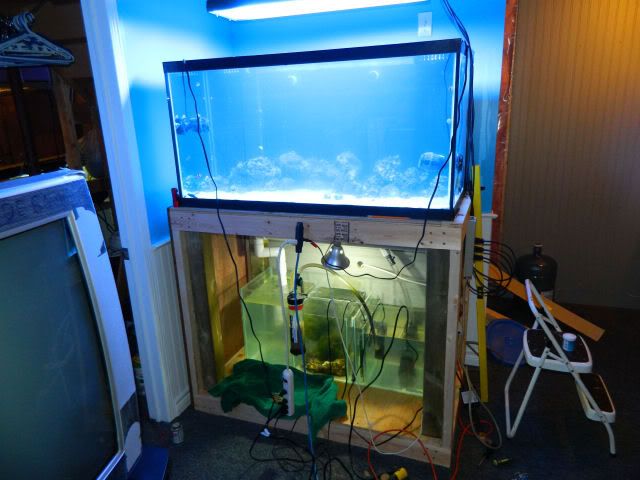
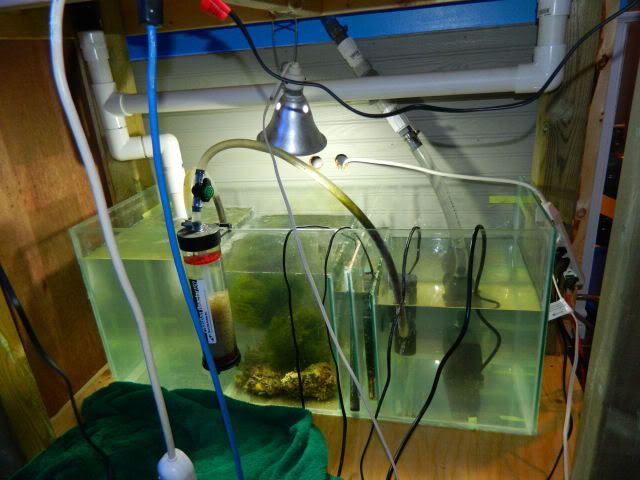
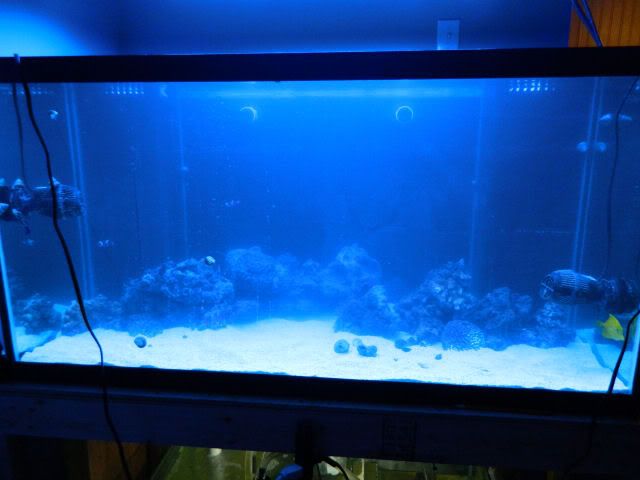
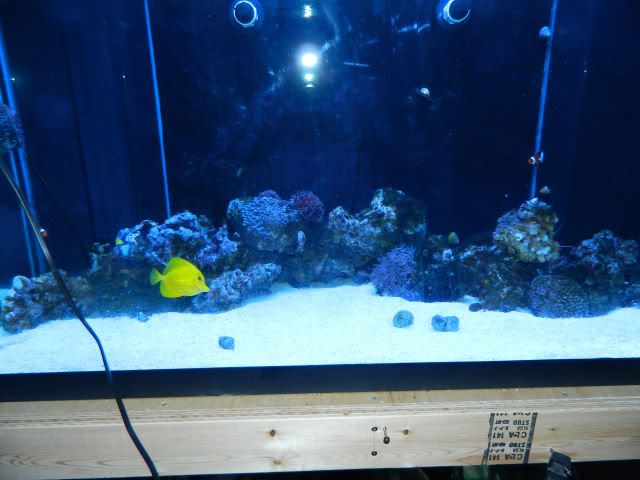
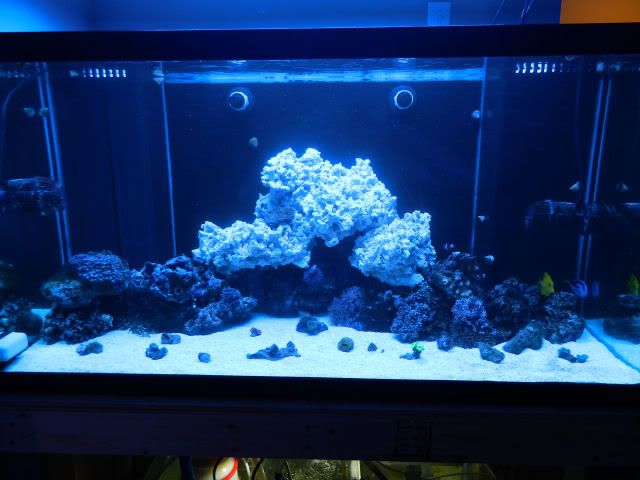
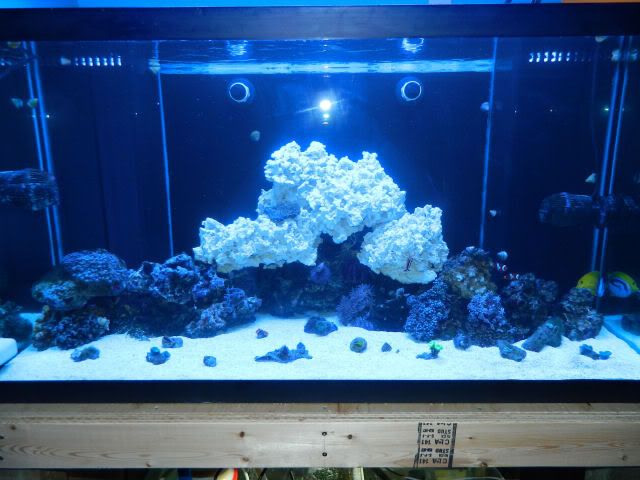
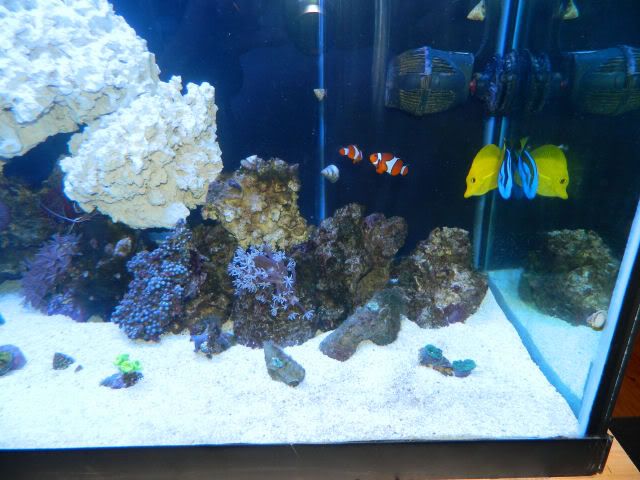
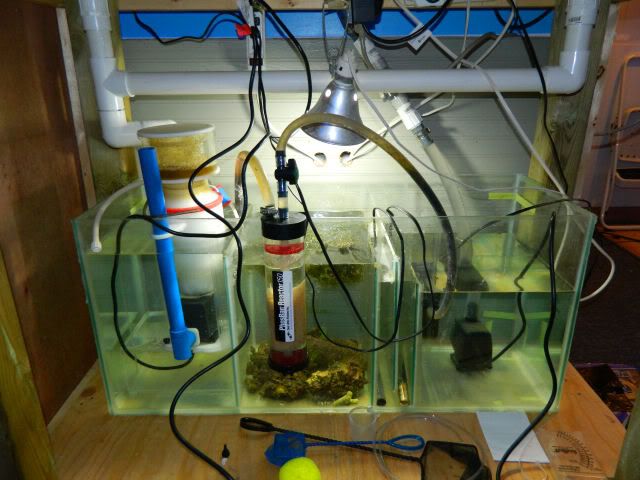
Phaze 2 of the basement renovation is taking shape.  There's only one set back right now to completing it.  There's a fish tank in the way.  Since I wasn't about to drain the tank, set it back up again and then take it down again when I put up the 120, I decided to setup the 120 with everything from the 55.  I knew there's wouldn't be enough flow, or live rock, but I'm suborn and hate doing things more then once.  Kim & I figured the best place for the tank would be where the computer now sits.
0035-Wherethetankisgoingtosit2.jpg


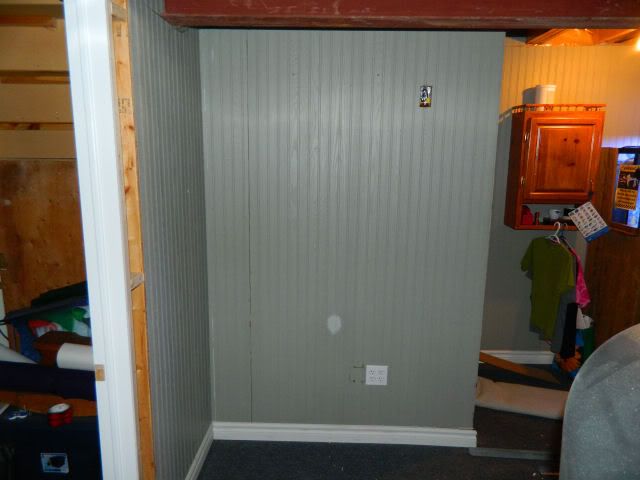
With the desk and computer torn apart we're left with enough room for the tank. 
0036-Computerisgone.jpg


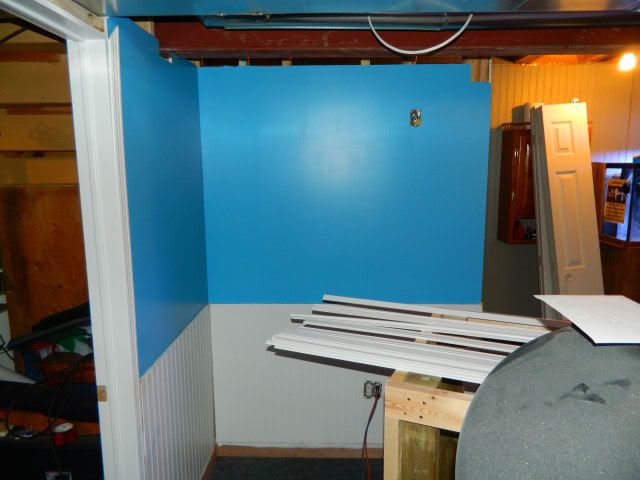
I already had a double plug there, and just had to change them to GFCI's from where the 55 is, and run the 3 wire over to the new spot.  It didn't take long to remove the old ugly paneling from the walls.
0037-Panelingisgone.jpg


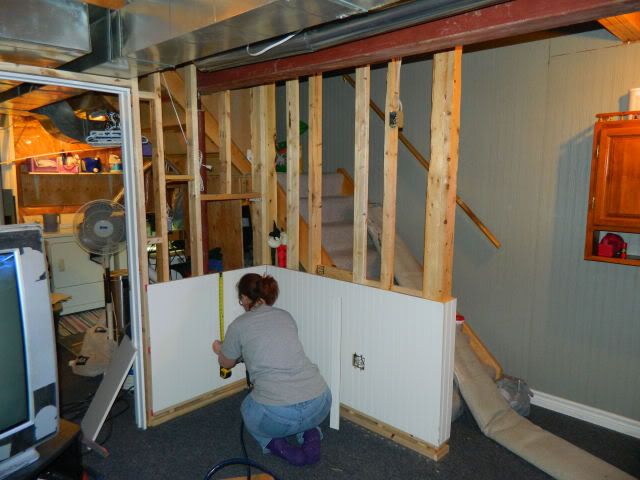
We strapped the bottom of the wall for wainscot to go up.
0040-Paneling.jpg


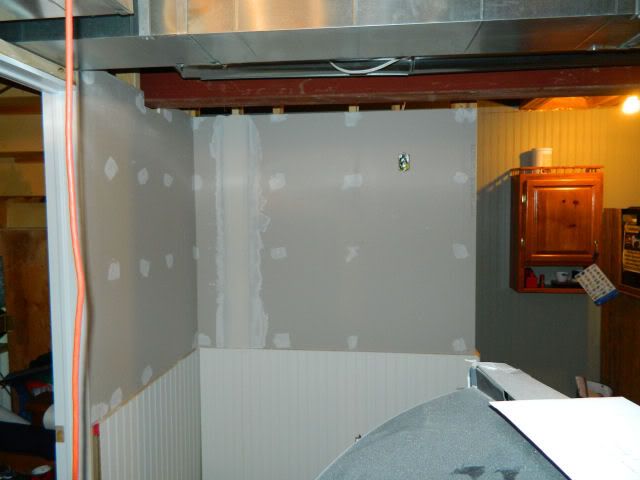
Drywall above the wainscot.  (I really hate taping and mudding.)
0041-Drywallandmud.jpg


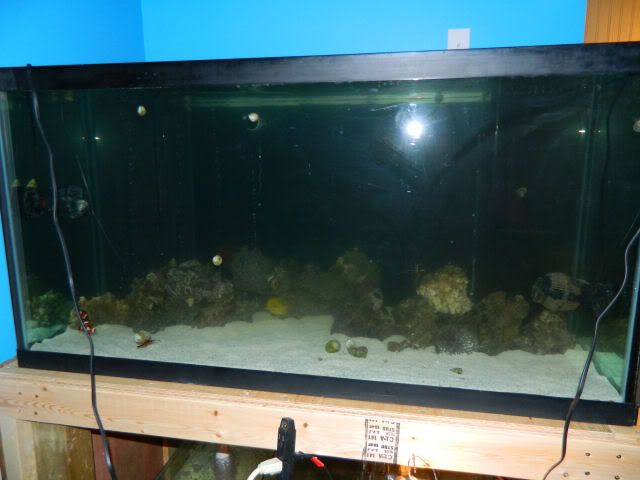
We finished the painting.
0042-Painted.jpg


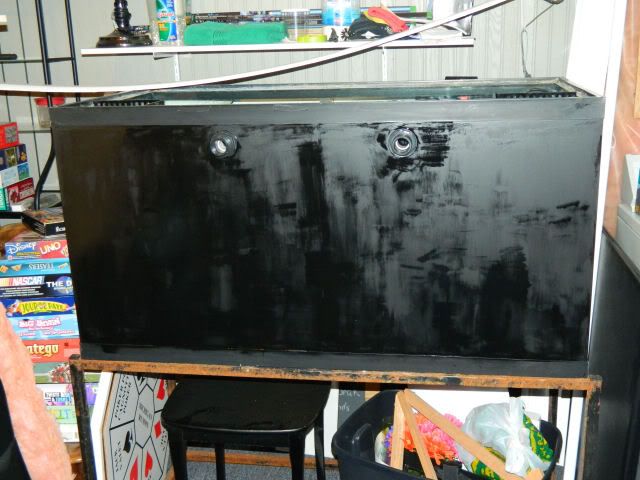
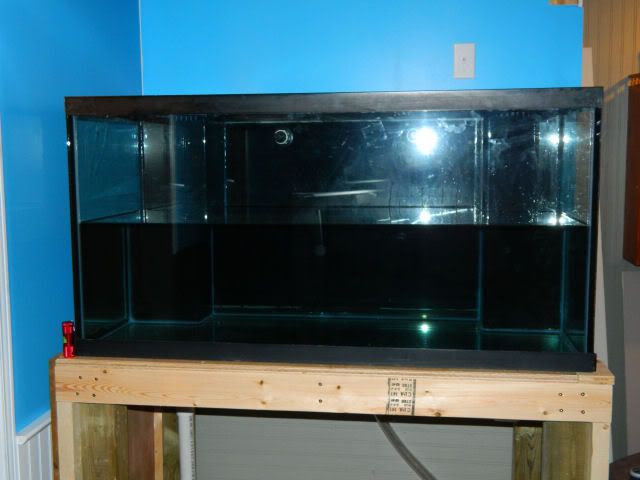
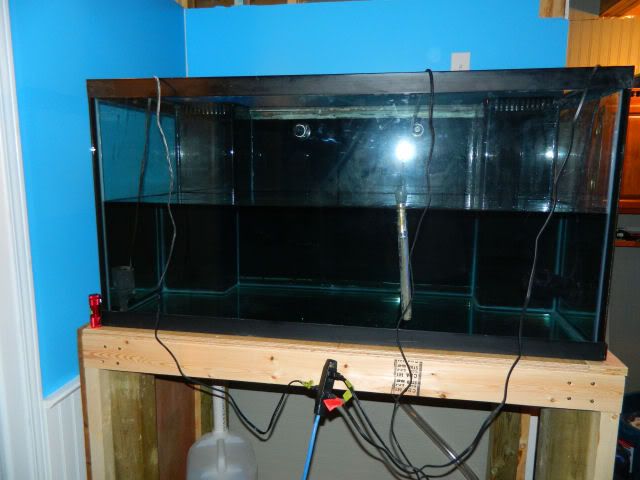
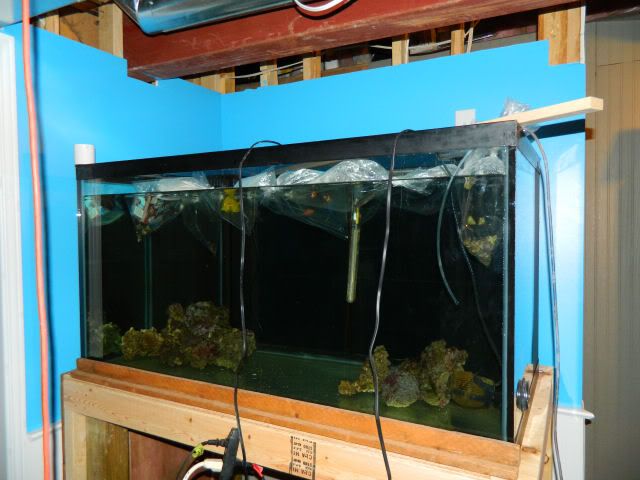
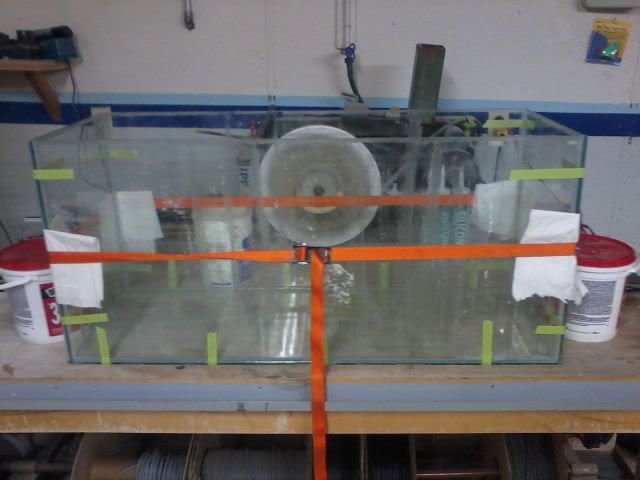
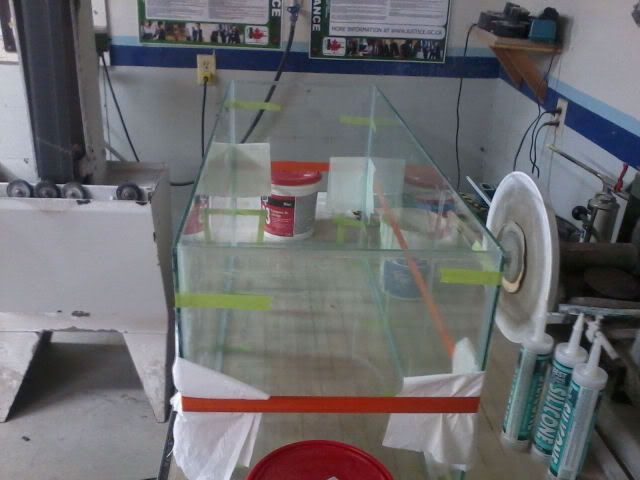
In between jobs, I put 4 coats of flat black paint on the back and sides of the aquarium.  (Spray painting so much quicker, but when the tank is in Phaze 1 of the basement reno, it was out of the question.
0047-PaintitBlack.jpg
 
S

Siderjan

Guest
While waiting for mud, and paint to dry I started building the stand.  I originally wanted to build the stand to match the walls, but Kim liked the old look of the 55 stand so I'm now changing plans to build it to her liking. (the package of smokes in the picture was the last pack I bought.  I've been smoke free since then. Jan. 27/12)

Here's the wood all cut for the sides.
0043-StartingStand.jpg


The sides are put together.
0044-StandSide.jpg


Everything in joined together.  I just need a few more 2x4's and some 3/4" plywood to finish it.
0045-StandStanding.jpg


The stand doubled in purpose.  To hold a fish tank, and a place to paint the trim.
0046-StandFrame.jpg


It took, Kim, my 2 sons Thomas & Kristian, and myself to lift the tank from the steel stand onto the new one.
0048-Onthestand.jpg


I built another return line, and glued them together.
0049-OverflowsGlued.jpg


The plumbing was a breeze.  I left enough room between all my fittings incase it's too loud and I want to change it.
0050-Plumbingisfinished.jpg


Here it is ready for me to start adding water to it.
0051-Readyforwater.jpg
 
S

Siderjan

Guest
Let I need to mix enough fresh salt water to add to the water I was taking from my tank and sump to fill this tank.

25 Gallons.
0052-25Gallons.jpg


55 Gallons. (Not even half full yet.)
0053-55Gallons.jpg


I took one of the Hydro 1400's out of the 55 and put it in the 120 along with a Maxi-Jet 1200 to help stir up the salt that settled on the bottom of the tank.  I also put in a spare 150W heater to bring it up to the same temperature as the old water.
0054-Mixing.jpg


While that was mixing, it was time to start taking apart the 55.  We removed everything from the sump and drained it almost empty and put it under the 120.
0055-LookingEmpty.jpg


0056-BrokenSump.jpg


Here's Kim catching all the livestock from the 55 to be bagged up and floated in the 120.  She looks pissed because I wasn't holding the bag open for her while I took pictures.
0057-GreatFishCatcher.jpg


Here's everyone getting use to the new temperature of the water.
0058-AllBaggedUp1.jpg


0059-AllBaggedUp2.jpg


And everyone getting the drip.  1 bucket for fish and another for inverts.  I didn't bother taking pictures of the inverts.  I did however forget 1 bag floating in the tank with my manderine goby in it.  Had to stay up a hour later then I planned on.
0060-DripDrip.jpg


Everyone in the tank.
0062-Loose1.jpg


0063-Loose2.jpg
 
S

Siderjan

Guest
I wanted to remove some of the hair algae off some of the rocks.  Here's what didn't make it into the tank.
0061-AlgaeCoveredLiveRock.jpg


This next little bit of advice I'd like you to listen to closely. When you read someplace not to move an aquarium with water in it...even an inch, listen to it!  Remember when I said I almost drained all the water out of the sump when we moved it, well...I woke up the next morning to a wet piece of plywood.  The middle of the tank's seam pulled apart enough to make it leak, so I had to tear it all apart, clean it the best I could and put it back together.  I ended up turning all the glass around because I couldn't get all the silicone off and didn't want to use the chemical we use at work to remove it.  Here's the re-cycled, rebuilt sump drying at work.
0064-NewSump1.jpg


0065-NewSump2.jpg


Who says you need money to fund your aquarium?!?!?!  trading of services saves money.  I installed a door and received a skimmer.
0067-BMNac6a.jpg


Cut some glass and acrylic and received substarte. 
0066-Freebies1.jpg


Let's spread some substrate using a neat little funnel I build out of a 3" - 1 1/2" ABS reducer and a length of 1 1/2" ABS.
0069-Substrate1.jpg


Here's my spreader.  It helps put the substrate where you want it without making your tank totally cloudy.
0070-SubstrateSpreader.jpg


And we're all done.  I didn't want to open the second bag of substrate so I rinsed some from the 55 to finish off the back.
0072-SubstrateLaid.jpg
 
S

Siderjan

Guest
My sump has dried and been put into place.  I added a check valve to my return line so I wouldn't overflow my sump when the hydro goes out.  I added 32 gallon from the 55 to fill the sump.
0068-RebuiltSump.jpg


Everything put back in the sump.
0073-SumpFull.jpg


0074-Done.jpg


0075-SumpRunning.jpg


The cloudy FTS.  My boys helped me hang the lights.  Bad choice in location for the tank since dead center above the tank is a steel I beam.
0076-CloudyFTS.jpg


The only thing I lost in the entire move was a peppermint shrimp that hid in a rock I put in the tote to be scrubbed and I squicsh it when I put another piece in the tote.

A week went past and I'd been checking out a couple fish I liked at Lyle's.  So I figured everything is doing really well in the tank, I'll pick them up.

Scooter Goby. "Scooter"
0077-Scooter.jpg


Diamond Watchman Goby. "Spot"
0078-Spot.jpg


A couple pictures of them in the tank a week later.
0079-Scooter.jpg


0081-SpotPosing.jpg


Having some extra birthday money kicking around, and Blob was heading to Incredible Aquariums, I asked him to pick me up some ECO-Reefer rock.  Here's what he came back with.
0082-NewRock1.jpg


0083-NewRock2.jpg
 
S

Siderjan

Guest
After spend most of the day working on running wires, hiding wires, and acclimating my corals, Kim & I added the new rock to the tank.  We spent about a hour trying pieces here and there and ended up with this.  Here's before the rock was added.
0084-BoringBefore.jpg


And after.  Without camera flash on.
0085-ExcitingAfter.jpg


And with with the camera flash on.
0086-ExcitingAfter2.jpg


Closeup pictures from left to right.
0087-CloseupLeft.jpg


0088-CloseupMiddle.jpg


0089-CloseupRight.jpg


I need to buy some more wire ties to tidy up the sump area.
0090-SumpCleanedUp.jpg


Here's my skimmer after 24 hours of operation.  I drain the cup once as it was 3/4 full of the same colour skimmate.
0091-Bubble-MagusNAC6a.jpg


Once we get the walls finished, I'll finish the stand.  I hoping to have it done this coming weekend.
 
S

Siderjan

Guest
I found my bi-colour blenny being eaten by my hermit yesterday, and my Hawkfish is MIA.  I didn't want to move too many rocks to look for him so I'll see if he comes out tomorrow with a good brine shrimp feeding.
 
P

phi delt reefer

Guest
looking good baary! Glad to see the upgrade went well!
 
S

Siderjan

Guest
phi delt reefer link said:
looking good baary! Glad to see the upgrade went well!

  Thanks Vince.  I think third loss from the upgrade is the Hawkfish.  Fed brine tonight and didn't see him.  I even had the mirror out so I could see in the back of the tank.  :(  
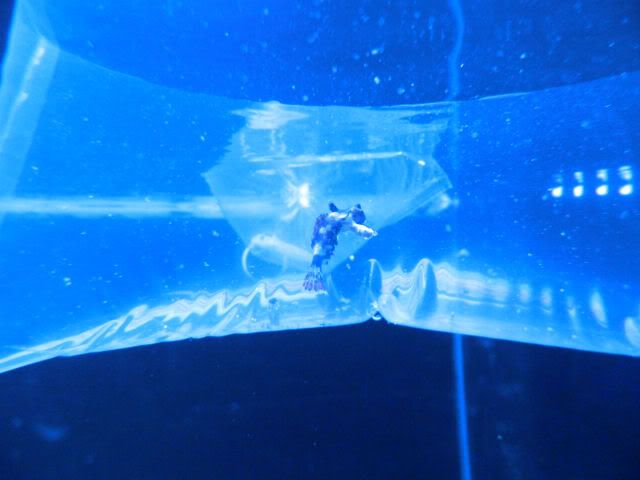
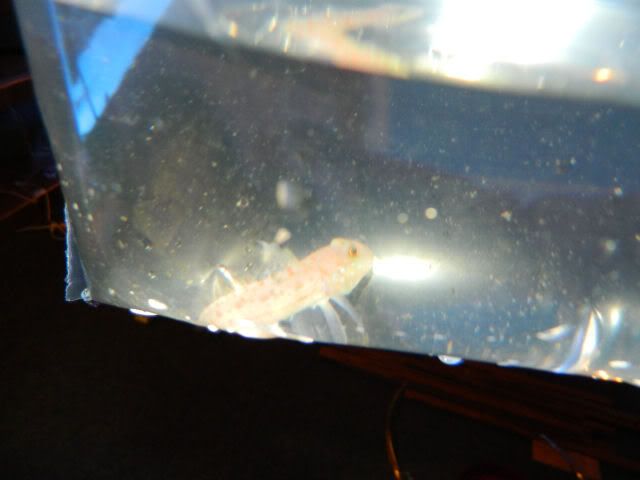
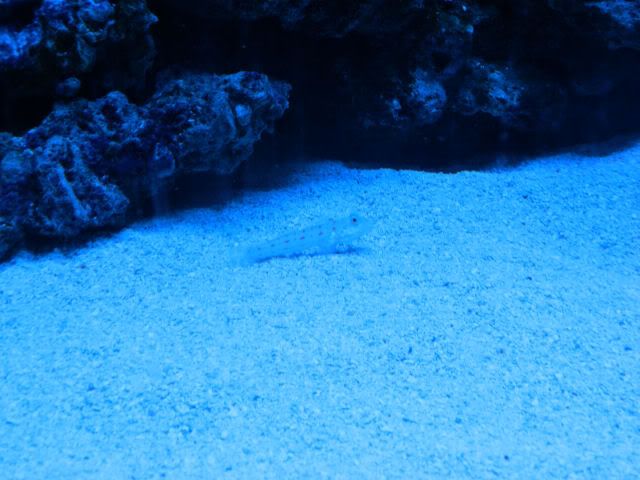
Damn I liked that fish!
 
P

phi delt reefer

Guest
I feel your pain brother. My.favorite fish snuck into the.overflow and jumped out yesterday(yellow.hogfish). Its the only spot on my tank with out a cover so i guess ill be adding a cover to that as well :?

Win some and lose some.  Glad to see you got yourself a real skimmer!
 
S

Siderjan

Guest
phi delt reefer link said:
Glad to see you got yourself a real skimmer!

Thanks, want to come over for some skimmate?  I have the dark smelly stuff.  I've never had that before.
 
S

Siderjan

Guest
Blob-79 link said:
lol..hows it doing, getting nice and dark now?

It's really dark, but not pulling as much as it was when it was lighter.  Do I need to adjust it?  Seriously thinking on getting that foxface Lyle has.

That rock with the mushrooms on it the goby was digging under is now buried.  He dug it out then I think put all the substrate back over it.  He's trying to dig it out again.  RETARD!!
 
Z

Zakk

Guest
I would add a second phosban reactor and run some GFO.  The tank looks nice, so does the setup, but the hair algae is starting to take over a bit.  Next you might start getting microbubble algae and then slime.  Believe me when I say 'I know what I'm talking about'.  Also, do you use RO/DI water??

Heh I remember taking liverock out of my tank to 'scrub' it clean too.  Always worked...for a week :)  I would have paid good money to have known about the miracle that is GFO 15 years ago...would have saved me a fortune and a lot of hair pulling (sorry bad pun). 
 

davesolo29

Super Active Member
Joined
Feb 15, 2012
Location
Kitchener, Ontario
i had a really bad hair algae issue recently too.  i scrubbed all the rocks and it came back again.  As soon as i upped my clean up crew it has not come back.  I swear the mexican turbos had my 120 clean in under 4 days.  I added 7 mexican, 6 black turbos, and 10 nerites.  The hair algae covered the rocks, the glass, and the substrate. 
 
Top