Long overdue update.
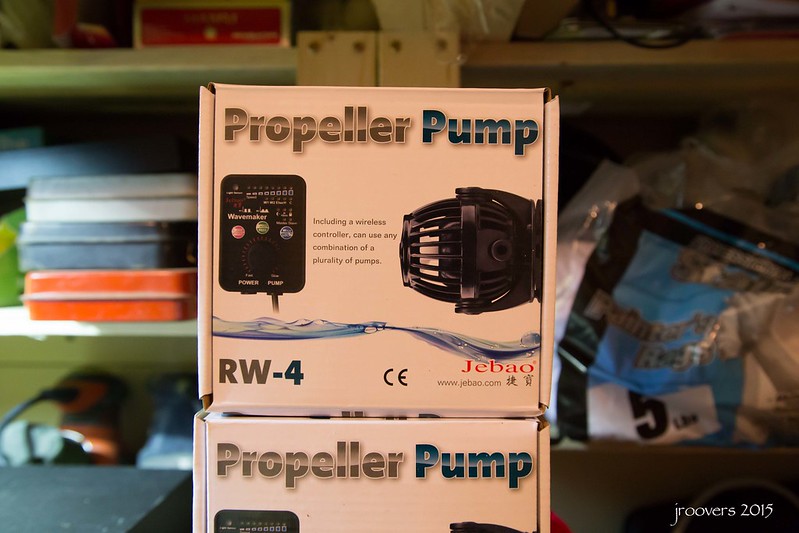
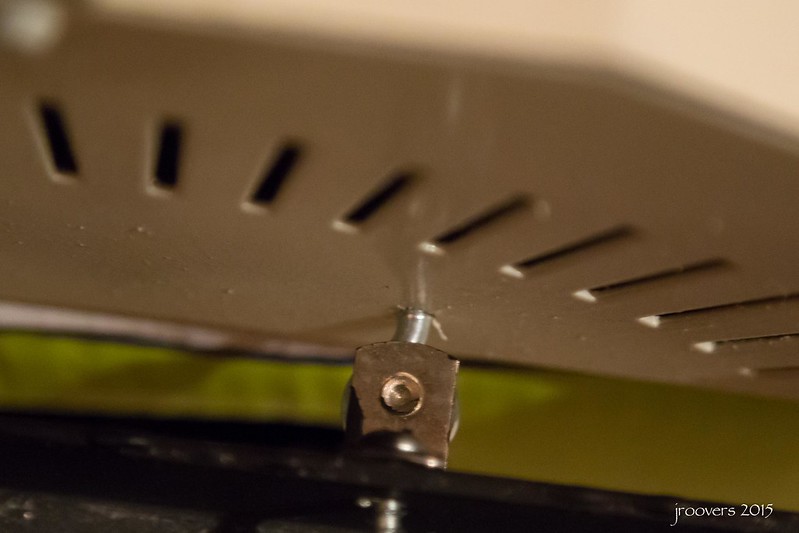
New pumps
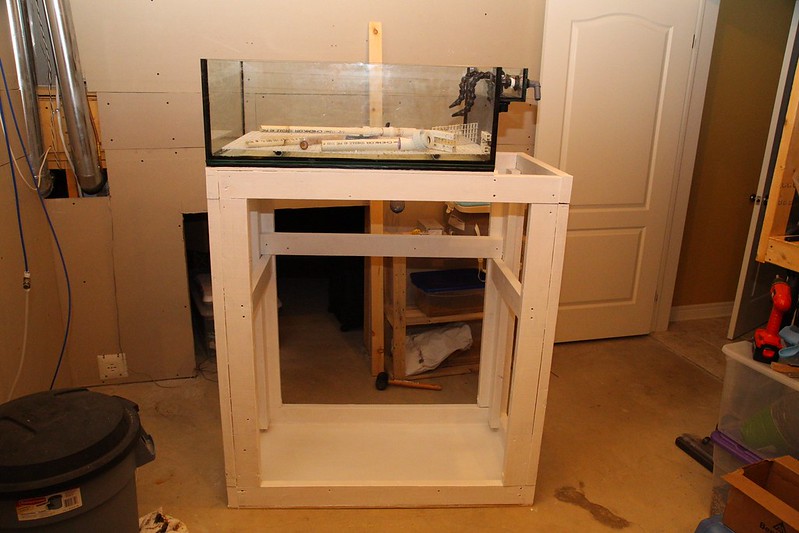
 Tank2015-1 by UpOnTheRoof, on Flickr
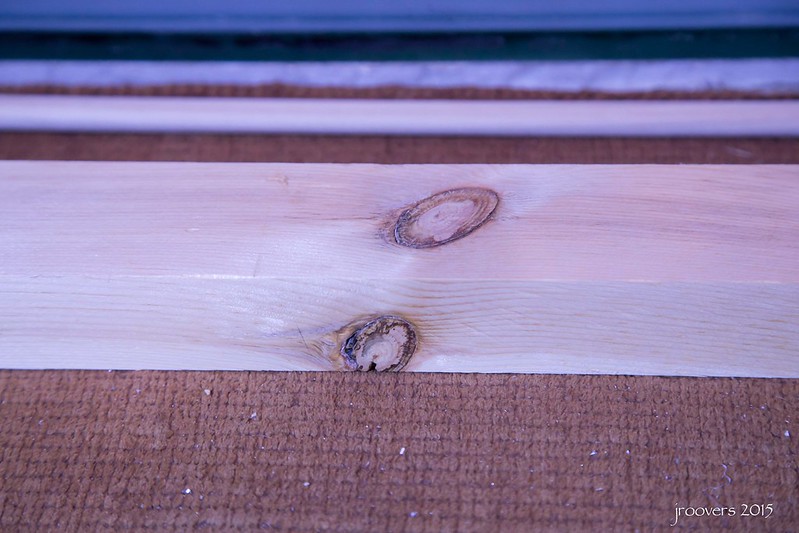
Lumber I'll be using to make a "beam" for my light fixture to be suspended from
 Tank2015-4 by UpOnTheRoof, on Flickr
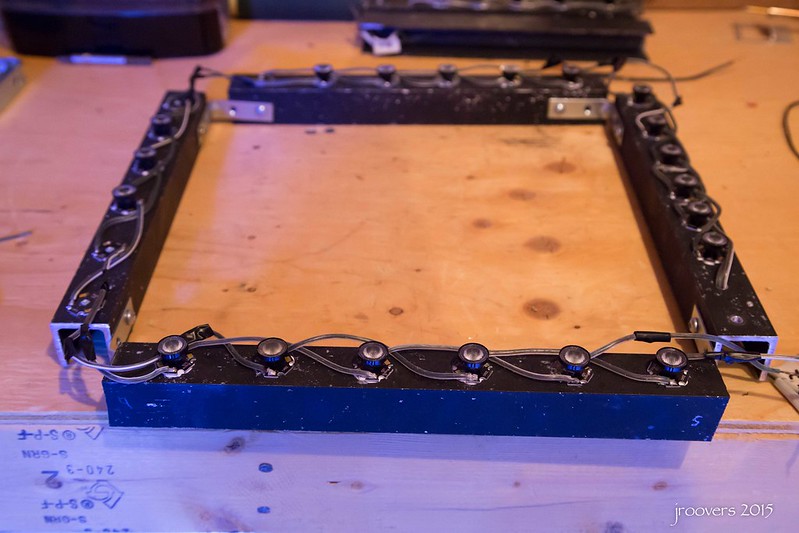
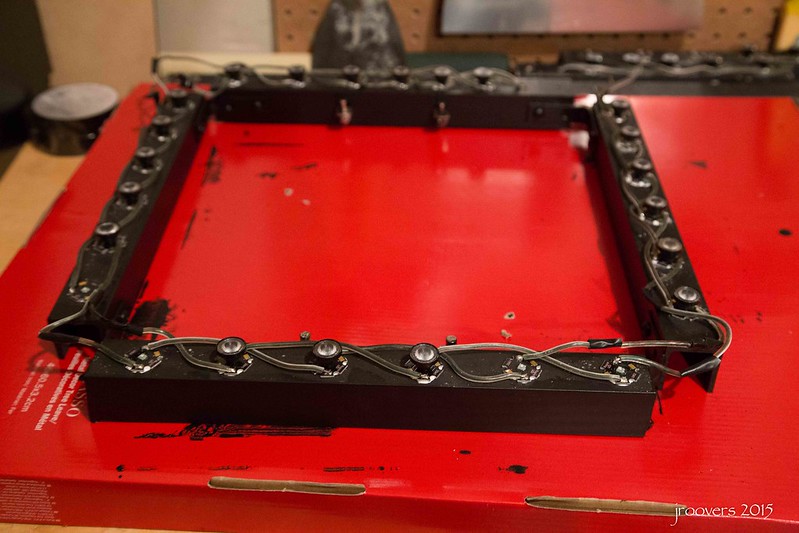
LEDs hacked and modified into a square, soldered, refurbed and touched up
 Tank2015-2 by UpOnTheRoof, on Flickr
 Tank2015-6 by UpOnTheRoof, on Flickr
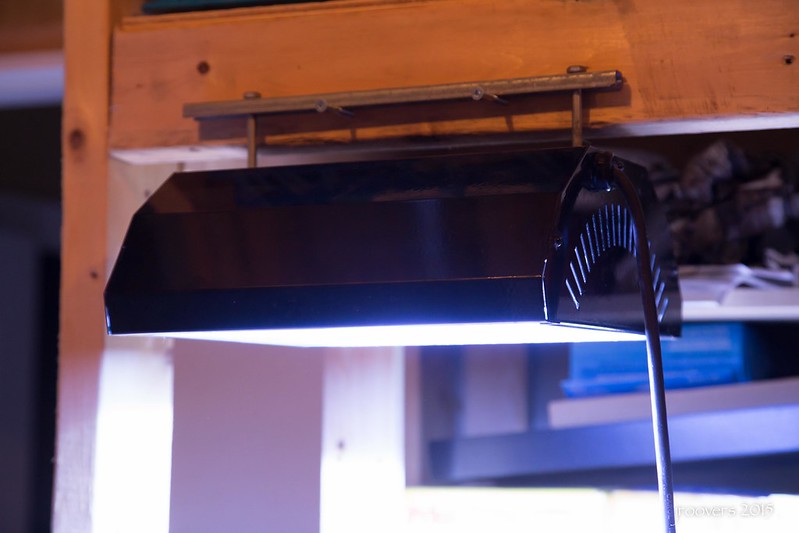
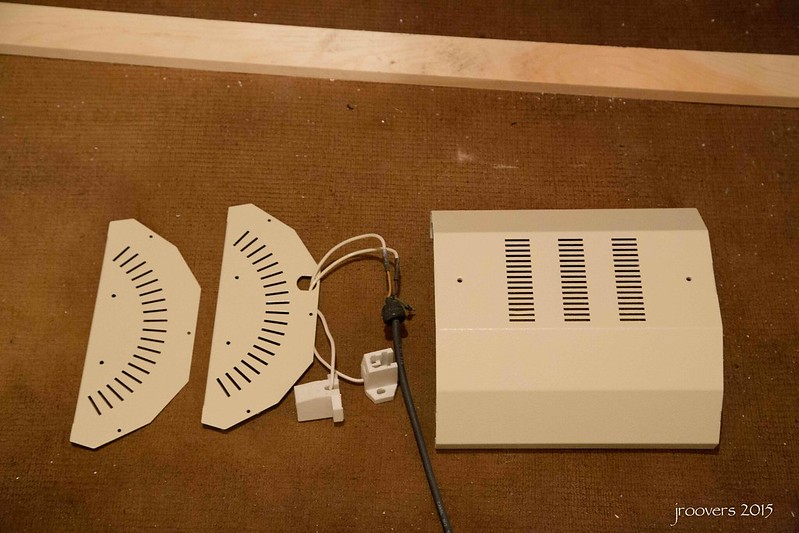
MH pendant, stripped, sanded, re-painted
 Tank2015-3 by UpOnTheRoof, on Flickr
 [/url]Tank2015-5 by UpOnTheRoof, on Flickr
 Tank2015-13 by UpOnTheRoof, on Flickr
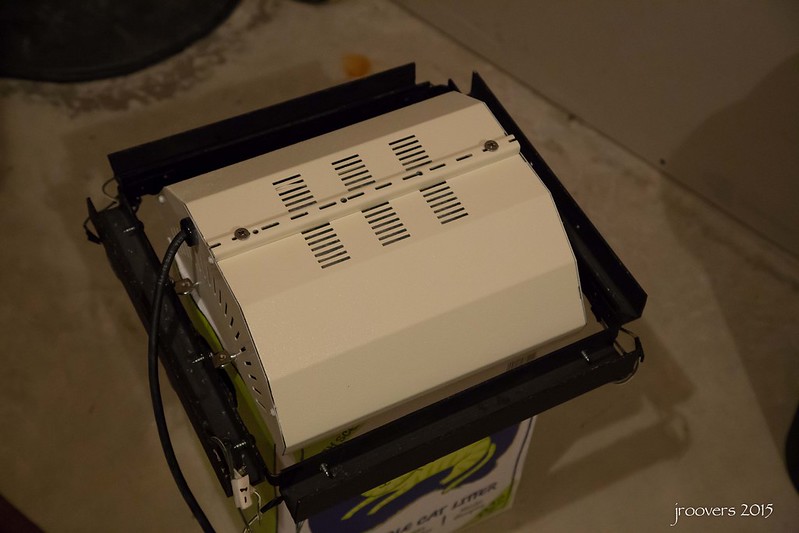
Combined with LEDs
 Tank2015-8 by UpOnTheRoof, on Flickr
 Tank2015-14 by UpOnTheRoof, on Flickr
New pumps
Tank2015-1 by UpOnTheRoof, on FlickrLumber I'll be using to make a "beam" for my light fixture to be suspended from
Tank2015-4 by UpOnTheRoof, on FlickrLEDs hacked and modified into a square, soldered, refurbed and touched up
Tank2015-2 by UpOnTheRoof, on Flickr
Tank2015-6 by UpOnTheRoof, on FlickrMH pendant, stripped, sanded, re-painted
Tank2015-3 by UpOnTheRoof, on Flickr
Tank2015-13 by UpOnTheRoof, on FlickrCombined with LEDs
Tank2015-8 by UpOnTheRoof, on Flickr
Tank2015-14 by UpOnTheRoof, on Flickr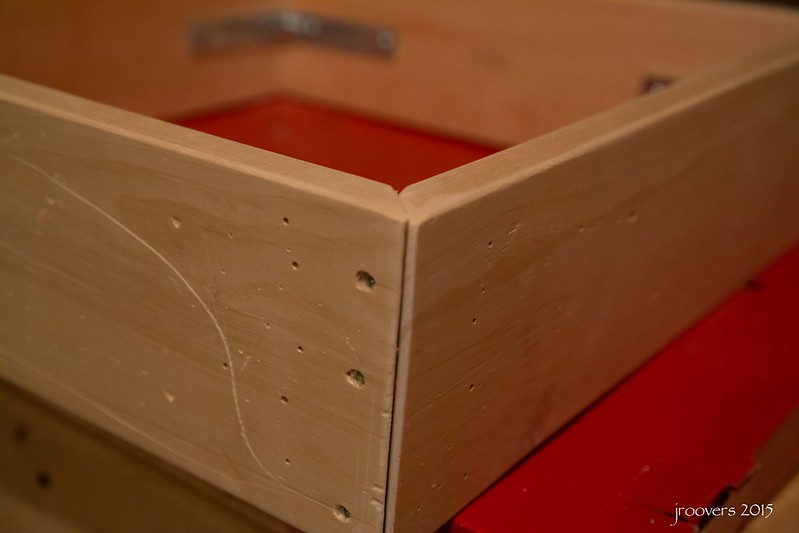 Tank2015-10
 Tank2015-9
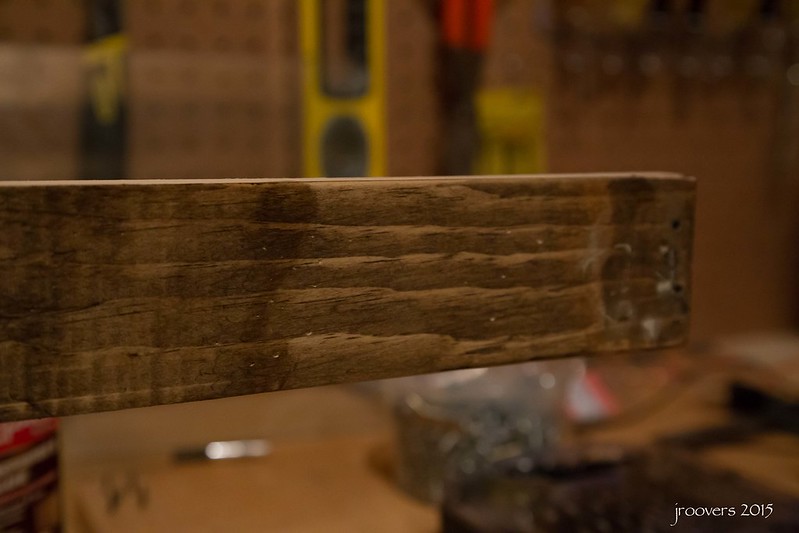 Tank2015-11
 Tank2015-12
 Tank2015-15
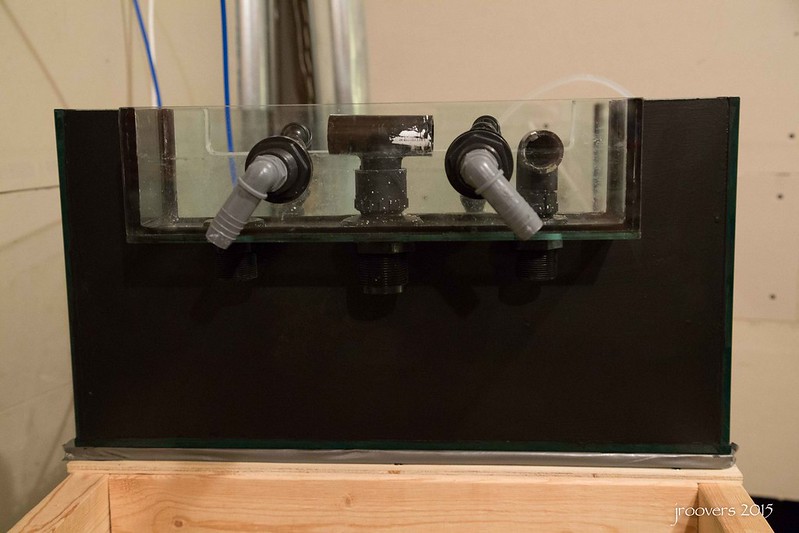 Tank2015-7
")
 photo 1-2
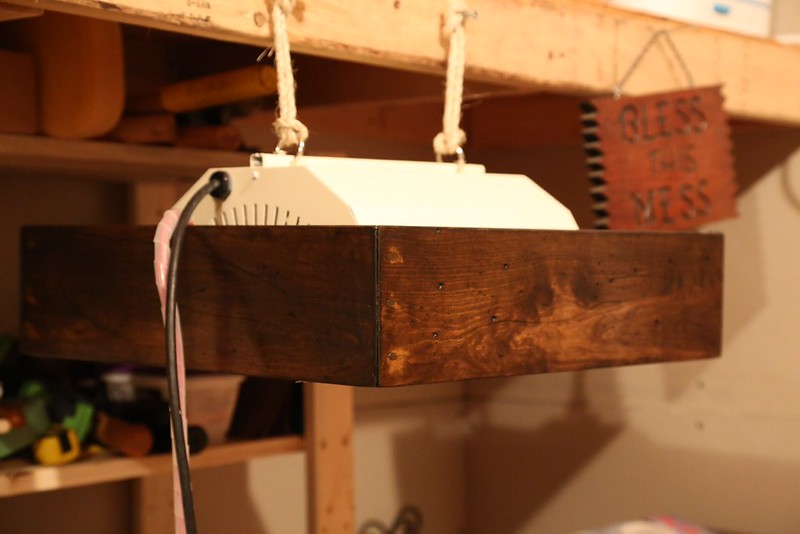 photo 2-2
 photo 1
 photo 2
 photo 3