Letsdiscus
Member
- Joined
- Feb 27, 2017
- Location
- Ontario, Burlington
P
Perfect. That sure helps.. So its ok to retain 1 " pipe for overflow drains but just keep the intake of the elbows to 1.5". That makes sense.. Many thanks.. This way, i can probably salvage some of the 1.5" elbows from my previous 90 gallon build which i had as "Herbie Overflow"
Thanks again. appreciate it.
Ok soooo I'll try my best here......
Yes keep the intake side of the elbow larger then the actuall pipe so 1 1/2" elbow reduced to 1" will work fine.
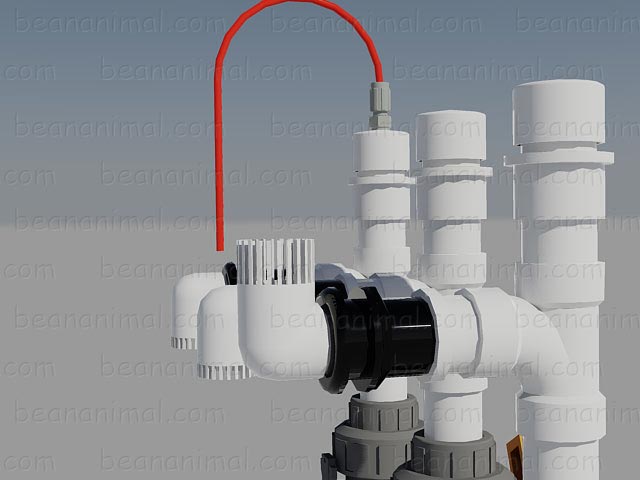
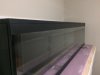
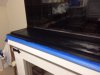
-the top of the main siphon needs NO flex line. I was redoing someone else's overflow on a used tank so I took that line out and plugged the hole. It should just be another elbow. The air line goes on the top of the trickle drain and yes it needs to be just above the regular operating level in the overflow......being as such water will trickle down that drain constantly but when the water raises for some issue(only time it should ever happen) that line will seal with water creating a second siphon and quickly suck out the excess water.
Does that help explain it?
Perfect. That sure helps.. So its ok to retain 1 " pipe for overflow drains but just keep the intake of the elbows to 1.5". That makes sense.. Many thanks.. This way, i can probably salvage some of the 1.5" elbows from my previous 90 gallon build which i had as "Herbie Overflow"
Thanks again. appreciate it.


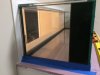


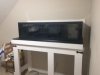
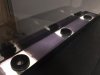
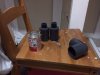
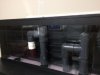
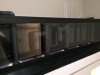
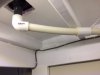
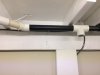
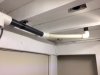
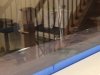
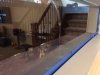
") Have a couple of qs. How heavy was your tank ? and for the plumbing setup I would really appreciate if u can share some more pics of the plumbing setup.
Have a couple of qs. How heavy was your tank ? and for the plumbing setup I would really appreciate if u can share some more pics of the plumbing setup.