Phil's 90g SPS dominant reef (aka The Electric Reef Project)

curiousphil

Super Active Member
Joined
Apr 15, 2013
Location
London, Ontario
Life got in the way and I wasn't able to finish the upgrade this weekend.  Temporarily lighting my tank with my 2 T5 bulbs and a jerry rigged 250w metal halide.

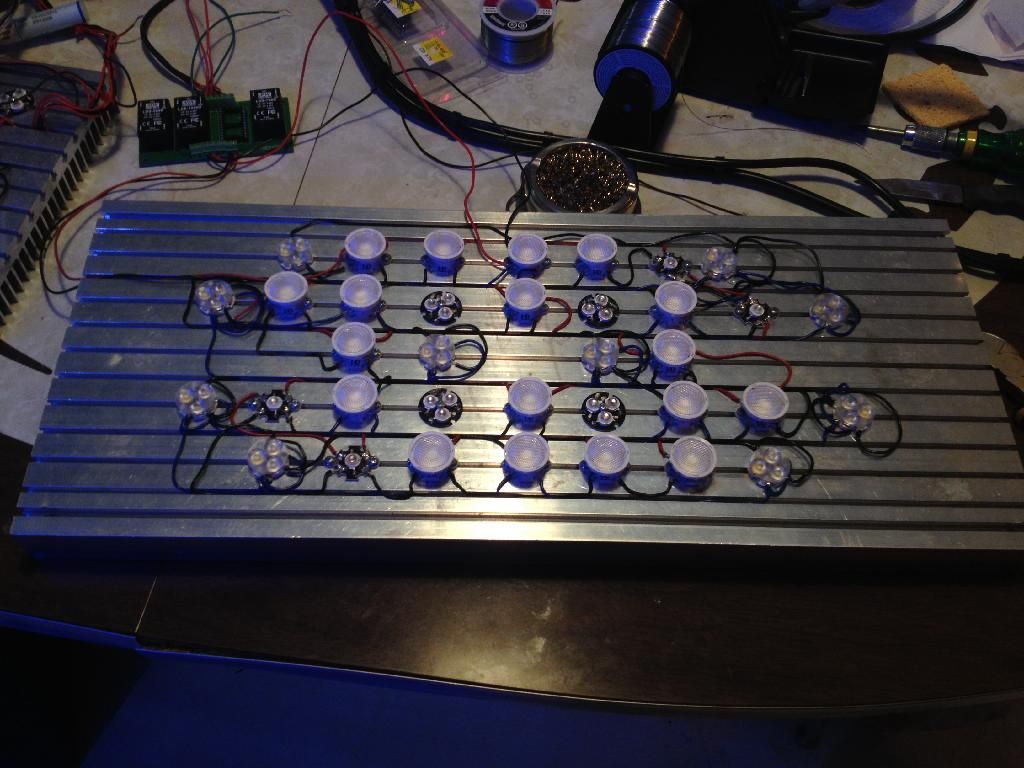
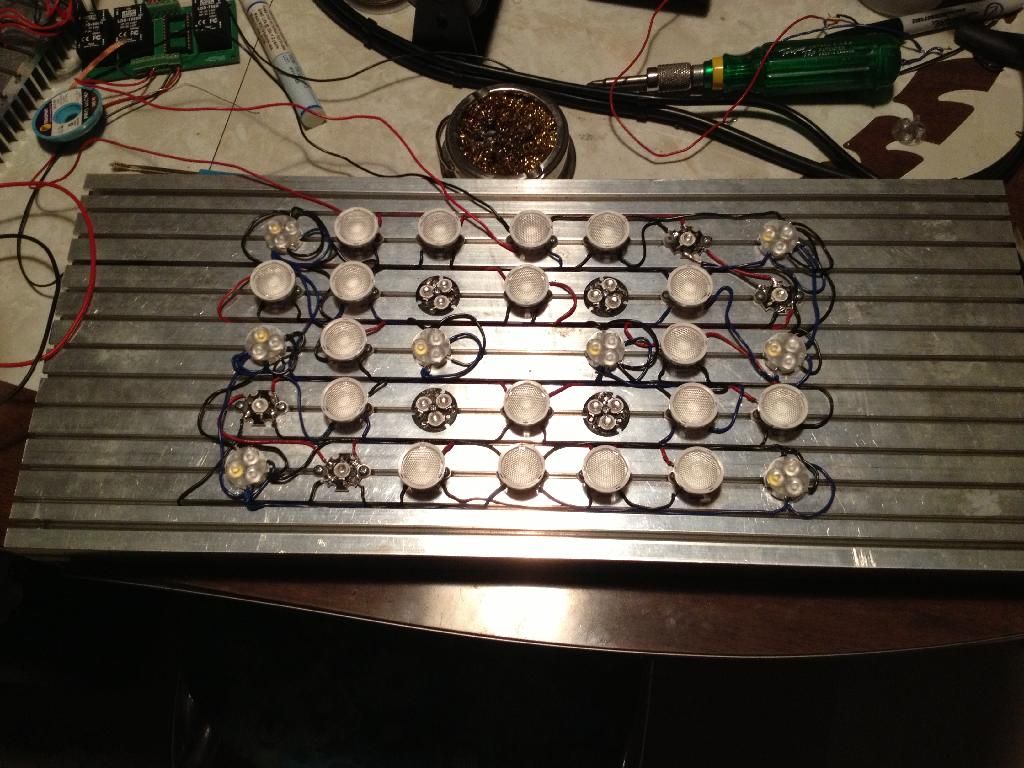
Probably spent about 9-10 hours on the project this weekend and only managed to get one fixture about half finished.  Harvested the LEDs, removed the old wiring, gave everything a good cleaning, remounted the diodes, wired up the violet and RB channels.  Have a short between the RB and violet line that I need to troubleshoot, hoping it goes away once I add plastic washers to the screws.  (Left them off for the soldering stage so I didn't melt them with the iron.)

New rock is cycling well, smell is gone.  It will probably take me the rest of the week to finish my lights so I'll probably tweak the aquascape a bit and add some rock next time I have the top off.
 

Bayinaung

Member
Joined
Jan 29, 2014
Location
Tory Town (in more ways then one eh!)
curiousphil link said:
-I'm planning to move within the next year, so I didn't want to start too big of a tank.  In my next home I would like to build a system featuring a large 200-300g display tank.

coz ur moving you decided to do a small tank.. a feather light easy to move tank... a pico maybe?  just a tiny 900lb+ pico. LMAO!
 

curiousphil

Super Active Member
Joined
Apr 15, 2013
Location
London, Ontario
Bayinaung link said:
[quote author=curiousphil link=topic=5145.msg48505#msg48505 date=1366125460]
-I'm planning to move within the next year, so I didn't want to start too big of a tank.  In my next home I would like to build a system featuring a large 200-300g display tank.

coz ur moving you decided to do a small tank.. a feather light easy to move tank... a pico maybe?  just a tiny 900lb+ pico. LMAO!
[/quote]

ROFL.  Yeah I thought a pico would be best hahaha.  In my mind this is still a tiny tank compared to what I aim for.  I'll know it's upgrade time once my regal tang reaches 10 inches lol.  It's already gone from 2" to 4" so hopefully the other 6" takes longer.... lol.

Still working on the LED upgrade and continuing to run the T5s and halide as a substitute.  And damn, I swear I may just end up chucking the LEDs!!! Hahaha.  In the 6 days of exposure my tank has had to MH the corraline growth has exploded.  A month ago the rock in attached picture only had a frosting of purple on the hard edges... today as I look at it it seems like it will be covered in no time.  Almost half covered.  It is sitting almost directly under the MH bulb.

Hopefully once I throw the LED fixtures back on I will see a change for the better.  I have the first fixture about 60% completed.
atu3udev.jpg
 

curiousphil

Super Active Member
Joined
Apr 15, 2013
Location
London, Ontario
Oh and now that I have actually seen MH shimmer in my own tank I can finally confirm rather than assume - the shimmer I get from my LEDs is almost identical.
 

curiousphil

Super Active Member
Joined
Apr 15, 2013
Location
London, Ontario
For anyone considering a "3up" LED star - don't!!!  Not worth it!!  I am definitely regretting my choice in using them.  Any positive side effects that they *may* have are negated by the huge pain in the ass (hereafter PITA) they cause when working with them.  They are by far *the MOST* frustrating things I have ever had to deal with in life.  And I think that's saying a lot considering I've worked in a call centre and been divorced.

I have now logged well over 24 hours on my one fixture, and I would guess that 80-90% of that time has been troubleshooting shorts on these 3up stars.  I got the violets wired up in maybe an hour; they are laid out like most other LED stars having two + pads on one side and two - pads on the other, putting one pad in each of the 4 'corners.'  The problem with the 3ups is that the solder pads are sooooo close together.  If you want to wire the blues and whites separately, you have to solder 2-3 wires each onto these tiny pads that are millimetres away from each other.  Six pads total, Another problem I've encountered this time around is that blobbing the pads between the blue LEDs isn't working, I have to jumper the positive and negatives together, and it's created a birdsnest of wires.  For reference, here is a picture of how they are supposed to be wired.  See the black line?  That's supposed to represent a solder blob.  Worked on my last build, and the other fixture, but on this one no bueno.  Had to jumper the blue positives and negatives to each other.
IMG_1166_11697a__10882.1333756940.1280.1280.jpg

Even given that diagram, you have to solder two wires to each of those pads, and while it's doable it is a royal PITA.  After spending every free moment I had this week troubleshooting my royal blue string, I finally got it working properly on Saturday afternoon.  Then I placed the lenses on, excited to get a taste of my final product: after placing the lenses on, a wire got knocked loose somewhere, no lights.  2 hours of troubleshooting later, success.  Then I tried to add the wiring for the whites..... gah!!  Created a short somewhere on the blue string again.  Worked on the whites until about 8pm last night and then gave up.  Unwired all the whites and the blues still wont' come back on.  So while I am making progress on my LED fixtures, it is painstakingly slow going.  Once I have the first heatsink working, I think I am just going to slap optics onto the other fixture and hang them back up until I feel like another 2 week battle.  I don't care if my lighting is a little imbalanced I'm just so frustrated and want things back to a state of semi-normal lol.  Or maybe I'll do a little experiment where I leave the halide on one side, I dunno.

Once I am ready to hang the fixtures back up I'm also going to do a little work on my hood.  I have had the heatsinks hanging from a 1x2 "crossbeam" and it's sags horribly, it's a little terrifying.  So I went to home depot and picked up a 4 foot piece of square aluminum tubing to use as a crossbeam that will not flex.  Also got some airline cable and the associated fittings to use instead of nylon twine, and paint to waterproof it.  Eventually I'll get around to trimming out and painting my whole stand so it's not such an eyesore! :)  The paint I picked out is a Painter's Touch indoor/outdoor espesso for the outside, and white for the inside.  I'll likely take my sump out when the new skimmer arrives and paint the inside of my stand at that point.  Might finish the front panel and trim for it in spring once I can setup the table saw on the back patio again.  Anyways, now that I've talked your ears off (or eyes out, more appropriately), I'll reward you with picture time!!!
 

curiousphil

Super Active Member
Joined
Apr 15, 2013
Location
London, Ontario
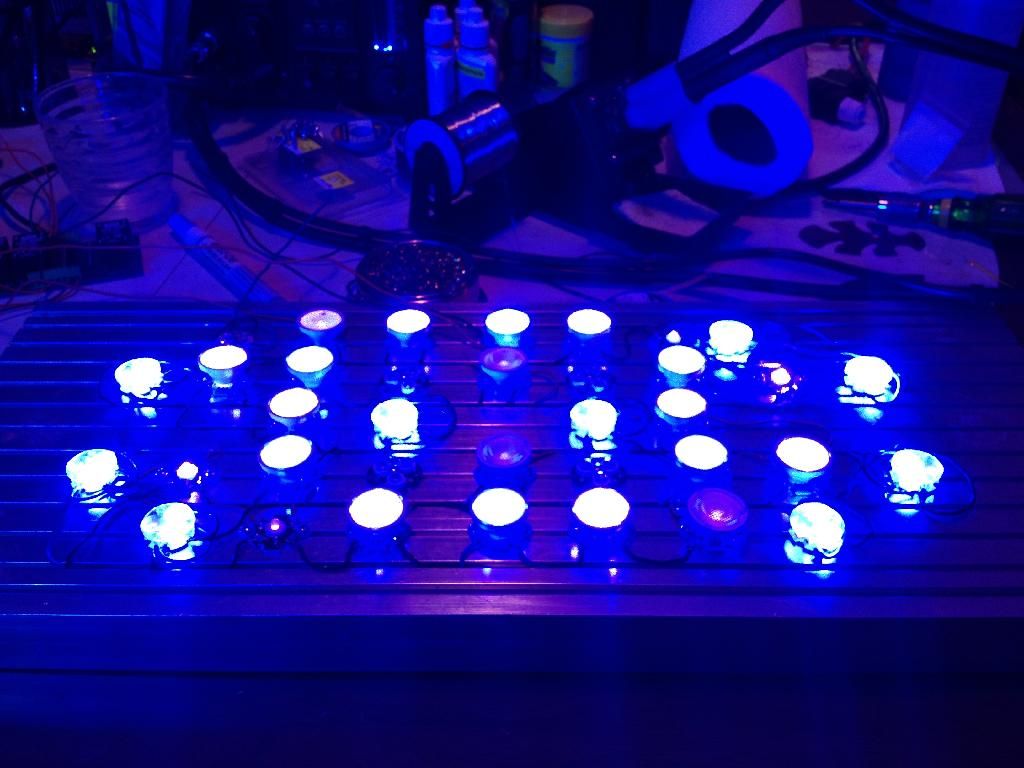
Lensed up and ready for test:


Oooh shiny!  The lenses definitely seem to make a difference you can see as I go from 180 degree eye level to a 90 degree birds eye view:


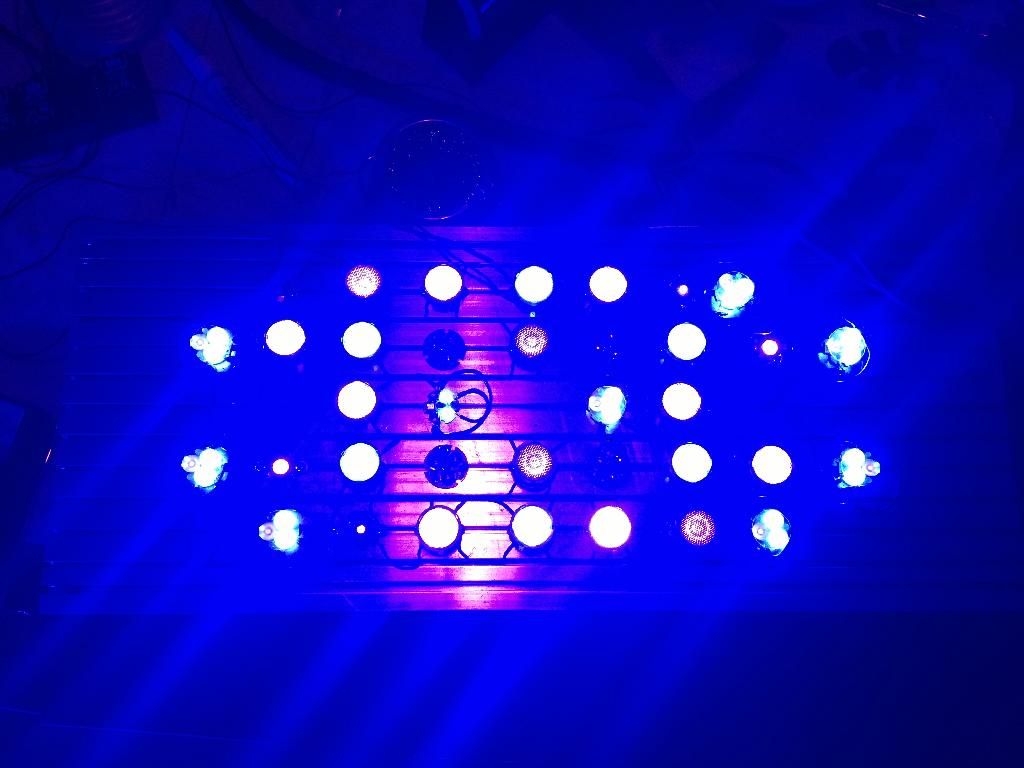
Nice spread:


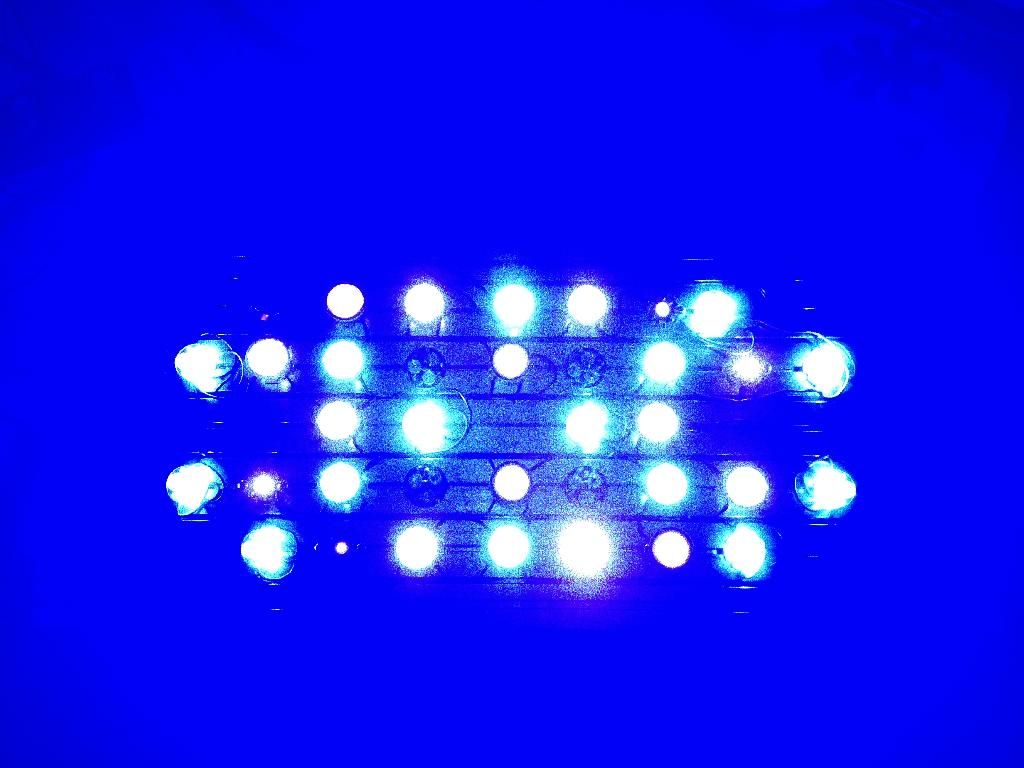
Slightly modified layout after I realized that I have two less 3ups than I thought I did:
 

KBennett

Member
Joined
Sep 17, 2012
Location
Brantford
Flux is your friend.  I find the more I use, the better.  Just wash it off after.  Also, are you soldering with them on the heatsink? 
It's easier without it stealing all the heat.

Sorry if you already knew that.
 

curiousphil

Super Active Member
Joined
Apr 15, 2013
Location
London, Ontario
Thanks for the tips :) I have been using some flux but not alot.  I do like to solder while more or less in position on the heatsink as that lets me cut the wires to perfect length.  Still no further time to work on this since Sunday... maybe tonight.

In other news - my liverock appears to be near the end of it's cycle!!  Did an ammonia check last night and it came back "yellow."  So tonight I'll do the nitrite and nitrate tests.
 

curiousphil

Super Active Member
Joined
Apr 15, 2013
Location
London, Ontario
Fixture 1 completed.  I think I'm just going to slap optics on the other one and hang them back up for now.
8aqe8aqy.jpg
6e8enypu.jpg


The 430 nm violets look very similar to the standalone royal blues, but the 405s are markedly violet.  I'm excitied to see how it looks on the tank but I dread converting the other fixture....
 

Big_Als_London

Super Active Member
Website Affiliate
Joined
Feb 17, 2011
Location
London, Ontario
curiousphil link said:
Fixture 1 completed.  I think I'm just going to slap optics on the other one and hang them back up for now.
8aqe8aqy.jpg
6e8enypu.jpg


The 430 nm violets look very similar to the standalone royal blues, but the 405s are markedly violet.  I'm excitied to see how it looks on the tank but I dread converting the other fixture....
Looks Good,

Call in sick one day this week and get the other one finished.
 

curiousphil

Super Active Member
Joined
Apr 15, 2013
Location
London, Ontario
reeferkeeper420 link said:
I wish i had the knowledge and patience to build one for my 46gall mixed reef. Looks awesome!

It's not all that tricky :)

Got everything wired back up, mounted and hung tonight.  Also added some more rock while the hood was down.

ba6ama7y.jpg

uzuperyh.jpg
 

curiousphil

Super Active Member
Joined
Apr 15, 2013
Location
London, Ontario
Took some PAR readings along my rockwork on Thursday evening.  At the top of the old rock-line I'm getting between 120-150 PAR.  That would be about where my mille is in the middle valley from above photo.  Very top of the new rocks I am getting 180-198 PAR - just shy of 200!!! Rats!  After running over and over things in my head, I had an AHA moment this weekend.  I believe I may be (in fact I'm almost certain now) powering my fixtures using too few drivers.  One driver per colour, per fixture, for a total of 8 drivers (I consider the OCW to be one colour since I can't be bothered with the PITA of wiring separate).

At first I wasn't sure if maybe there was something wrong with my PAR meter... I mean how can my fixture with over 100 LEDs not put out the par of people making these little nano fixtures???  I visited Aaron at Big Al's on Saturday and ran the numbers on his 90 gallon show tank, and it confirmed that my PAR meter is not broken.  Got typical numbers out of that tank, with the unit cranked up to 100% we were seeing about 400 PAR just off the top of the rockwork, very nice.

I've just been doing a little math to see what needs to change in order to bring me into line, and I think I'll be all set if I split the RB strings across 2 drivers per fixture, reduce the white strings to 1 driver total, OCW 1 driver total, violets 1 driver per fixture.  Oh and I would need to increase the RB count by 4 LEDs per fixture or risk sending 4.36v to the diodes....  so I guess I'm adding more! lol.  This change should give me forward voltages of 3.4 on the RBs, which is perfect and should be a big improvement over the 2.18 they are currently seeing.  Hopefully then I'll get some decent PAR readings.
 

curiousphil

Super Active Member
Joined
Apr 15, 2013
Location
London, Ontario
Made the switch last night, broke my RB string in half and put each string of 11 on it's own driver.  Didn't make a lick of difference.... so I'm kind of at a loss for why my output is so low :-\.  Only thing I can think of is that I'm possibly overdriving them and getting a decreased output because of that, because I didn't add in the extra 4 diodes (which as described above should result in my RB diodes getting 4.36 volts).  I need to get a new DMM and take some readings I suppose. (Thought I would be smart and get an analog meter after my last digital quit... sounded like a good idea at the time, but in practice I can't read this thing for shit! It's basically only good for saying "yes there is voltage." But what is it?  Anyone's guess!)

Yes I played around with the spectrometer a bit, you can see some scans here:
http://spectralworkbench.org/sets/show/511

I haven't played around with it since July.  I need to find a way to mount the sensor more securely.  Double sided tape was recommended but I find that it doesn't hold the sensor stable enough when you are holding the unit by hand.  A change in the way the cord is laying/falling can affect the angle at which the sensor sits, which makes it very difficult to get readings unless you have everything laying on a flat surface.  Plus I sort of lost interest after I found out that the place I get my LEDs from had already done spectral analysis using the same software:  http://spectralworkbench.org/sets/show/149


So yeah, LED Gurus: if you have any ideas about what I may be doing wrong to get such low output out of my fixtures, hit me.  I'm almost at the point of throwing in the towel and getting a 2x250W MH fixture.  For what I've spent on the LEDs I could have had a very nice fixture from the get-go and 10 months of stability.  Thankfully I still haven't spent enough that I could have had 2 Radion's :p.
 

curiousphil

Super Active Member
Joined
Apr 15, 2013
Location
London, Ontario
I'm using 1000ma drivers for the royal blues, the MeanWell LDDH-1000's.  All drivers are connected to a MeanWell S-500-48 power supply (500W, 48V, 10.4A).
 

curiousphil

Super Active Member
Joined
Apr 15, 2013
Location
London, Ontario
Beth came home with plants for the planted tank yesterday so after I was all wet from aquascaping that tank, I decided to take the plunge and add the rest of my new liverock to the reef tank.  It's starting to look very full in there now!!  Full, and yet empty... I have lots of new spots for mounting SPS :D.  The rock I got from pulpfiction is great stuff, very porous.  I believe he said it was Bali rock.  Not sure where it came from before he got it but it was definitely a reef tank as I found epoxy frag mounts on a couple of rocks.

I let the rock go through a cycle in a Rubbermaid tub that I drained and filled with tank water every week, watched for the ammonia and nitrites to spike then fall back to zero, so I'm thinking it shouldn't cause much of a cycle in the tank.  I'm really hoping that it helps with filtration, I've battled high nitrates ever since I setup this tank.  It never had a ton of liverock so I've always wondered if that was part of my issue.  Started the tank with about 40-50 lbs of liverock that I got from Beth, then added another 25 lbs from Big Al's a month or two later.  So I estimate that I've been running the tank with maybe 60-75 lbs of liverock total.  The batch I got from pulp weighed in at 75 lbs, so I've pretty much just doubled my amount of liverock.  Between the extra rock and the new skimmer that's coming in soon[sup](TM)[/sup]... maybe - just *maybe* - I can finally get my nitrates in check.  They've been over 20 ppm since October (more or less corresponding with when I added the marine betta) in case anyone is wondering.

My main goal for the evening was just to get it all in there, so given that, I'm fairly pleased with the final aquascape.  It was certainly challenging to fit it all (I now understand how Tyler must feel when working in his tank).  I unfortunately damaged a couple of frags by accidentally dropping a rock :( but they were all healthy and I believe will survive just fine (green cap, red digi, "banana" tabler).  Pictures to come later tonight or maybe this weekend, whenever I get some free time.  The battery on my phone died just as I busted it out to take a picture.
 
Top