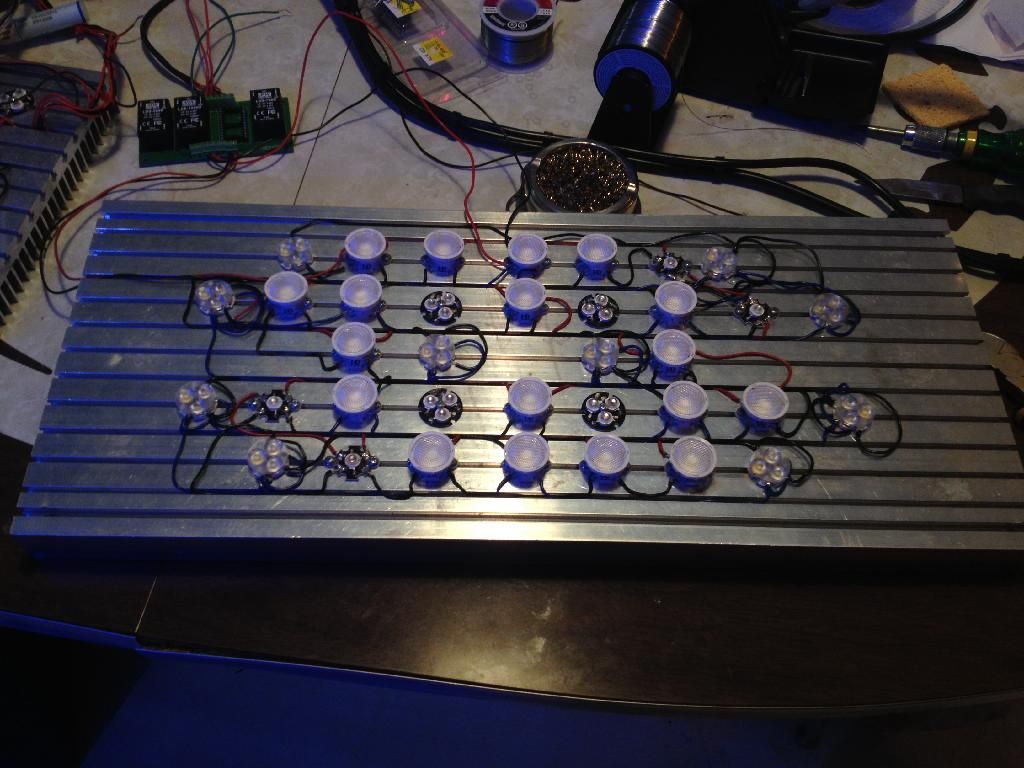
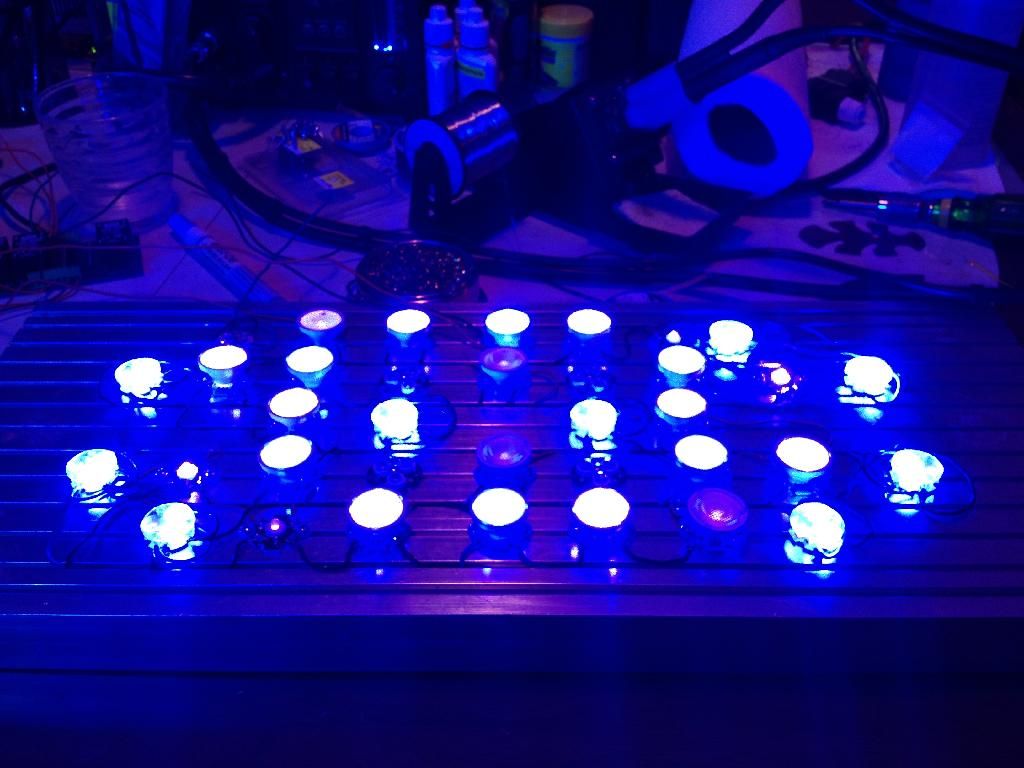
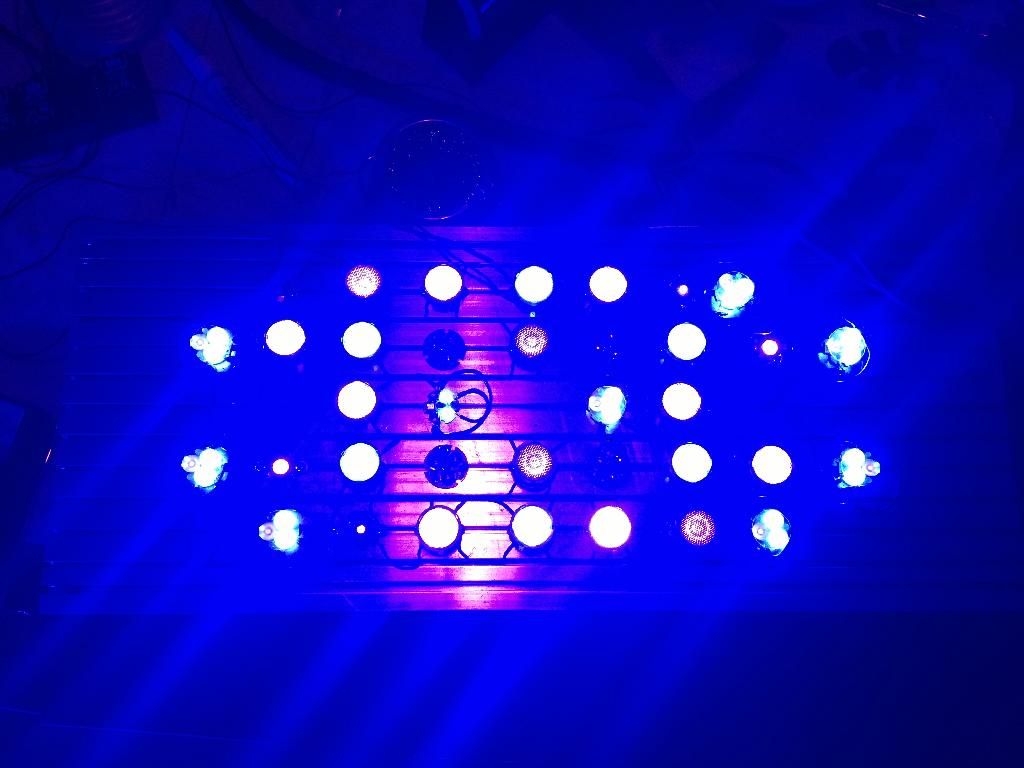
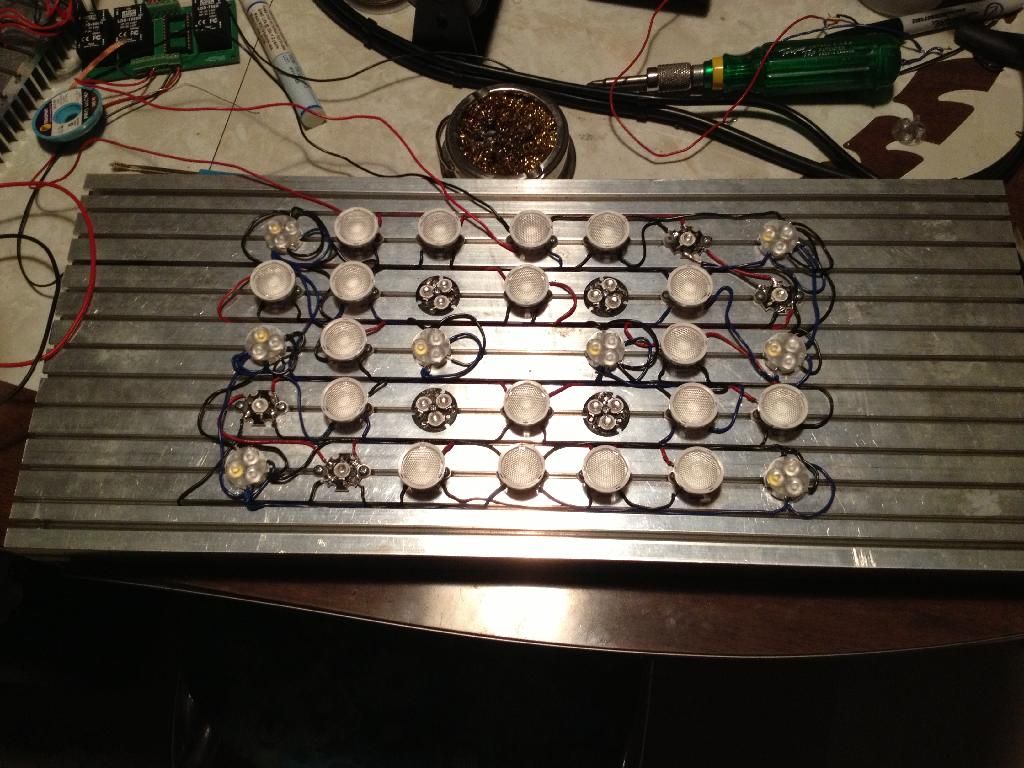
For anyone considering a "3up" LED star - don't!!! Not worth it!! I am definitely regretting my choice in using them. Any positive side effects that they *may* have are negated by the huge pain in the ass (hereafter PITA) they cause when working with them. They are by far *the MOST* frustrating things I have ever had to deal with in life. And I think that's saying a lot considering I've worked in a call centre and been divorced.
I have now logged well over 24 hours on my one fixture, and I would guess that 80-90% of that time has been troubleshooting shorts on these 3up stars. I got the violets wired up in maybe an hour; they are laid out like most other LED stars having two + pads on one side and two - pads on the other, putting one pad in each of the 4 'corners.' The problem with the 3ups is that the solder pads are sooooo close together. If you want to wire the blues and whites separately, you have to solder 2-3 wires each onto these tiny pads that are millimetres away from each other. Six pads total, Another problem I've encountered this time around is that blobbing the pads between the blue LEDs isn't working, I have to jumper the positive and negatives together, and it's created a birdsnest of wires. For reference, here is a picture of how they are supposed to be wired. See the black line? That's supposed to represent a solder blob. Worked on my last build, and the other fixture, but on this one no bueno. Had to jumper the blue positives and negatives to each other.
Even given that diagram, you have to solder two wires to each of those pads, and while it's doable it is a royal PITA. After spending every free moment I had this week troubleshooting my royal blue string, I finally got it working properly on Saturday afternoon. Then I placed the lenses on, excited to get a taste of my final product: after placing the lenses on, a wire got knocked loose somewhere, no lights. 2 hours of troubleshooting later, success. Then I tried to add the wiring for the whites..... gah!! Created a short somewhere on the blue string again. Worked on the whites until about 8pm last night and then gave up. Unwired all the whites and the blues still wont' come back on. So while I am making progress on my LED fixtures, it is painstakingly slow going. Once I have the first heatsink working, I think I am just going to slap optics onto the other fixture and hang them back up until I feel like another 2 week battle. I don't care if my lighting is a little imbalanced I'm just so frustrated and want things back to a state of semi-normal lol. Or maybe I'll do a little experiment where I leave the halide on one side, I dunno.
Once I am ready to hang the fixtures back up I'm also going to do a little work on my hood. I have had the heatsinks hanging from a 1x2 "crossbeam" and it's sags horribly, it's a little terrifying. So I went to home depot and picked up a 4 foot piece of square aluminum tubing to use as a crossbeam that will not flex. Also got some airline cable and the associated fittings to use instead of nylon twine, and paint to waterproof it. Eventually I'll get around to trimming out and painting my whole stand so it's not such an eyesore!

The paint I picked out is a Painter's Touch indoor/outdoor espesso for the outside, and white for the inside. I'll likely take my sump out when the new skimmer arrives and paint the inside of my stand at that point. Might finish the front panel and trim for it in spring once I can setup the table saw on the back patio again. Anyways, now that I've talked your ears off (or eyes out, more appropriately), I'll reward you with picture time!!!


