Reefgeek 300g build thread

Marz

Active Member
Joined
Feb 9, 2014
Location
Orangeville, Ontario
I would be really interested in understanding what/how your are building the LEDs, as well as your results with the Par meter. I don't know much about about DIY LED and have tried to read as much as I can, but am still struggling (I have not problem admitting it either). Also, will you be using a controller for the lights?

On another note, this looks great! I am sure you can't wait to get the thing loaded up :) keep the pics coming (of course at your convenience :))
 

reefgeek

Member
Joined
Apr 9, 2014
Location
Barrie, Ontario
Marz link said:
I would be really interested in understanding what/how your are building the LEDs, as well as your results with the Par meter. I don't know much about about DIY LED and have tried to read as much as I can, but am still struggling (I have not problem admitting it either). Also, will you be using a controller for the lights?

On another note, this looks great! I am sure you can't wait to get the thing loaded up :) keep the pics coming (of course at your convenience :))
Marz the whole led setup is pretty straight forward, if you don't like the idea of soldering there are plenty of solderless options out there. In fact this project only requires me to solder the pc boards together; the leds are all plug and play. I did originally want to use my Neptune Apex as the control source for the leds but costs dictated that I go with a Storm X controller, that and the pulse width modulation (pwm) of the Storm X is far more accurate than the 0-10v dimming offered by the Neptune Apex.

I've bought some aluminum l channel last night from my local lowes and will be using this to fabricate my fixture, the leds will be put together as a beta test this weekend so it may not look the best but it will be working by this weekend with any luck.
 

reefgeek

Member
Joined
Apr 9, 2014
Location
Barrie, Ontario
Much slower day today than I had hoped for. I have fabricated a basic aluminum frame for the light fixtures but took a detour from actually building the fixtures and decided to use a PC case to house all of the electrical components as well as use a pc pwm fan controller to cool the fixtures. I'm just in the process of testing the cooling system. I'll try to get some pics up later tonight as I should be able to start making some picture worthy progress.

Back to work..err play!  8)
 

reefgeek

Member
Joined
Apr 9, 2014
Location
Barrie, Ontario
Well that took much longer than anticipated, go figure life getting in the way...
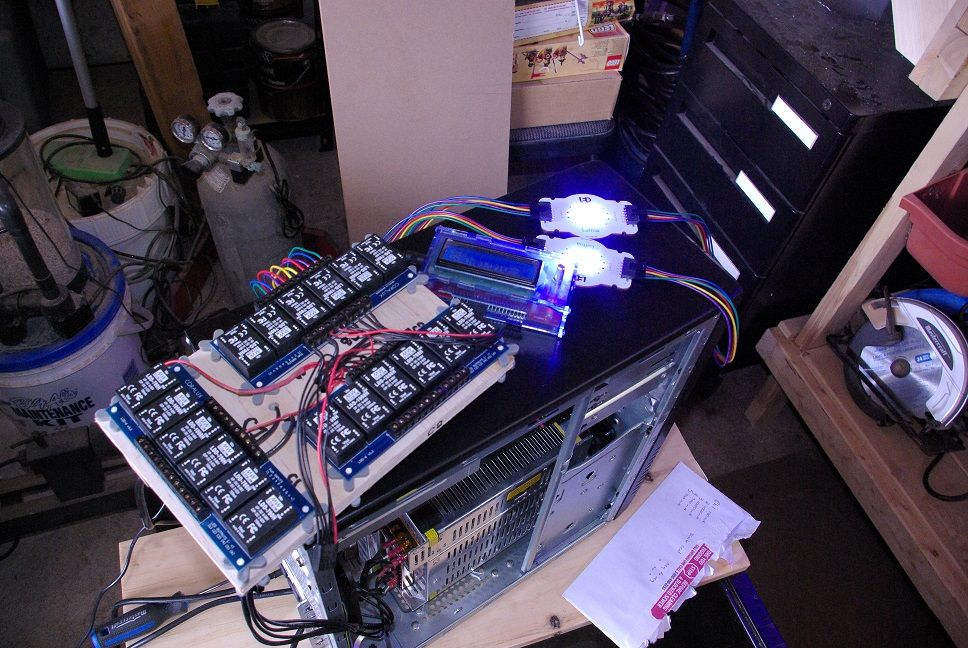
Beta tested the lighting setup today and ... it works flawlessly! I need to run out and grab some thermal adhesive so that I can get the chips on their heat sinks. My wife calls me a madman, I just call myself an "enthusiast".  :eek:
Some pics for your viewing pleasure.
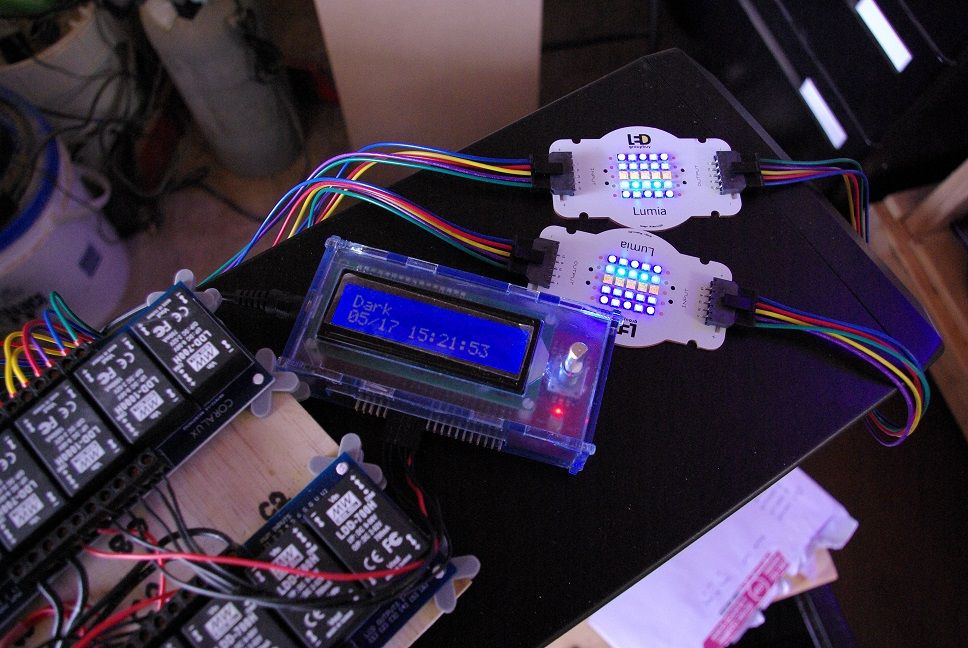
It's alive!
IMGP1970.jpg

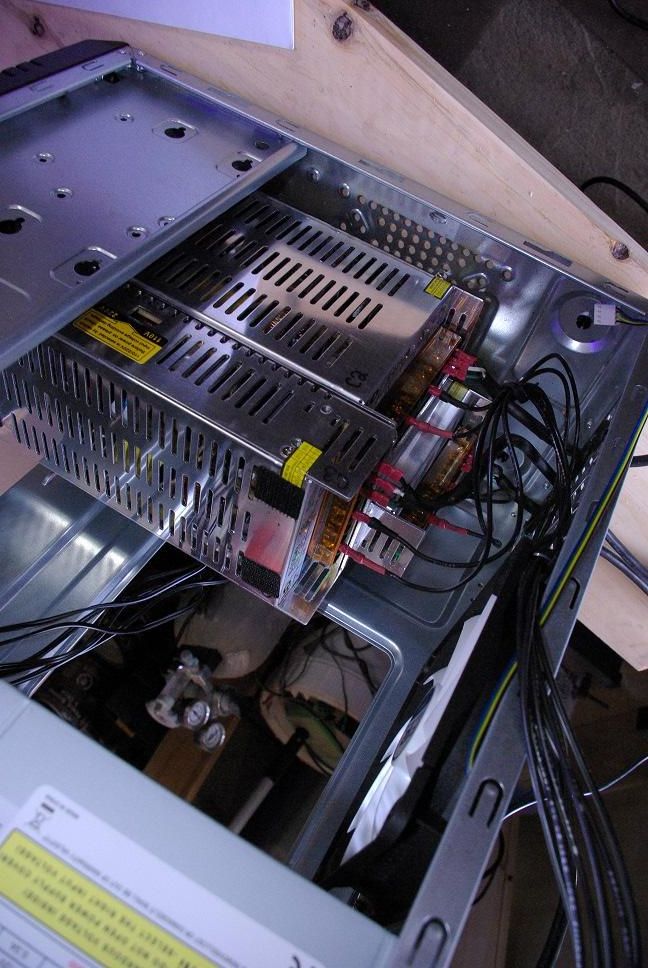
Not pretty in there but it works, closed up this will not be viewable.
IMGP1969.jpg

The level of control is just awesome each channel independently dimmed to one of over 4000, yes 4000 dimming levels!
IMGP1972.jpg
 

reefgeek

Member
Joined
Apr 9, 2014
Location
Barrie, Ontario
@theyangman - there should not be any disco effect as the leds are close together which prevents disco effect. What I am concerned about is spotlighting as the area to cover for each group of two clusters needs to cover a 24"x36" footprint. That being said I have planned an extra channel on the controller that would allow me to fill any gaps with cree 3up chips.
Will hopefully have the canopy finished in the next two weeks so that I can see what these chips are capable of.
 

reefgeek

Member
Joined
Apr 9, 2014
Location
Barrie, Ontario
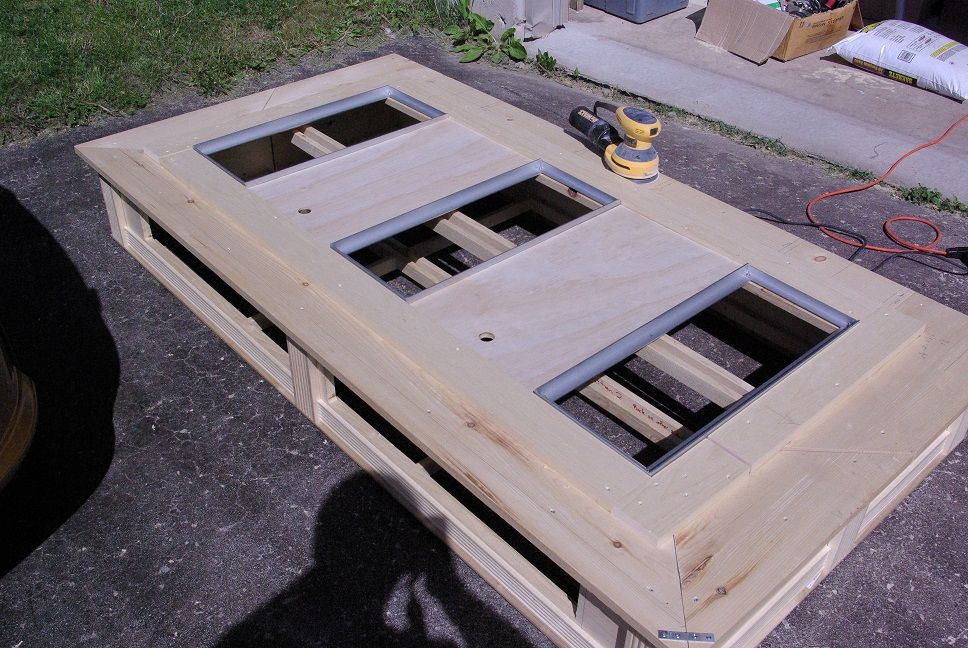
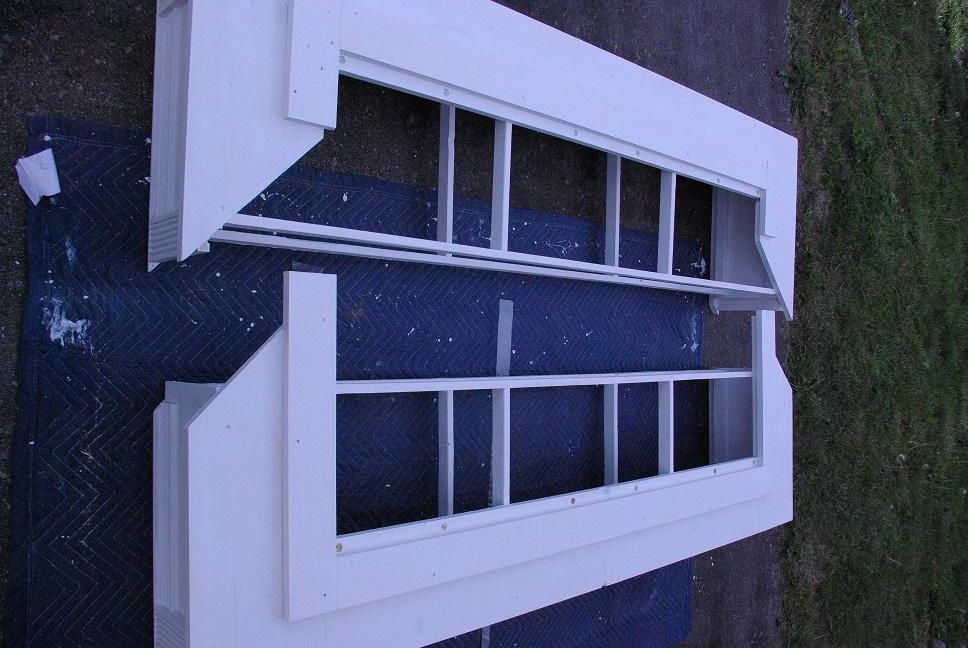
What an awesome weekend! Thank you weather. Managed to make great strides with the canopy build. Although the pic doesn't show it the canopy is now primed and awaiting paint.

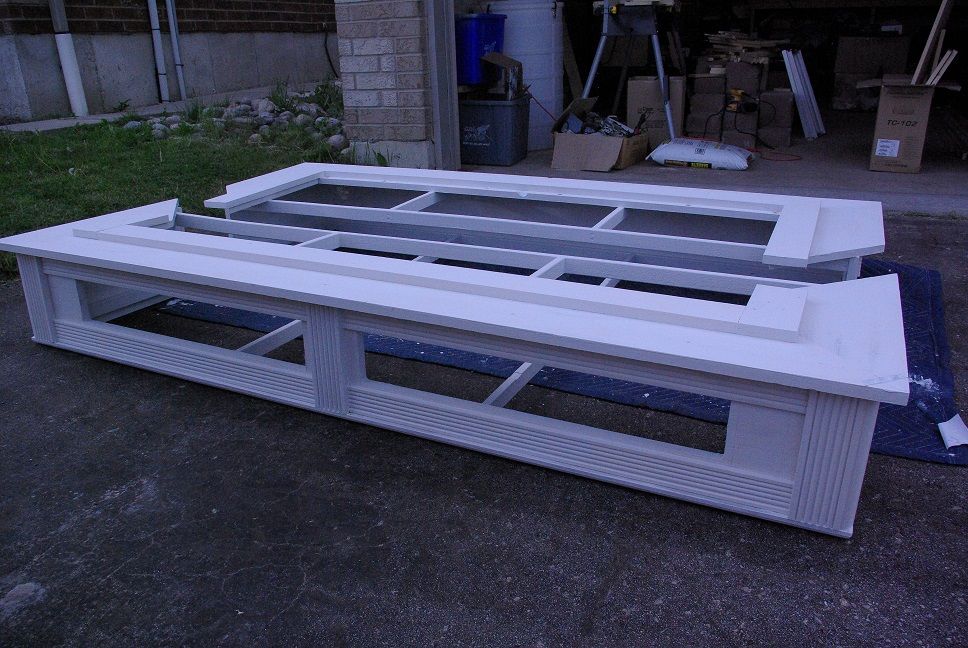
Due to the size of the canopy I actually built it in two sections that interlock, this way I am able to remove the canopy on my own for any maintenance work and use the access doors for feedings and what not. You can also see the aluminum frames that will house the led fixtures, I will need to find a way to mount the frames to the back section of the canopy so that things don't come crashing down when the front canopy is removed.

Hope everyone here had a great weekend as well.
Cheers

IMGP1975.jpg
 

reefgeek

Member
Joined
Apr 9, 2014
Location
Barrie, Ontario
Marz, your just too quick for me. Got some more shots showing the separation of the canopy components.

IMGP1976.jpg

IMGP1977.jpg


Can't wait to get paint on this thing...
 

heath

Distinguished Member
Joined
Oct 2, 2012
Location
Woodstock, Ontario
beautiful build, not sure what kind of work you do but I do believe that you have missed your calling, great eye to detail.
I too am going to tag along with this build.
 

reefgeek

Member
Joined
Apr 9, 2014
Location
Barrie, Ontario
Thanks Heath those are very kind comments. If it must be known, I work on the quality management side of drinking water treatment and distribution. Highschool woodshop, drafting and electronics really did give me some of the most useful life skills thus far, that and growing up on a farm.

I'm really hoping to get this canopy finished this coming weekend but life is likely going to go and get in the way, family first, tank second <--- that actually hurt a little to type, is that bad?  >:D
 

heath

Distinguished Member
Joined
Oct 2, 2012
Location
Woodstock, Ontario
I can only dream and drool...absolutely BEAUTIFUL..Keep the updates coming.. when finished I think you are going to have beat ppl from your door ( to see the tank). or if you are ever looking for a part time job, hahaha
 
Top