Reefgeek 300g build thread

sunnykita

Super Active Member
Joined
Oct 5, 2012
Location
Woodstock, Ontario
I'm no expert, but I know that the experienced guys and gals will say don't do it, source the pvc in the size you need. As beautiful as the set up is do you want to take a chance on this piece of abs causing you grief down the road? The tank and cabinet will be stunning when filled and running !
 

EricTMah

Aquariums by Design
Joined
Mar 2, 2014
Location
Kitchener, Ontario
Website
www.aquariumsbydesign.ca
Set up is coming along nicely!

I've never used ABS before. But some users have said no issues for years. I personally only use PVC. ABS is used for all kinds of things in a house, but never for water feed lines. Which is a good enough reason for me not to use it.

Do you guys have any Contractor Plumbing supply places near you? I usually get my stuff from a place called Mark's in Kitchener. They're mainly for contractors, but will sell to the public as well and have just about everything you can think of for plumbing.
 

EricTMah

Aquariums by Design
Joined
Mar 2, 2014
Location
Kitchener, Ontario
Website
www.aquariumsbydesign.ca
Most places will deal with the public. They will probably charge you a bit more for not having an account with them. But at least you'll get what you're looking for.

I'm still a little confused why you wanted to connect your overflow boxes together with a length of pipe cut in half. And how you plan to do this.

Sent from my Z30 using Tapatalk 2
 

reefgeek

Member
Joined
Apr 9, 2014
Location
Barrie, Ontario
It is easiest to explain when running. The gist of it is that a corner overflow can not handle a full bore siphon. By joining the overflows I increase the supply to the single siphon line. This also avoids any stagnant water in the overflow containing the trickle line.
 

curiousphil

Super Active Member
Joined
Apr 15, 2013
Location
London, Ontario
I used ABS unknowingly, and now I will always wonder "what if I used PVC? "

I like your idea of joining the overflows fwiw. I've always thought that corner overflows were kinda crappy for exactly the reason you have noticed. This will help ensure that you've got a failsafe beananimal drain and the water level in each overflow should match up perfect.
 

reefgeek

Member
Joined
Apr 9, 2014
Location
Barrie, Ontario
Small update, found black pvc but definitely not locally. Had a heck of a time trying to secure some locally then realized that BRS carries it as a normal stock item (thumbs up for that). Also lost the power supply for my Apex (a few expletives may have emerged when I realized that). Baby is expected any day now, but am going to try to get my lights up and running if I can.
 

reefgeek

Member
Joined
Apr 9, 2014
Location
Barrie, Ontario
Plumbing is finished, overflows are now tied into one another. Leak tested and performance tested the build. Everything passing just need to raise up my bean animal system to minimize the drop over the overflows.

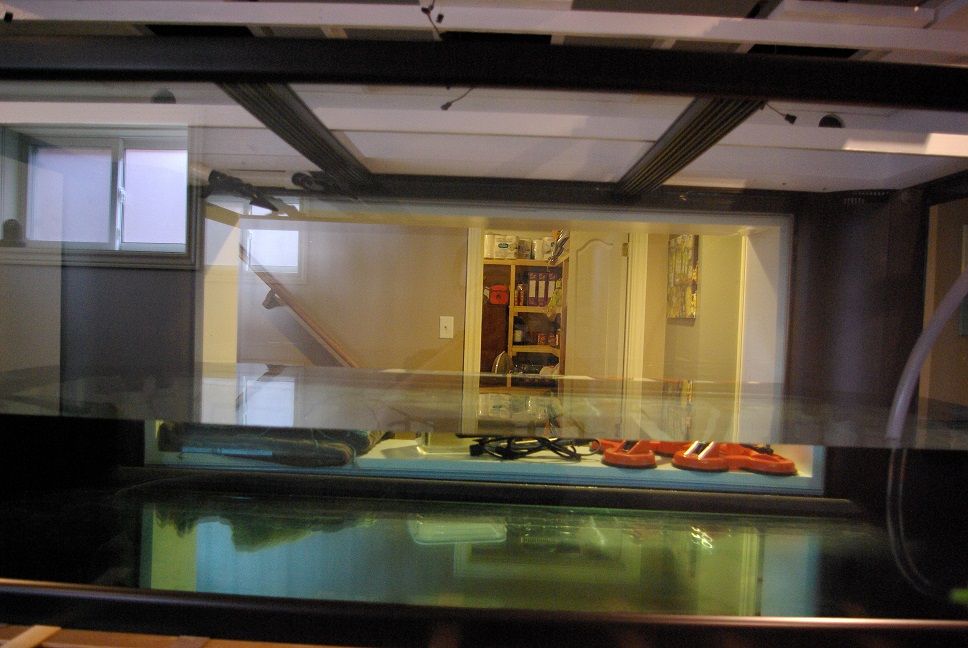
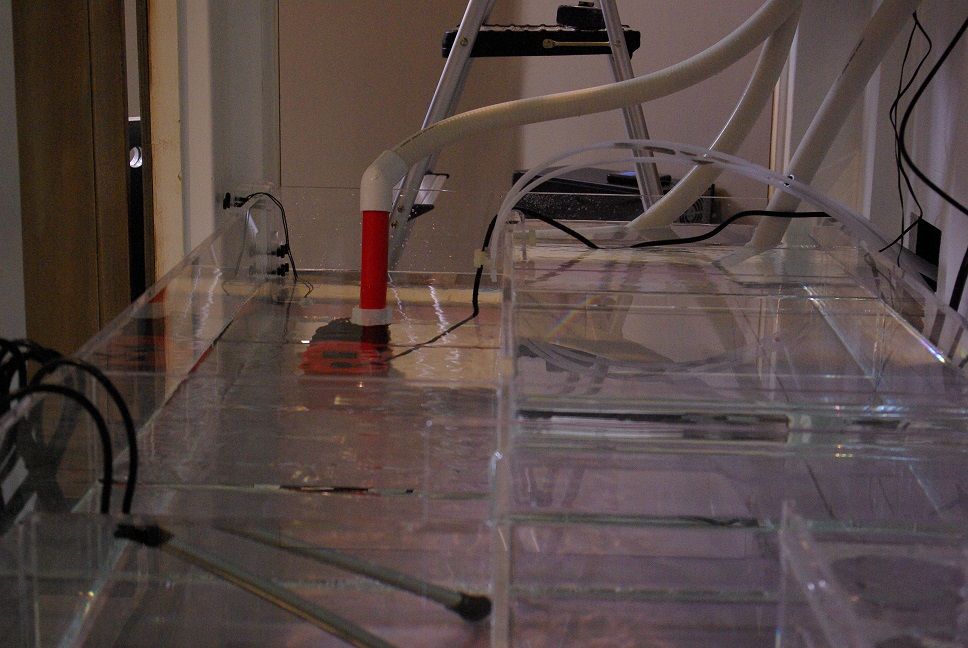
You can see the channel running along the bottom of the tank, connecting the two overflows. I used 2" pvc cut lengthwise in half which gives me a little more than the cross sectional area of the 1" drain lines that I used for the bean animal drains. The level that you see the drains at will be raised by 2.5" to minimize the sound of the water flowing into the overflows. With my dc pump the only sound there is is this slight drop, very impressed with the system.

IMGP2153.jpg


At this point I found one leak, a union that was not tightened down all of the way, my bad, easy fix :) .
IMGP2155.jpg

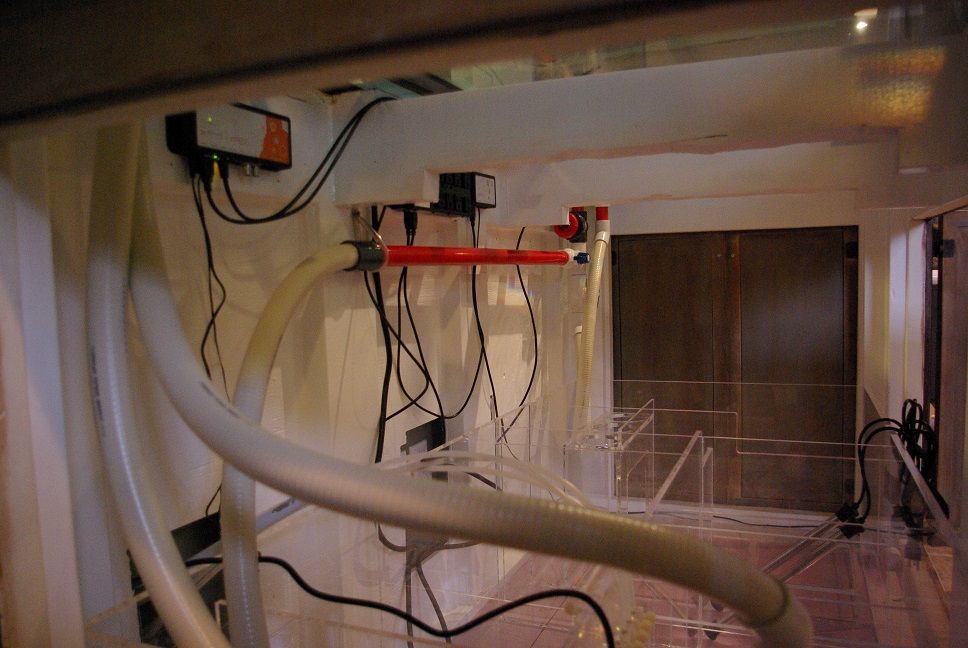
Very simple plumbing job, I have a 1" gate valve on the siphon line that will be used to fine tune the siphon to match the return pump the ball valves that follow simply allow me to direct the flow towards the skimmer area of the sump or the refugium area. Trickle and emergency lines get no valves as they do not need to be tuned. No valves on the return line as the DC pump allows me to choose from one of 6 flow rates which will suit my purposes just fine. Literally dead silent in the sump area, great sump design to pat myself on the back, thanks again to JT Custom Acrylics for building me this dream sump.
IMGP2156.jpg


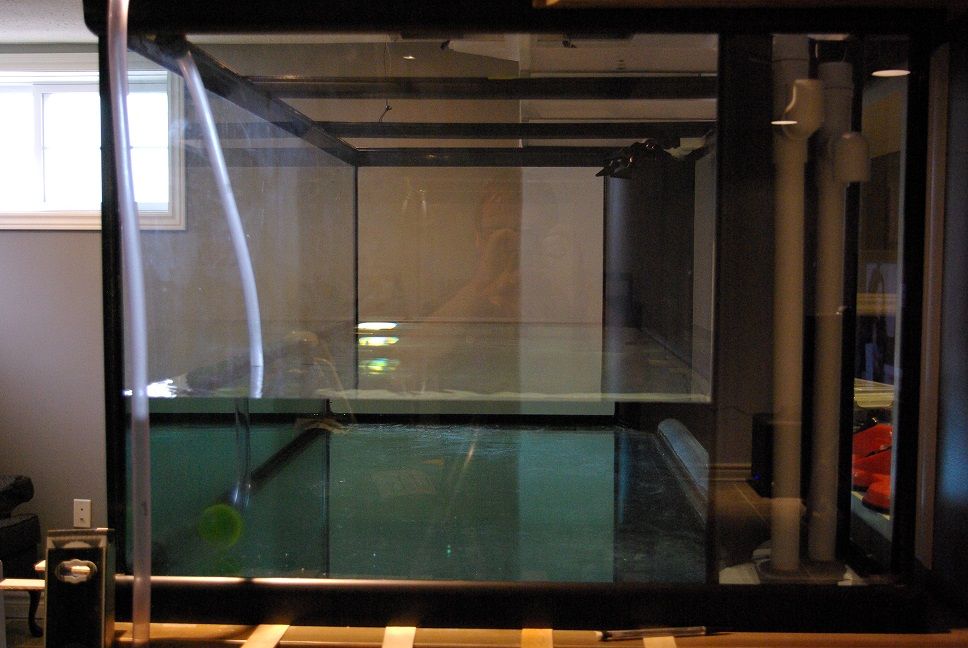
Not alot of headspace in the sump when running, my calculations worked out perfectly, powering down the system leaves me with 1" of extra volume before any flooding. I may have a cover fabricated to minimize the amount of evaporation as this is almost as much of a footprint as the display.
IMGP2157.jpg


In other news I have beta fitted the wiring and tested the diy LED fixtures. Loving the cloud effect and versatility of the Storm X led controller. Going to see if I can work on the lighting and get a video posted in the next week or two.
 

Poseidon

Distinguished Member
Joined
May 15, 2012
Location
SW Ontario
1" of remaining volume - that's scary IMO, with a skimmer shutting off along with the return pump and any full reactors In the event of a power loss, that 1" might not exist :/
 

unibob

Distinguished Member
Website Affiliate
Joined
Mar 15, 2012
Location
St Thomas
1" of remaining volume - that's scary IMO, with a skimmer shutting off along with the return pump and any full reactors In the event of a power loss, that 1" might not exist :/

I think he meant when everything gets powered off he still has an inch of room in sump.


Sent from my iPhone using Tapatalk
 

reefgeek

Member
Joined
Apr 9, 2014
Location
Barrie, Ontario
I think he meant when everything gets powered off he still has an inch of room in sump.


Sent from my iPhone using Tapatalk
Unibob you are correct, 1" of headspace with everything off leaving about 10 gallons of additional capacity approximately, if more is needed I can easily mod the sump to double that.
 

reefgeek

Member
Joined
Apr 9, 2014
Location
Barrie, Ontario
Happy to say that my LED lighting is alive and functioning, zero shocks to boot so I say job well done. Posted a video to Youtube for those interested in seeing how it all turned out.


Next up I will continue programming my Apex and will need to wire the cooling fans for the LEDs. I also will try to get a video posted of the cloud and lighting effects that the StormX is capable of delivering.
 
Top