Teebone's Epic 210G SPS Build

teebone110

Distinguished Member
Joined
Jan 5, 2011
Location
London, Ontario
Website
www.thefragtank.ca
Been a while, but here's what I have been working on..


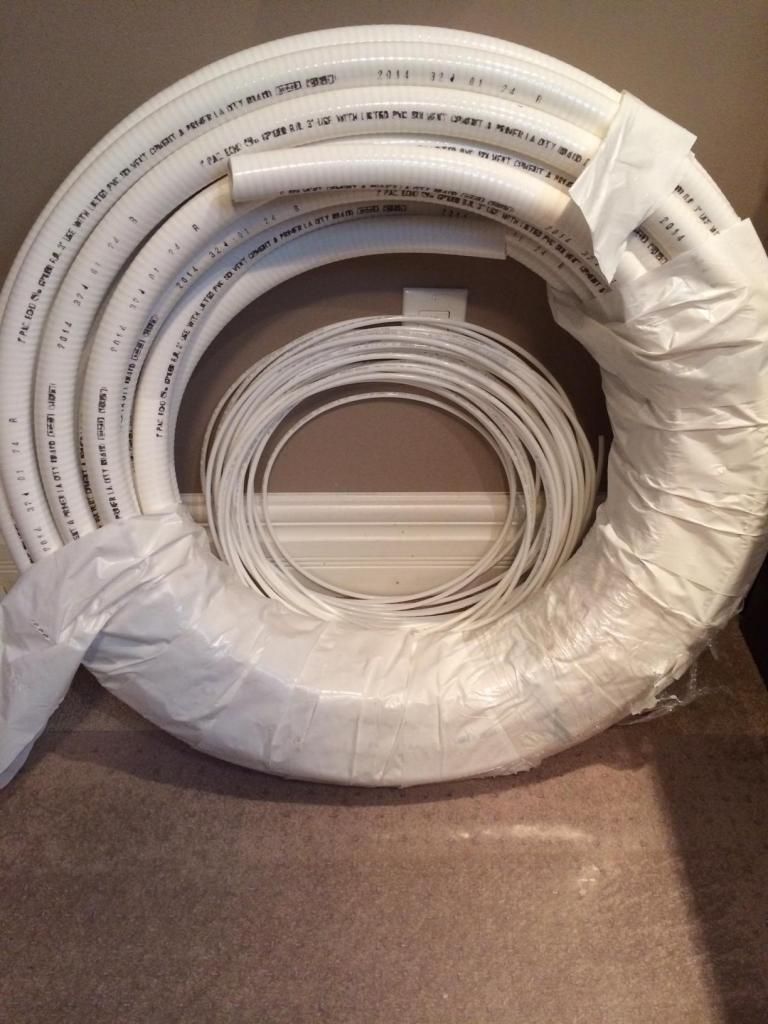
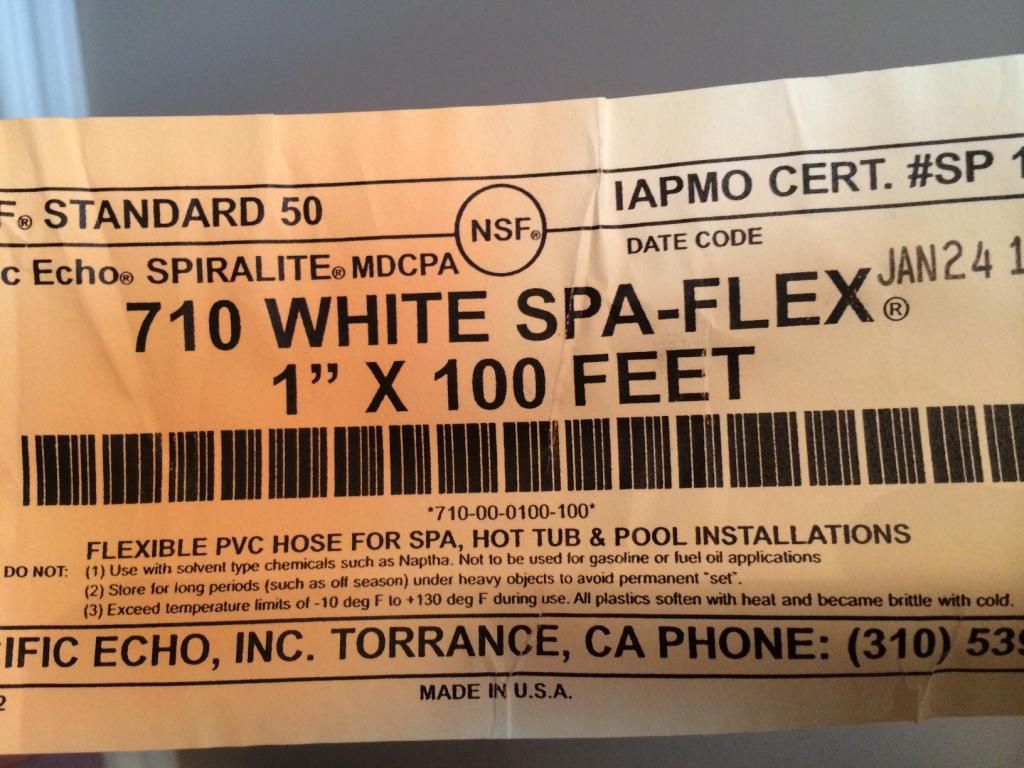
Received 100 ft of one inch spaflex hose and another 100ft of 1/4 inch john guest tubing from flexpvc.
I have been working on a plan to ensure water changes will be simple and so that they will actually happen :)

Since my basement is finished, I had to figure out how the floor joists ran over my ceiling and look for ways to get some tubing from the new tank location to my water change area. Let me tell you it wasn't easy and took some effort. I ended up running 2 inch CVAC tubing into the the open area between the ceiling and floor joists and was able to measure and push it all the way to the walls. I then had some areas of my basement that are unfinished where I could reach the CVAC tubing and push the spa flex through to each end.

I only had to cut one hole in my ceiling and another hole under my tank to pull everything through. I will get some additional pictures up of this job.
 
Last edited:

teebone110

Distinguished Member
Joined
Jan 5, 2011
Location
London, Ontario
Website
www.thefragtank.ca
Nice! I was just wondering the other day how your upgrade project was coming along.
Just been very busy with work, family stuff and summer, so I should be getting closer to getting this thing wet by October, it's my goal any lol!

I am getting a new overflow made by JT, as I accidentally broke my original one, It was only made with 1/8" acrylic, so it was not going to work by my standards. Once I get it, I should be able to get things going.
 

teebone110

Distinguished Member
Joined
Jan 5, 2011
Location
London, Ontario
Website
www.thefragtank.ca
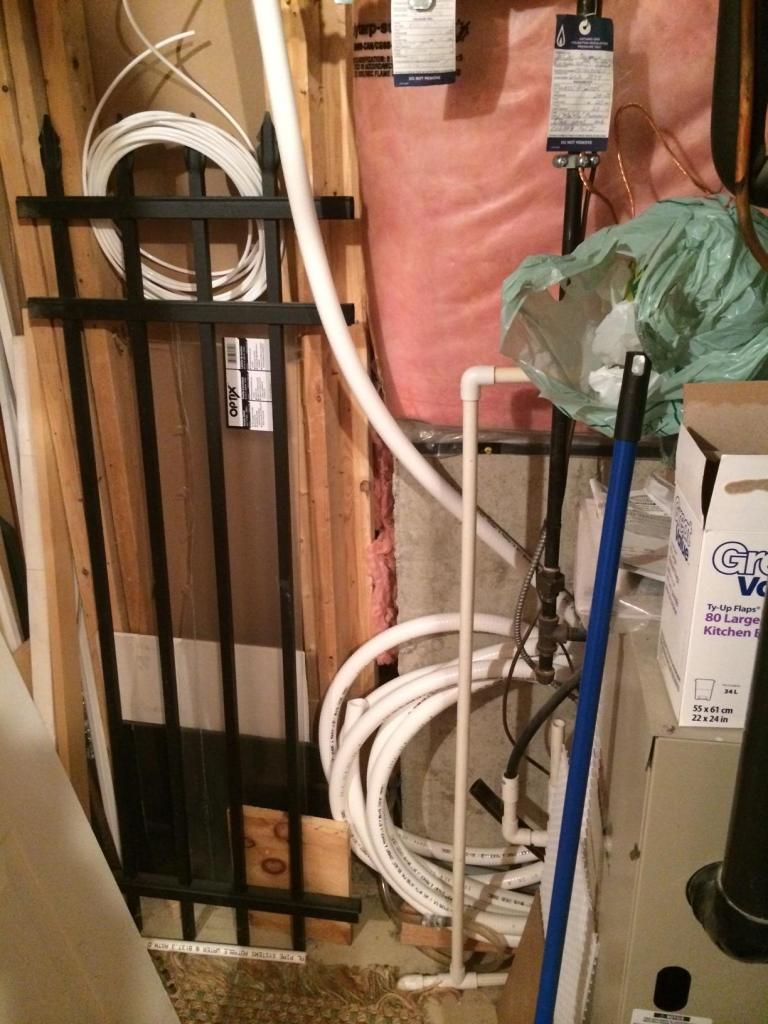
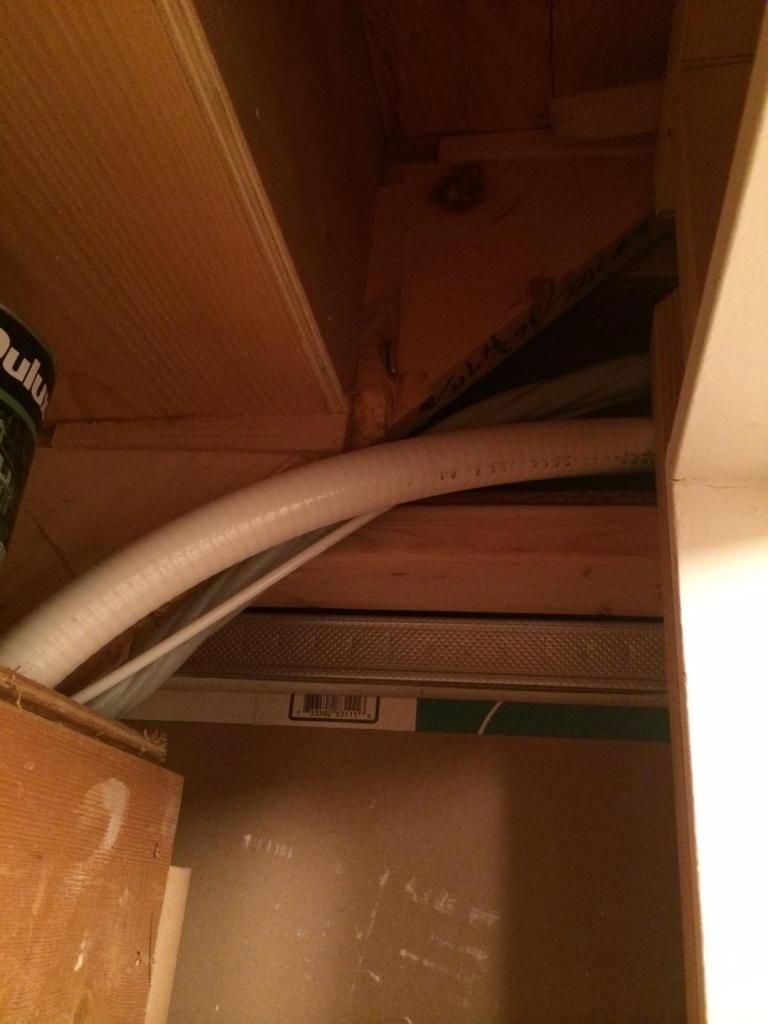
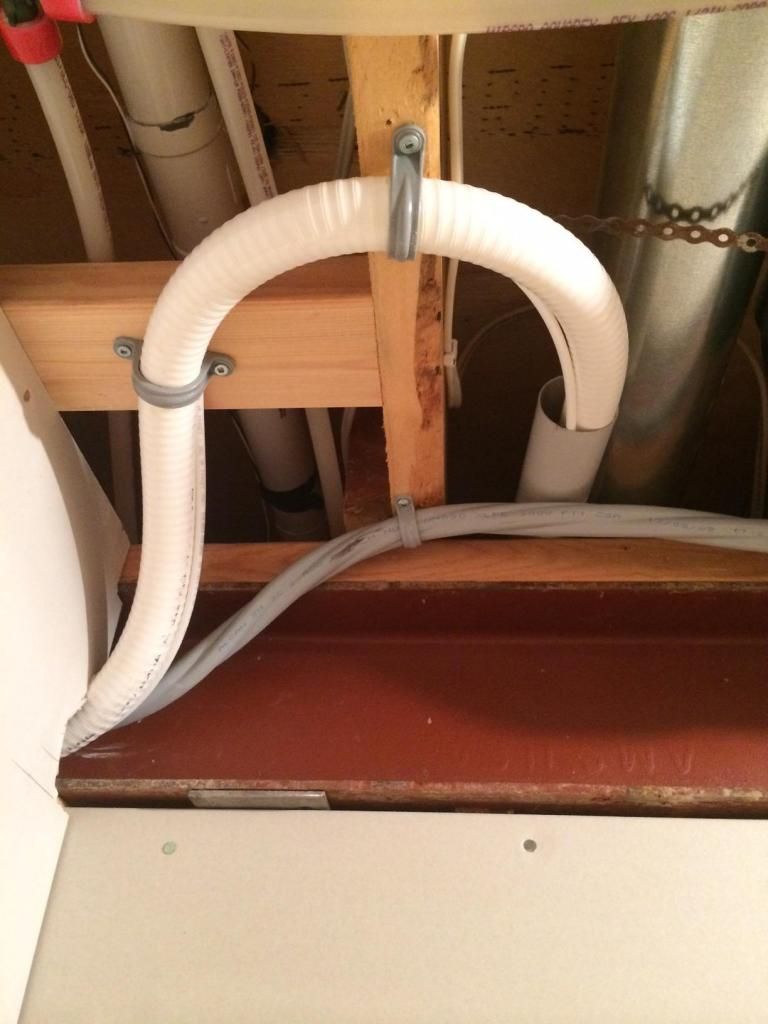
Here are some more pics of the plumbing run from my tank to the water-change area…

now that's a lot of hose!


the beginning
i.e. my furnace room


through the ceiling, along the hallway..


and under the stairs and into the closet…


back out of the closet, into the ceiling, across the hallway, and into the ceiling of a storage room…


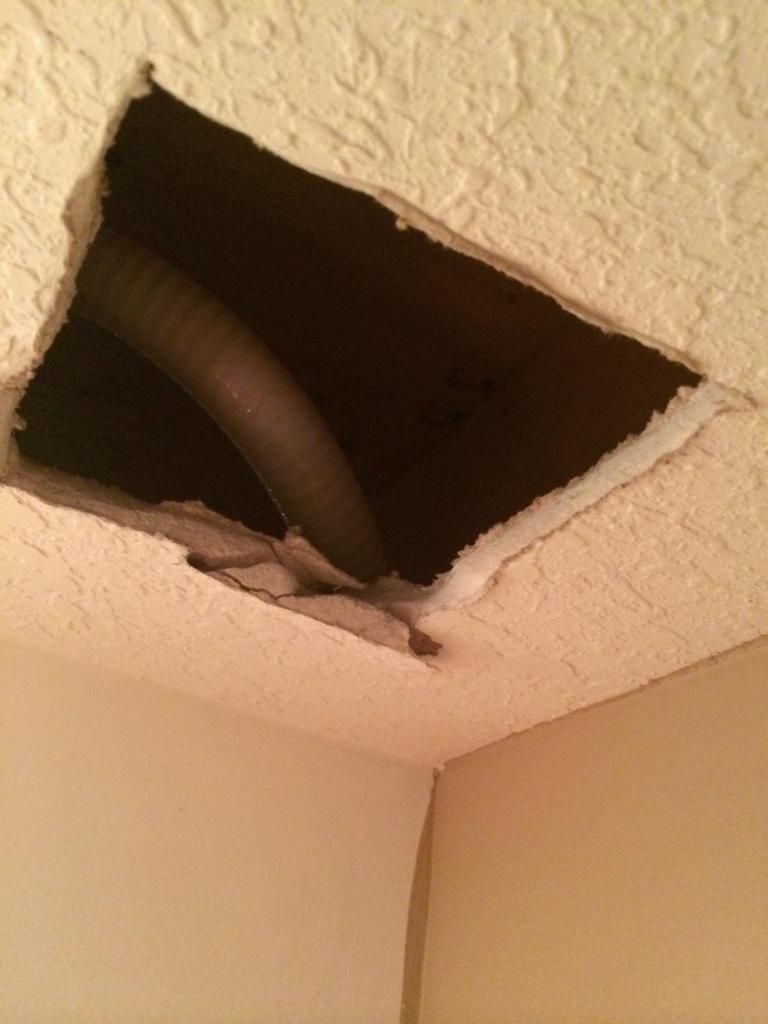
a hole is cut into the ceiling close to the wall to where the tank is (you can see where I broke the drywall as I was shoulder deep shoving the tubing down the wall)..


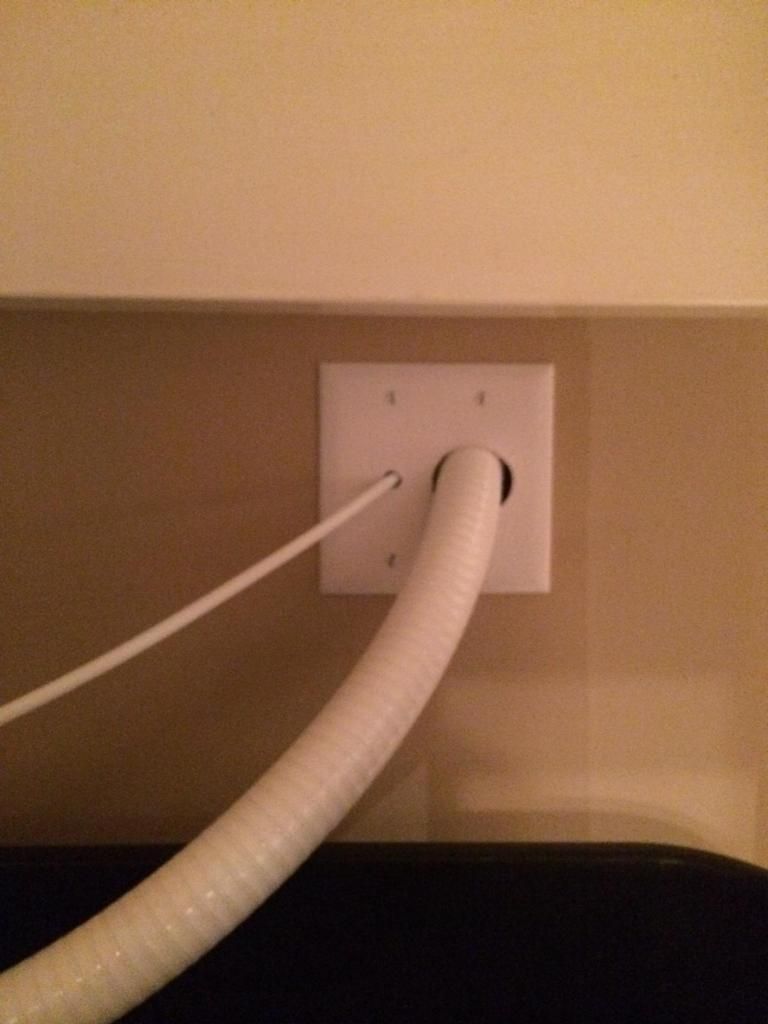
then the remaining hose is run along the ceiling and down toward the sump underneath the tank, I cut into a decorative plate to clean things up ;)
 

teebone110

Distinguished Member
Joined
Jan 5, 2011
Location
London, Ontario
Website
www.thefragtank.ca
Solid build bud!!! I love the planning involved
Any idea if you gonna use dry or live rock
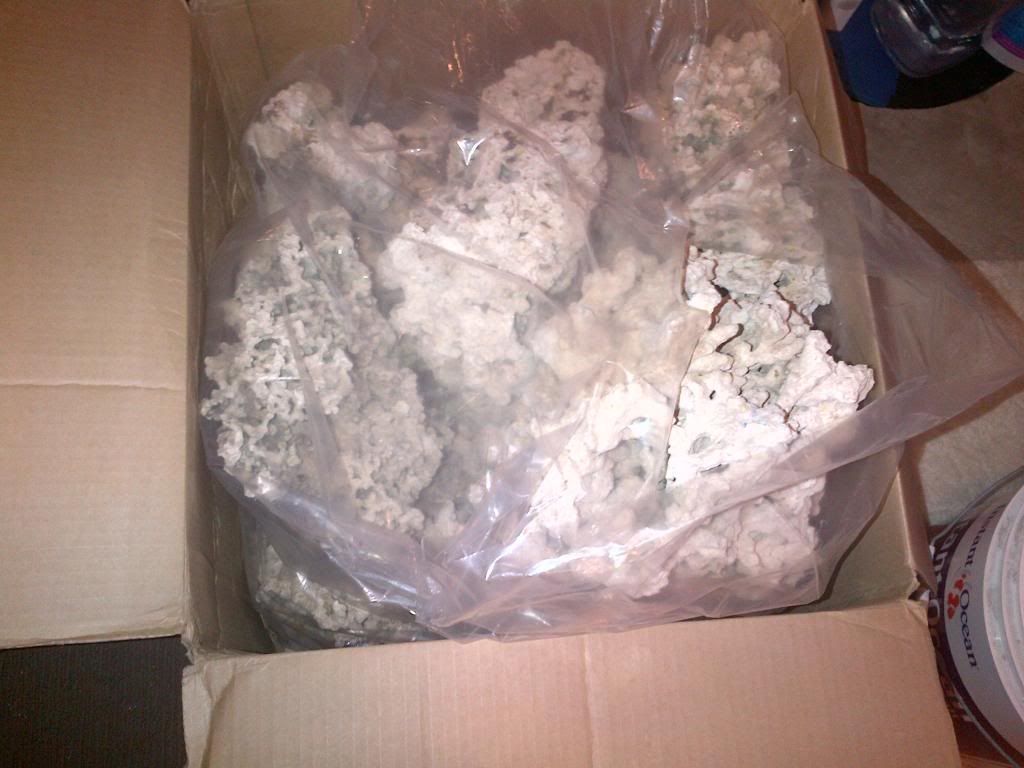
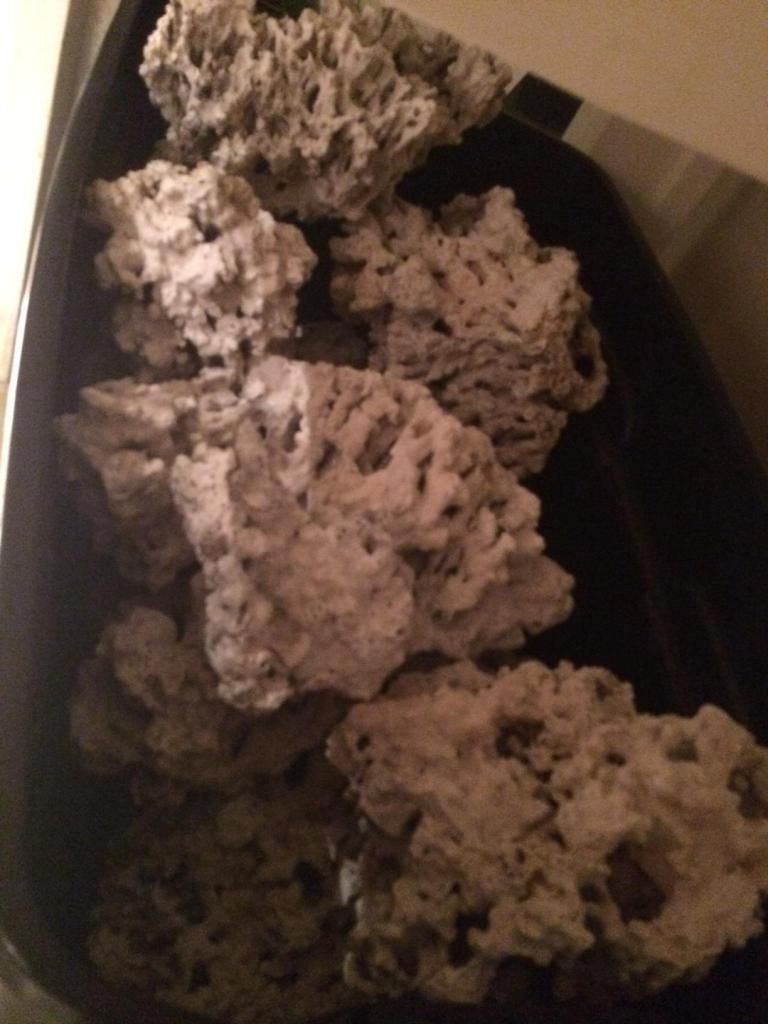
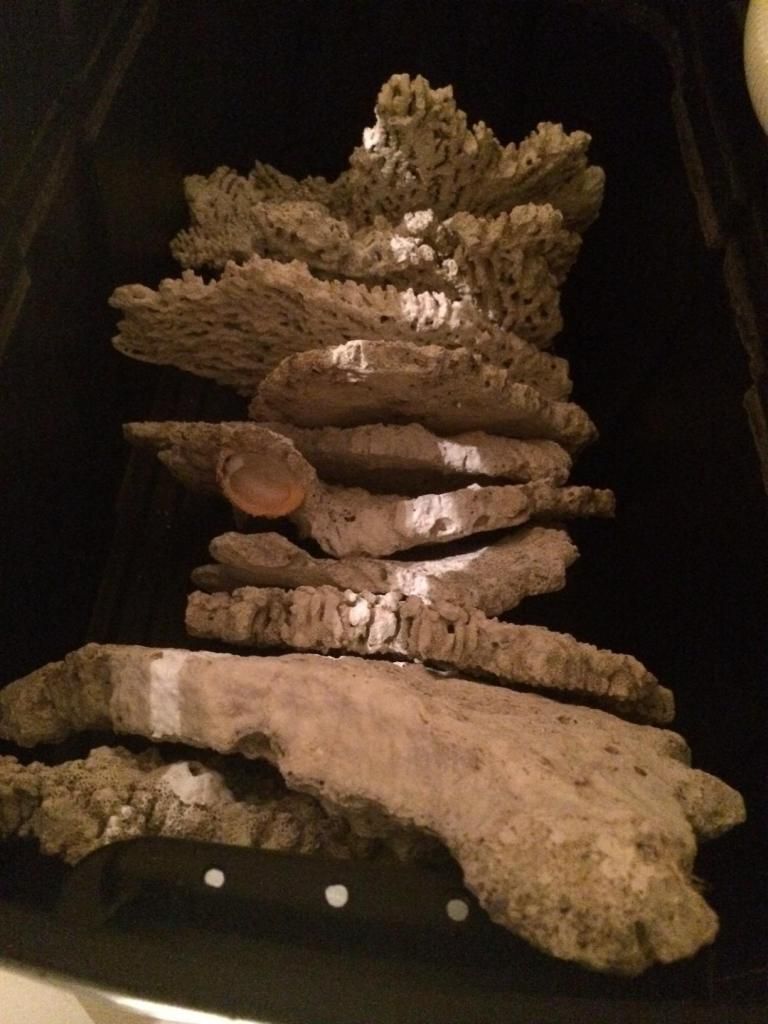
Thanks for asking! I am using dry rock for this build, as I have been slowly building my collection of genuine BRS Pukani rock and BRS shelf rock.


Here is a pic of my bin of Pukani


Here is a pic my bin of shelf rock


I have already prepped it for my tank by:
- power washing
- physically plucking any dead organic matter
- weak dip in muratic acid dip
- multiple soaks it in RODI water for many months
- soak in vinegar
- dried out in sun

So it is ready to be all glued together. I have a bunch of acrylic rods and epoxy on hand, so I need to get going on this too.
Im going to go with a simple 2 island aquascape. Both structures will have a pyramidal design, being very wide at the the bottom to prevent shadowing and lots of space for my sticks :cool:
 
Last edited:

outofthewater

Member
Joined
Jun 23, 2012
Location
Kitchener, ON
Ya I just got my pukani rock and shelf from Eli at Fiji gonna do my acid dip tomorrow what ratio did you use with your dip I did a small like 1:20 with some rubble for a test and didn't get much results
Lots of bubbling but still lots of organic matter
 

teebone110

Distinguished Member
Joined
Jan 5, 2011
Location
London, Ontario
Website
www.thefragtank.ca
Ya I just got my pukani rock and shelf from Eli at Fiji gonna do my acid dip tomorrow what ratio did you use with your dip I did a small like 1:20 with some rubble for a test and didn't get much results
Lots of bubbling but still lots of organic matter

Be careful with muratic acid, personally I think its overkill and it actually takes a layer off of the rock. If its too strong, you won't even recognize the rock afterward. I think 1:20 should be okay, or just go with a high concentration of vinegar. Just make sure your pukani is clean and doesn't have any dead organic matter stuck in the holes. This is what causes the phosphate issues. It will all eventually breakdown when its in your tank, but the more left over organics, the longer the wait for lower phosphates.
 

outofthewater

Member
Joined
Jun 23, 2012
Location
Kitchener, ON
Ya I've been reading for weeks I actually found a 3" starfish stuck on the rock still
Just like to get some local input too.
I'm not going strong and only doing my pukani and the shelf rock is pretty clean
 

jroovers

Super Active Member
Joined
Aug 29, 2012
Location
London
Looking good Tyler! Looks like a lot of work to run all that spaflex and water line, but in the end will be well worth it.
 

teebone110

Distinguished Member
Joined
Jan 5, 2011
Location
London, Ontario
Website
www.thefragtank.ca
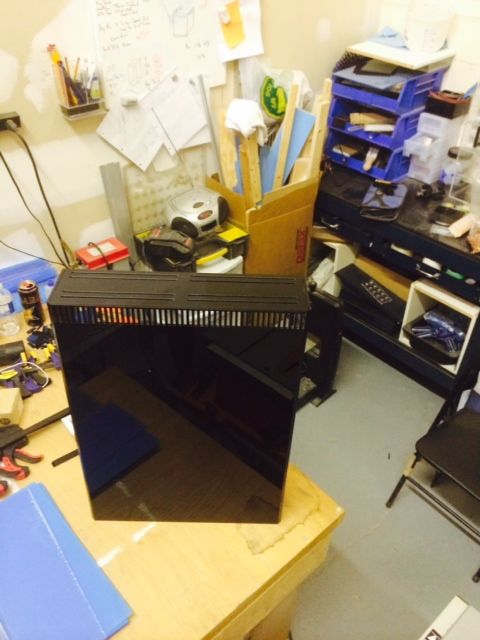
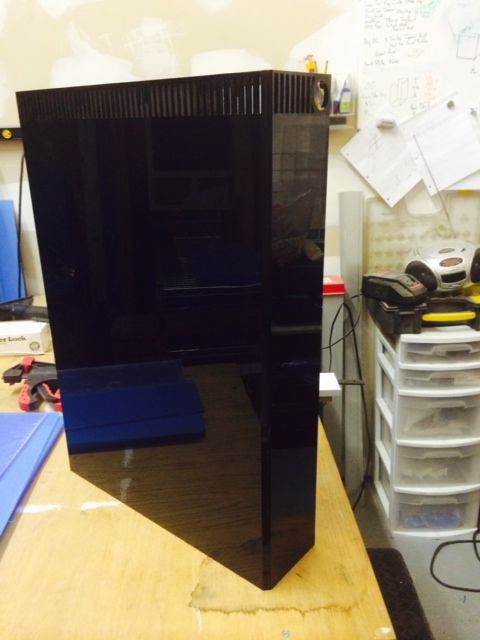
Just another update, I wasn't happy with my original overflow, as it needed a few mods. It also was made of 1/8" acrylic and it didn't think it be would be durable enough for the longterm.

I put an order out to JT custom acrylics, and Jon hooked me up with a masterpiece! Can't say enough about how good Jon is to work with, and would recommend him to anyone wanting custom acrylic work.

Here are a few shiny pics of it all glued together and ready to go…


teebone110

Distinguished Member
Joined
Jan 5, 2011
Location
London, Ontario
Website
www.thefragtank.ca
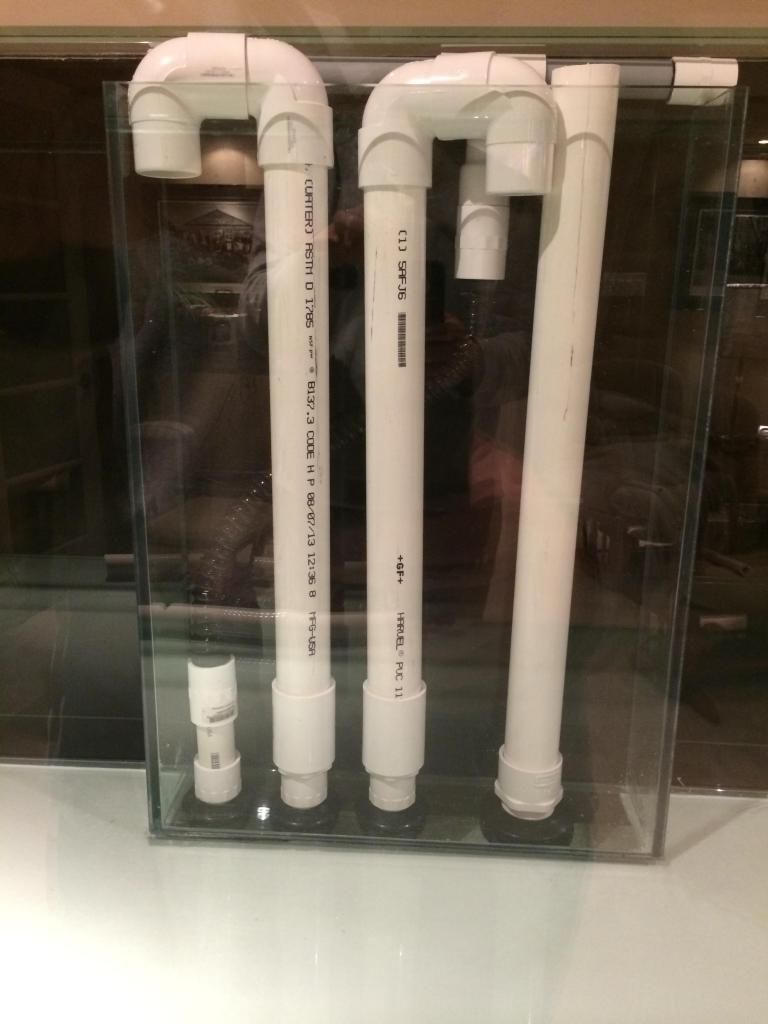
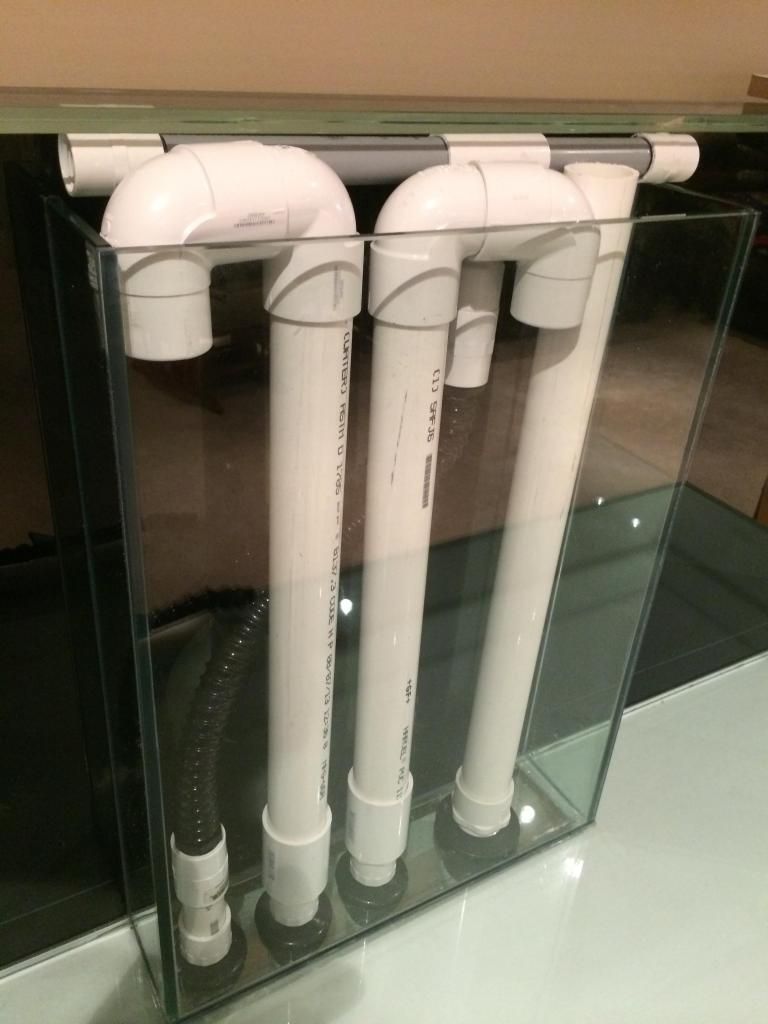
set up my bean animal drain system this weekend


You can see my return coming up through the bulkhead on the far left. I went from 1" rigid PVC to 1" flexible PVC, then reduced into a 3/4" manifold that will run along the rear of the top of the overflow. It will tie into two 3/4" loc-line connections.

The trickle and full siphon drains go from 1" bulkheads to 1.5" PVC

The emergency drain runs from a 1.5" bulkhead straight up into 1.5" PVC


Had to make sure all went together as planned, before things were krylon fusioned!


teebone110

Distinguished Member
Joined
Jan 5, 2011
Location
London, Ontario
Website
www.thefragtank.ca
I could never fit my hands in there! That is very compact! Overflow looks good. Any problems trimming it?


Sent from my iPhone using Tapatalk


Yes its compact and tight, as planned :)
I have also planned it so that I can pull out all the drains if I need to get into the overflow box or do any cleaning.

I had no issues trimming down the height, I just used an orbital buffer/sander and sanded it down about 1/8". Fits like a champ.

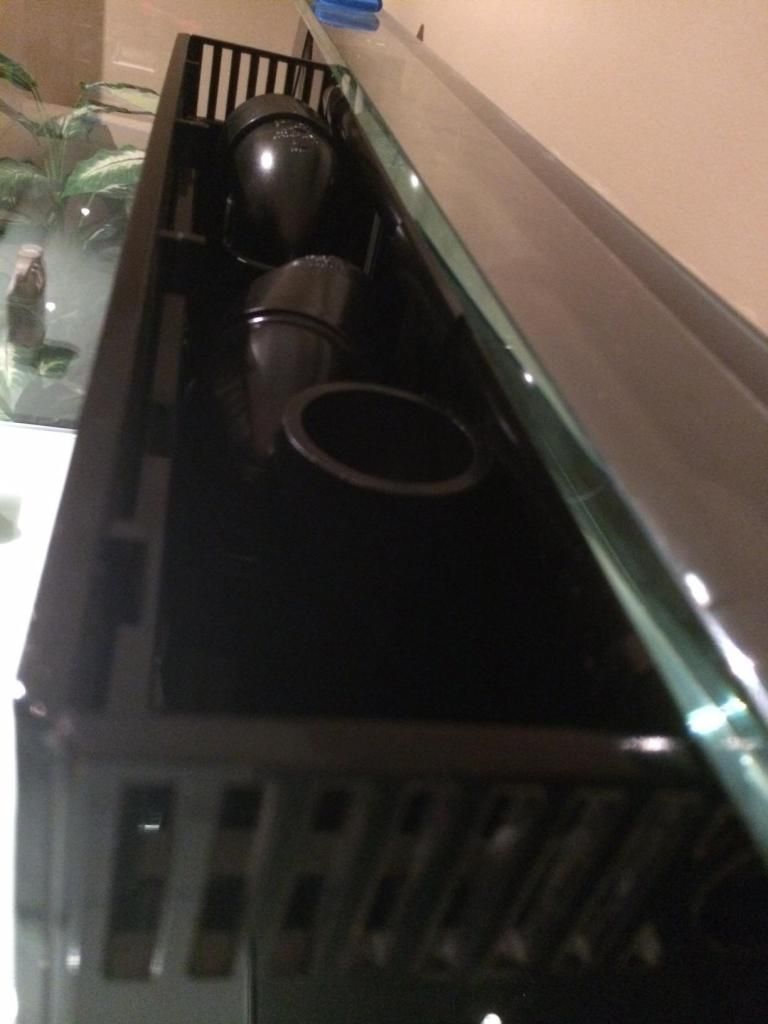
I do need to make a modification with the lid :(
I couldn't really get it to function properly with the eurobracing and when the returns are added, it will be impossible to get it on or off. My plan is to cut the lid at the edge of the eurobracing and stick another piece of acrylic overtop to make a lip at the outside edges so it doesn't fall inside. I am also going to stick a thin piece of acrylic under the eurobracing that will expose the other part of the overflow to prevent any unwanted algae growth.

Looks great Tyler!

Also agree with J_T - I could NOT fit my hands in there! Props.
Thanks, I have literally looked at hundreds of designs to come up with this one,
 
Top